Windows
We finally decided the layout enough to feel confident buying windows (sizes, location, type, brand, vendor). Arctic Tern by Tern Overland makes really nice double pane acrylic windows that are awning style with shade + screen built in.
Our past two camping trailers taught us that we really value awning windows over sliders because:
- Can open them a decent amount in the rain, even overnight
- The entire window area is open for ventilation vs. sliders where at most you get 50%
Double pane would eliminate condensation issues and provide much better thermal management in hot and cold weather.
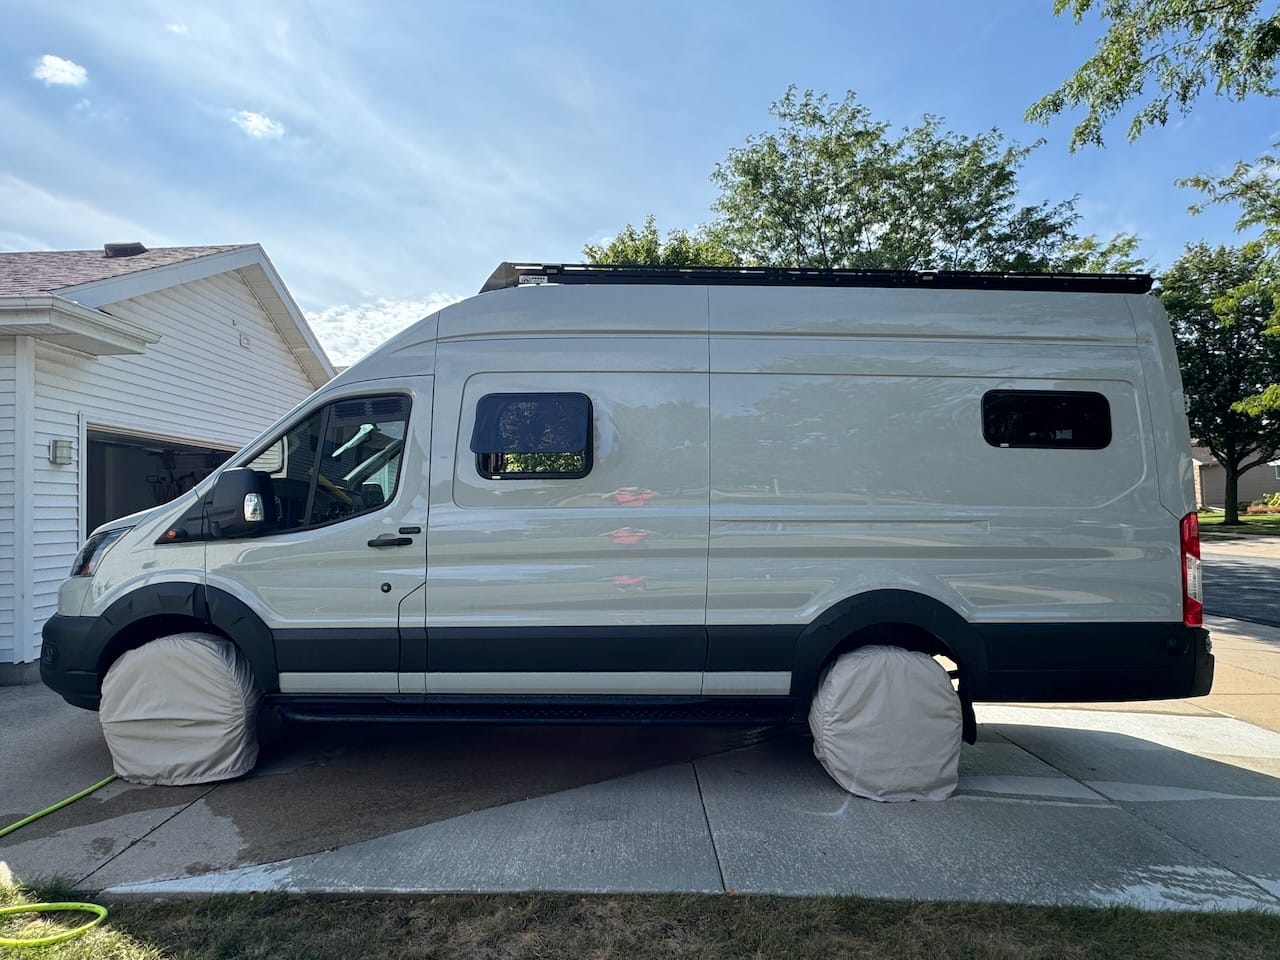
We bought two 300mm x 700mm windows to provide cross flow ventilation in the rear by the bed (and add some natural light to the rear). And given our layout, we stretched to accommodate a 450mm x 610mm behind the driver.
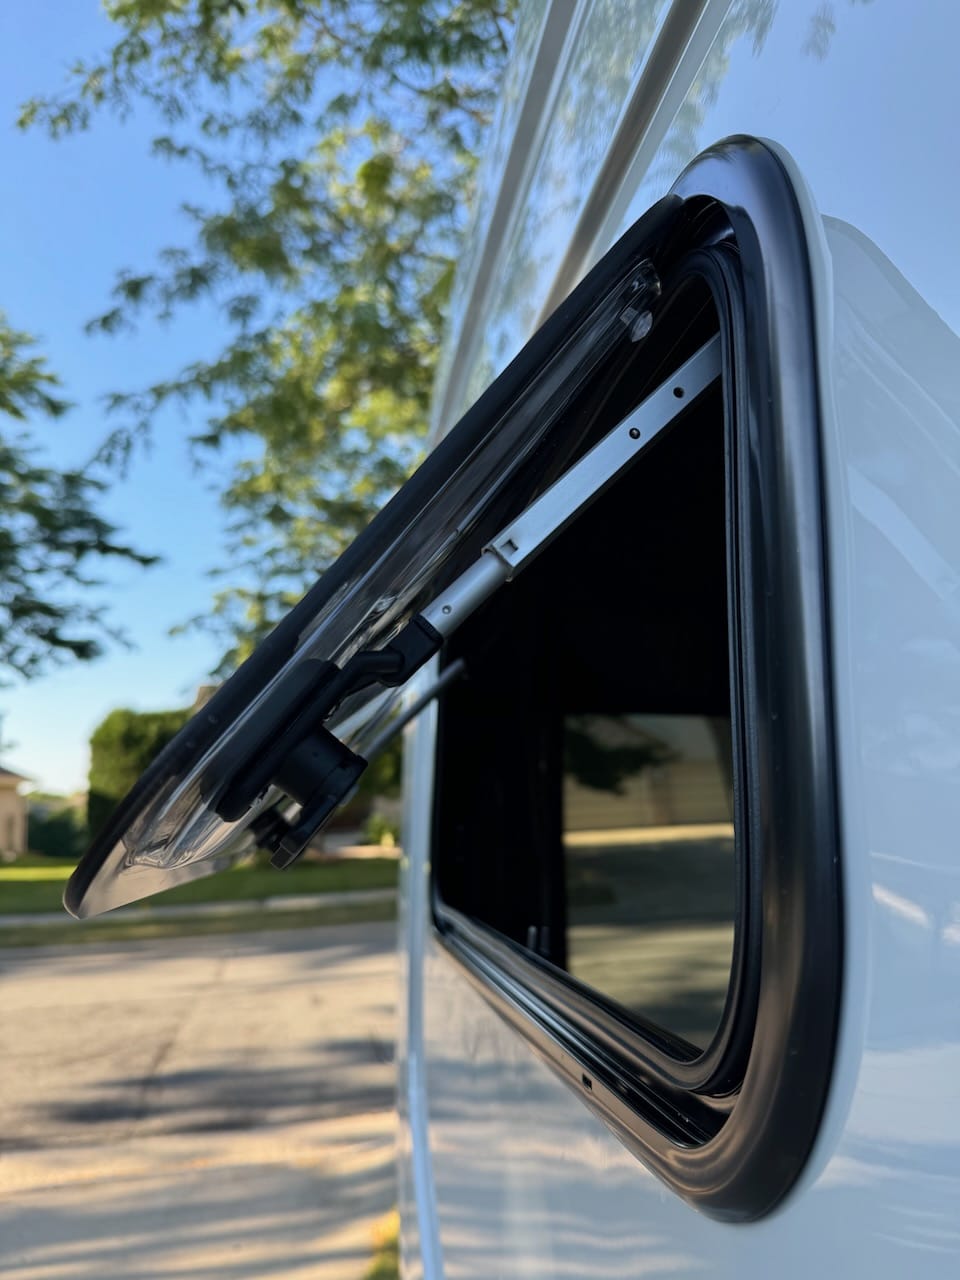
These windows 'sandwich' the walls - there is an outer frame w/ a rubber gasket - then the van sheet metal - then some inner window frame - then the inner metal trim ring that connects to the outer frame w/ M4 machine screws and compresses the rubber gasket. No adhesive is used in mounting the window itself.
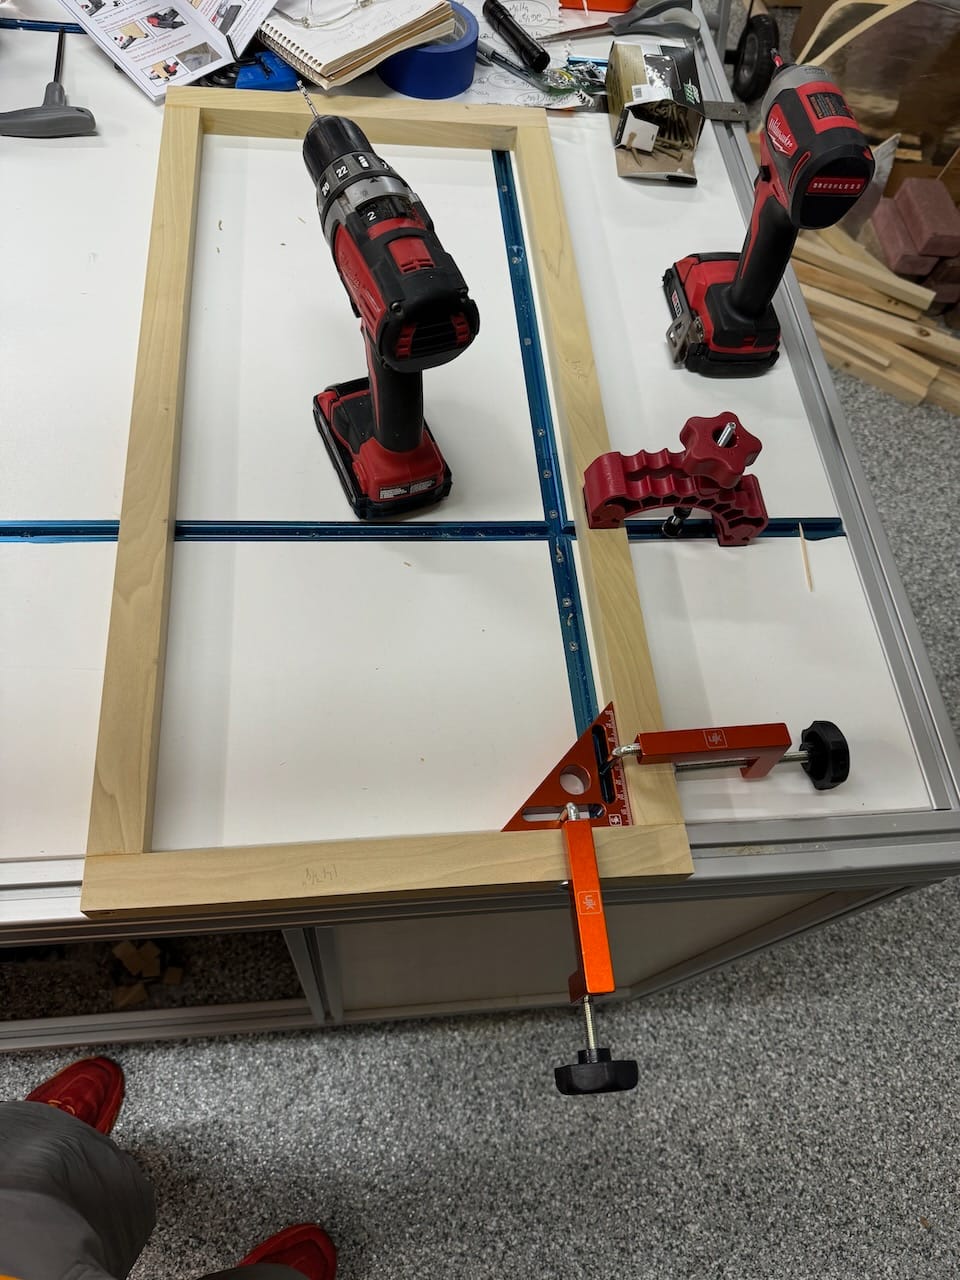
But you need to craft the inner window frame yourself, minimum 1" thick and must be hardwood (plywood over time will 'creep' and get thinner and then the gasket will leak).
I chose 5/4 poplar from Brunsell in Madison - was perfectly straight and easy to rip down to create the frames.
Next task is to nervously decide where the giant holes in the side of van really need to be. Complicated by the fact that from the inside, the curves and alignment may look pretty different than from the outside matching other curves. We decided it would drive us nuts to see 'crooked' windows from the exterior. The interior will have so much other stuff going on that any slight misalignment to some structural member will be probably covered up anyway.
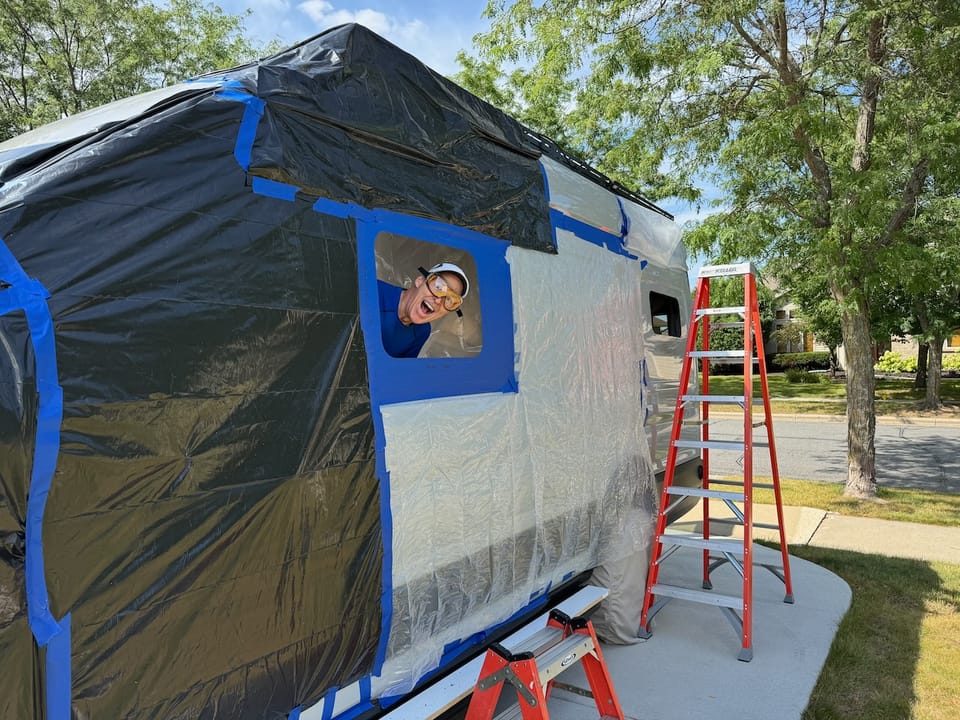
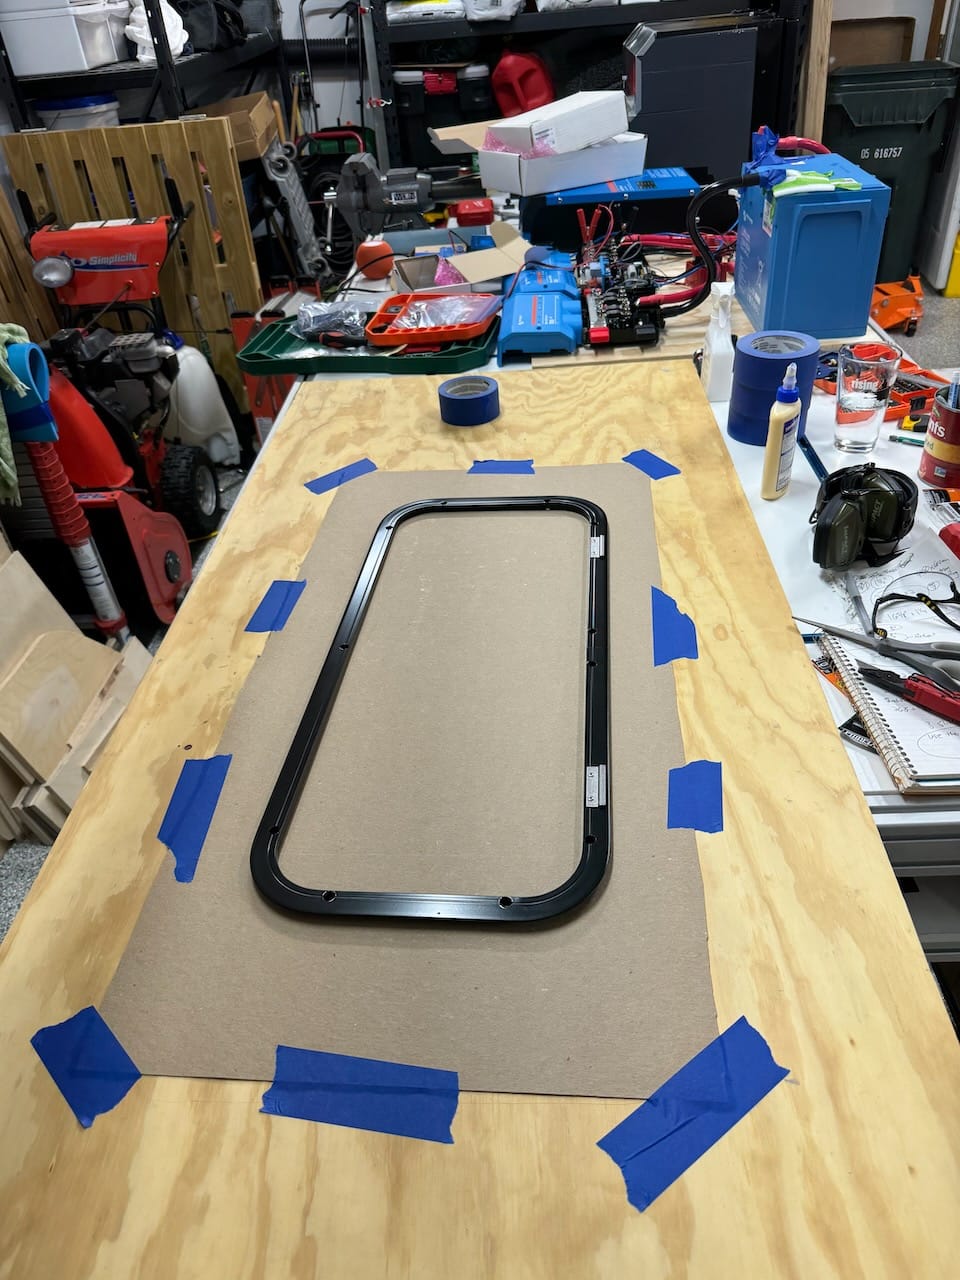
Create an exact cardboard template of the inner trim ring hole. Then cover what seems like half the van in blue painters tape on the outside and mask off with drop clothes even farther. Lessons learned from the roof AC hole cut is that jigsaws create tons of super tiny, super hot metal shards in a spray that want to melt into the clear coat of the paint and instantly rust otherwise.
Drill a hole from the inside exactly halfway and 1" lower than what you think is the top edge. Drive a screw through it. Walk outside and see where that exactly is. The 1" puts the hole clearly into the "cut zone" in case you're off a little and need to slightly adjust.
Use the same template on the outside with the screw as reference and mark the cut line.
On the inside there are two 'layers' to the wall of the van - the outside skin and then inner support pieces that are adhered to the outside skin which adds key stiffness in areas.
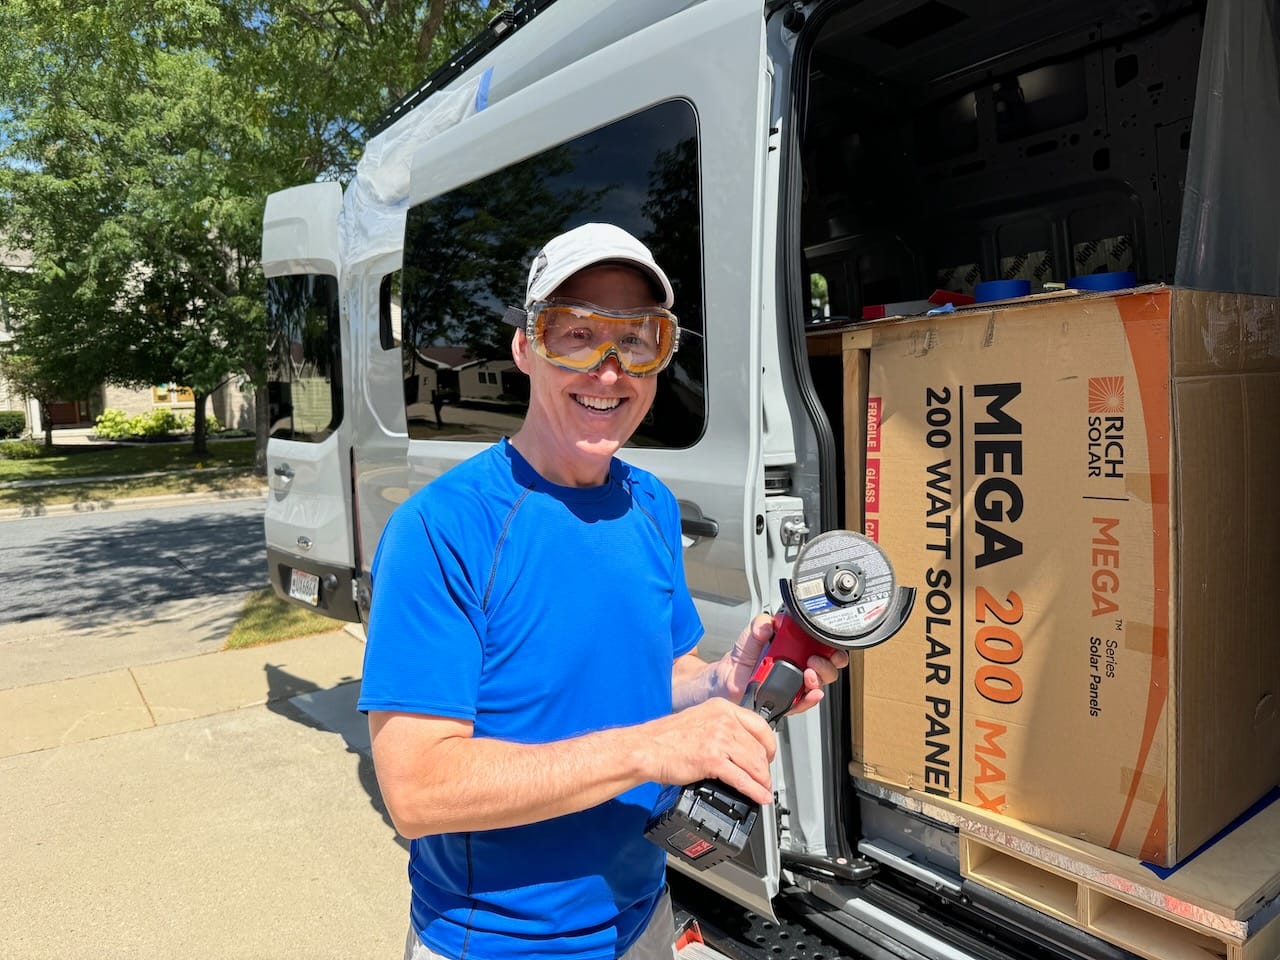
Inevitably the window locations need to cut through those inner support pieces and a cutoff wheel on a grinder is the tool. Yet more drop clothes inside to contain the mess. With dark humor I noted that if things go wrong, at least the blood mess will be contained well.
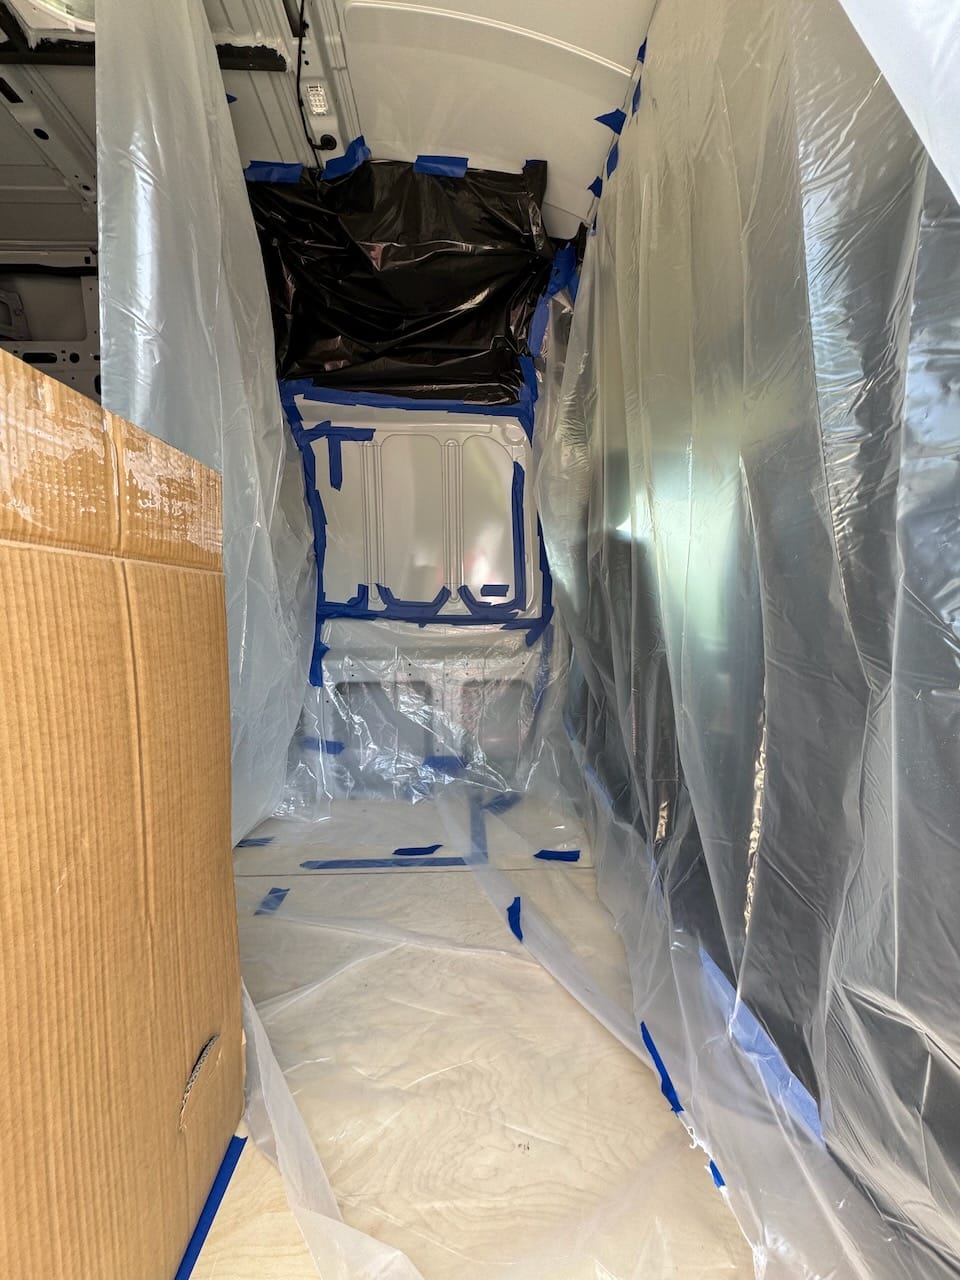
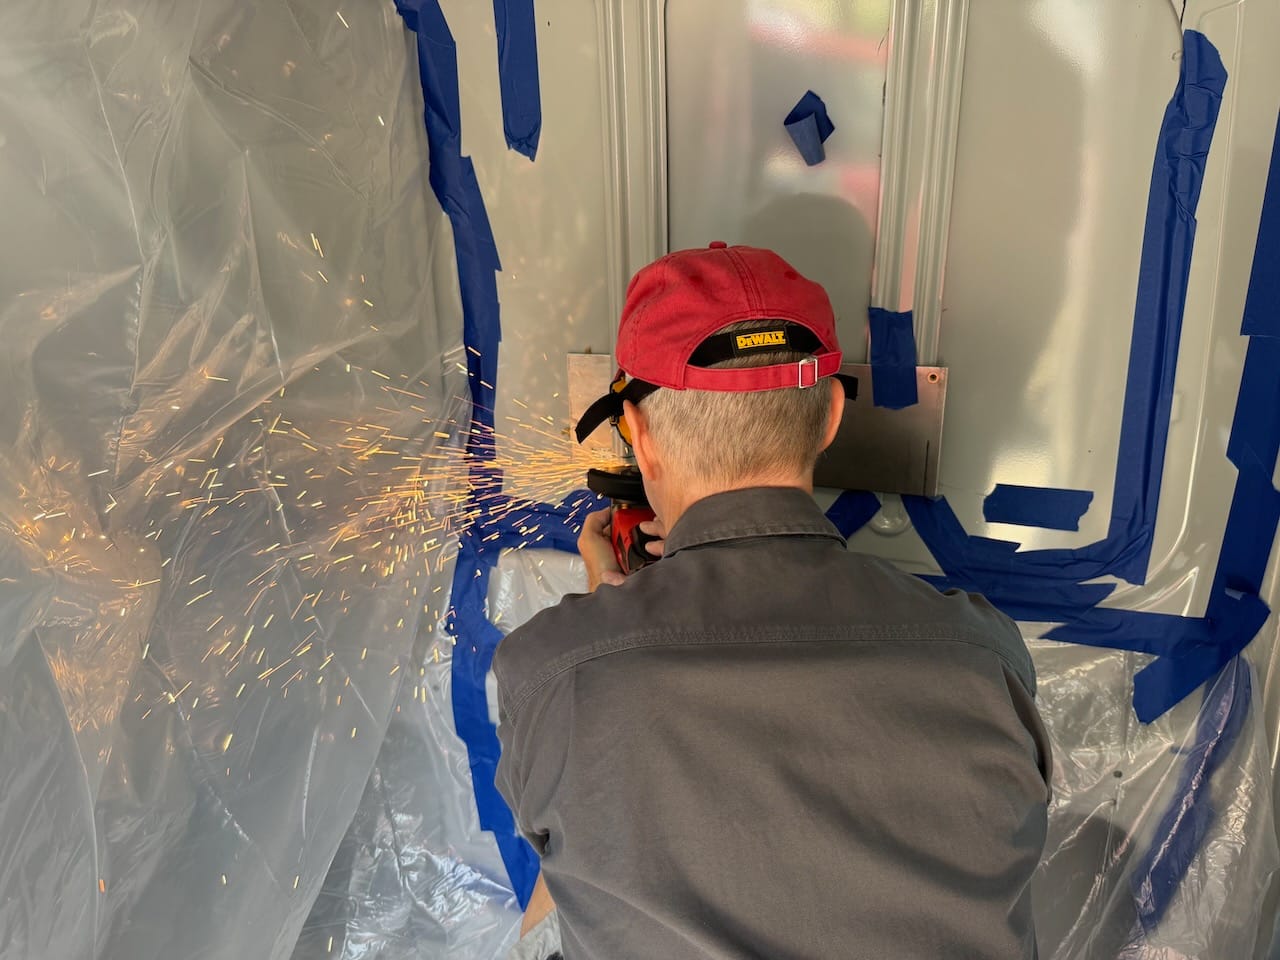
The inner supports need to be cut away larger than the actual hole. So if you slip with the grinder, the resulting hole in the outer skin is a huge problem. Above you can see a sheet of 16 gauge scrap steel I'm using as a "bacon saver" between the two layers of van wall. The final scars on it afterwards proved its worth.
Next you check the weather forecast again obsessively for the 10th time since you need two solid days of no rain.
Then deep breath. Nothing to it but to do it. Stop avoiding and dive in with the jigsaw.
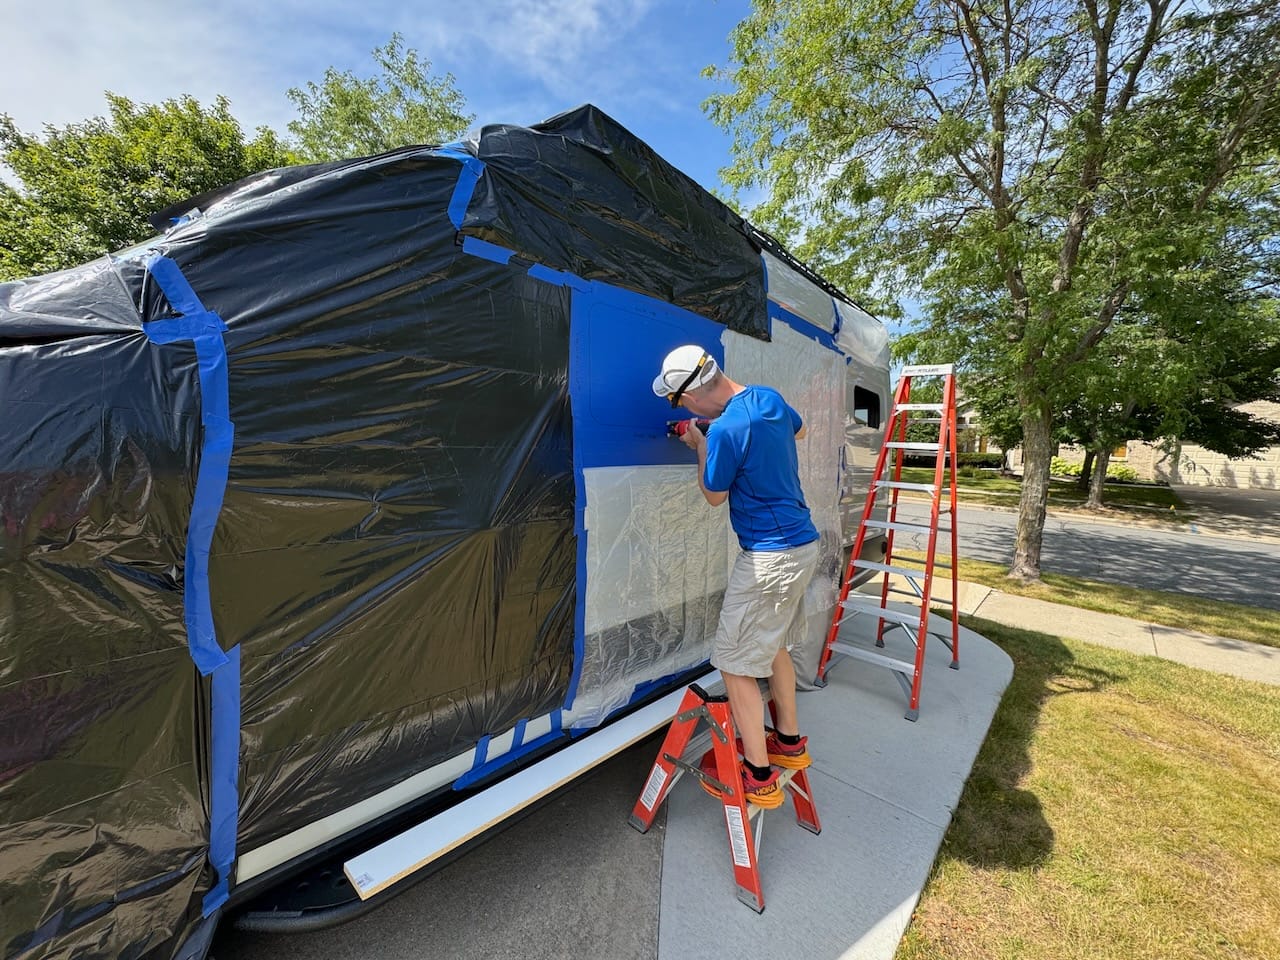
Houston we have a hole. Sure hope it is the right size and in the correct spot.
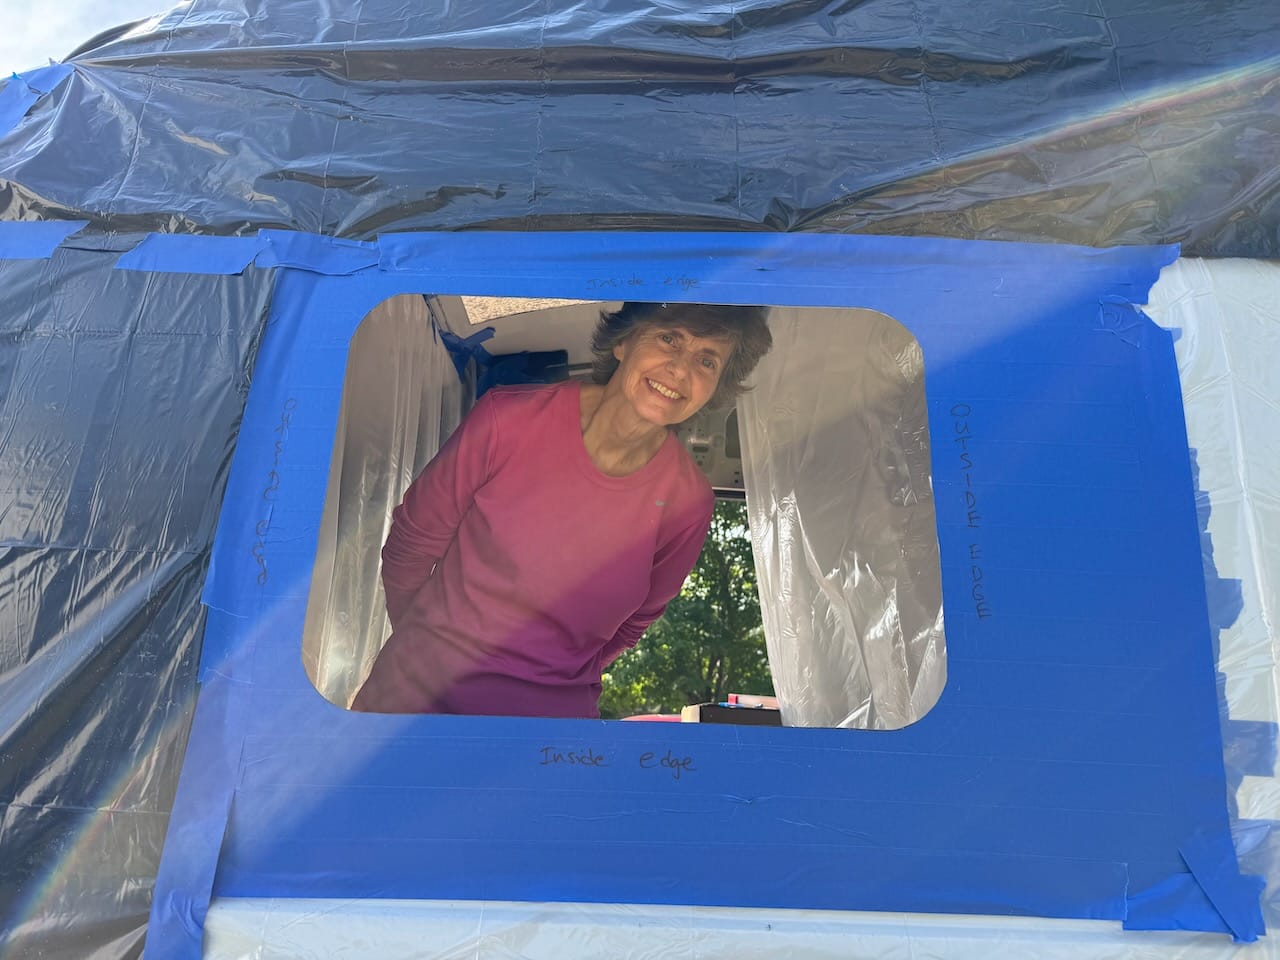
Deburring and cleaning up the edge follows with several test fits of the window. Once satisfied, then its time to mount the inner poplar frame using magic Sikaflex 252 and (infinity - 1) clamps.
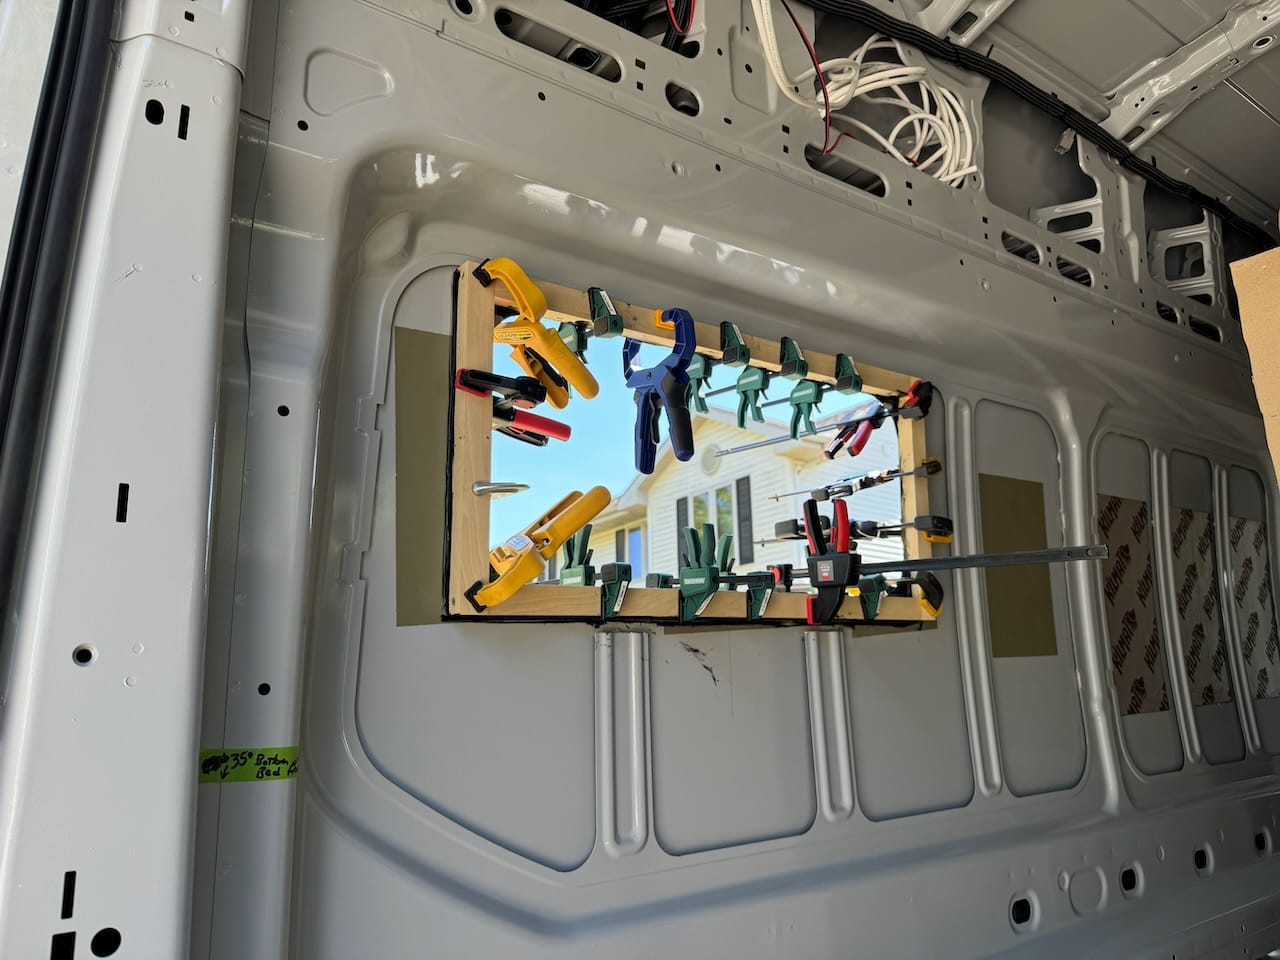
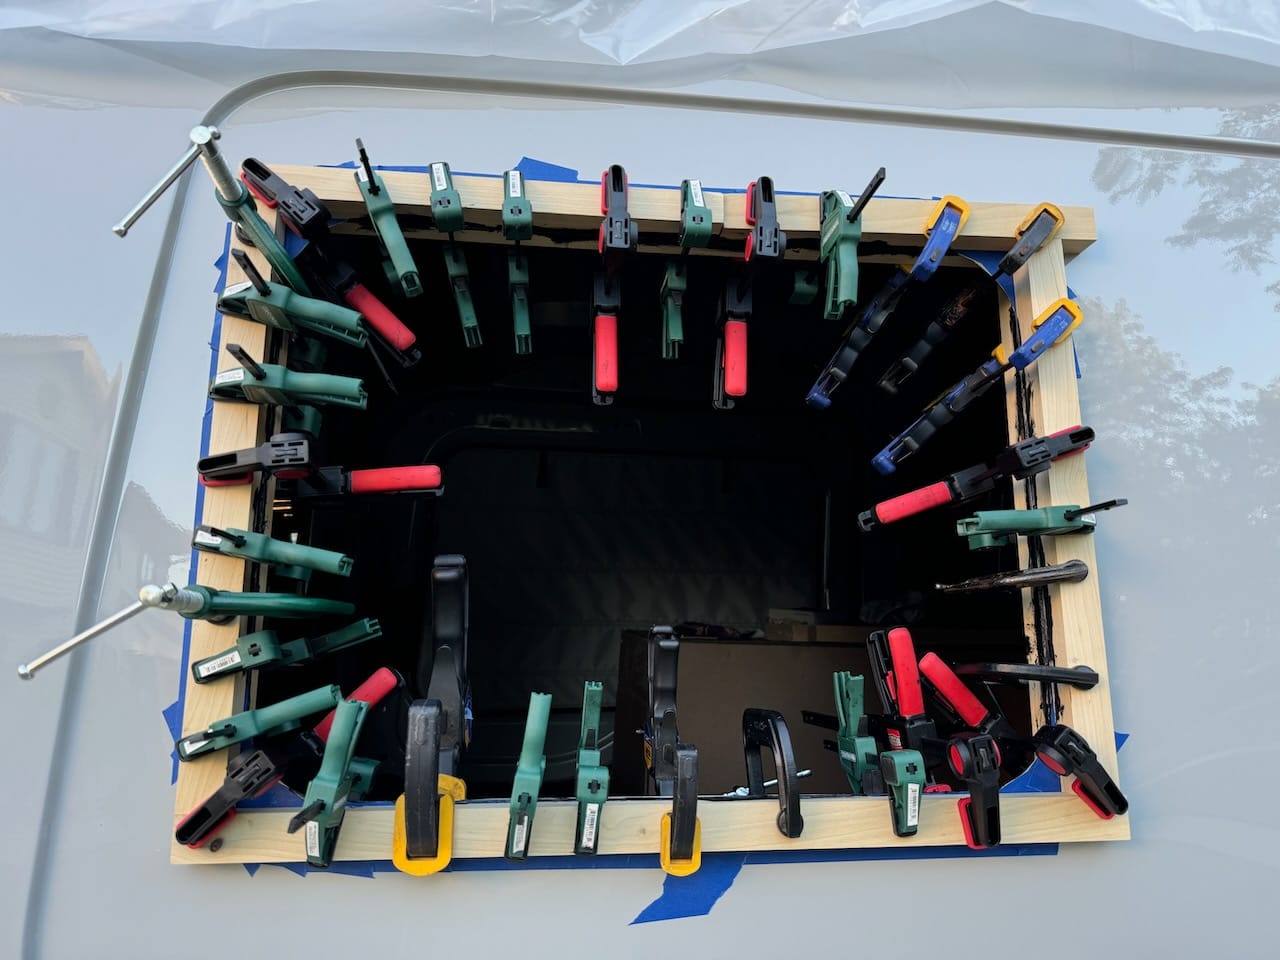
Next day we removed the clamps, installed both halves of the windows, and screwed them together.
Then comes the nervous water test. All 3 pass with flying colors!
Member discussion