Van Floor
The floor does not get proper respect in van builds. It seems like a "yeah, whatever, move on" thing other than perhaps the final choice of color or finish flooring choice. It's an area wildly underestimated in time & labor needed.
Let me remind the reader that the van floor starts like this.
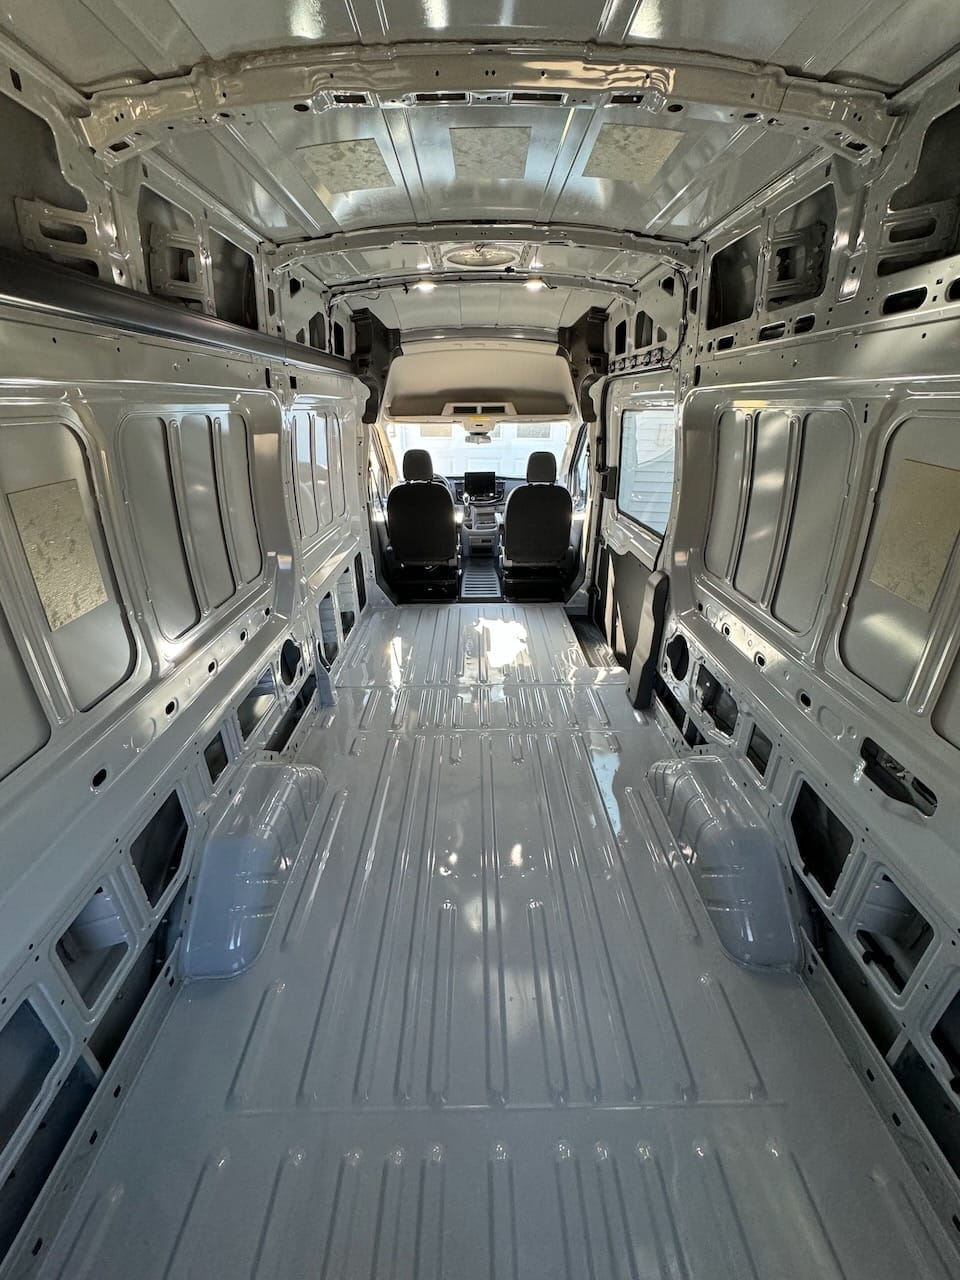
A big, uneven, corrugated mess, with no straight edges anywhere, and unfinished edges behind the seats, the slider door, and the entire rear door sill.
On top of that less than ideal starting point, you need to craft a level, solid, well insulated, non-squeaking platform for the rest of the build.
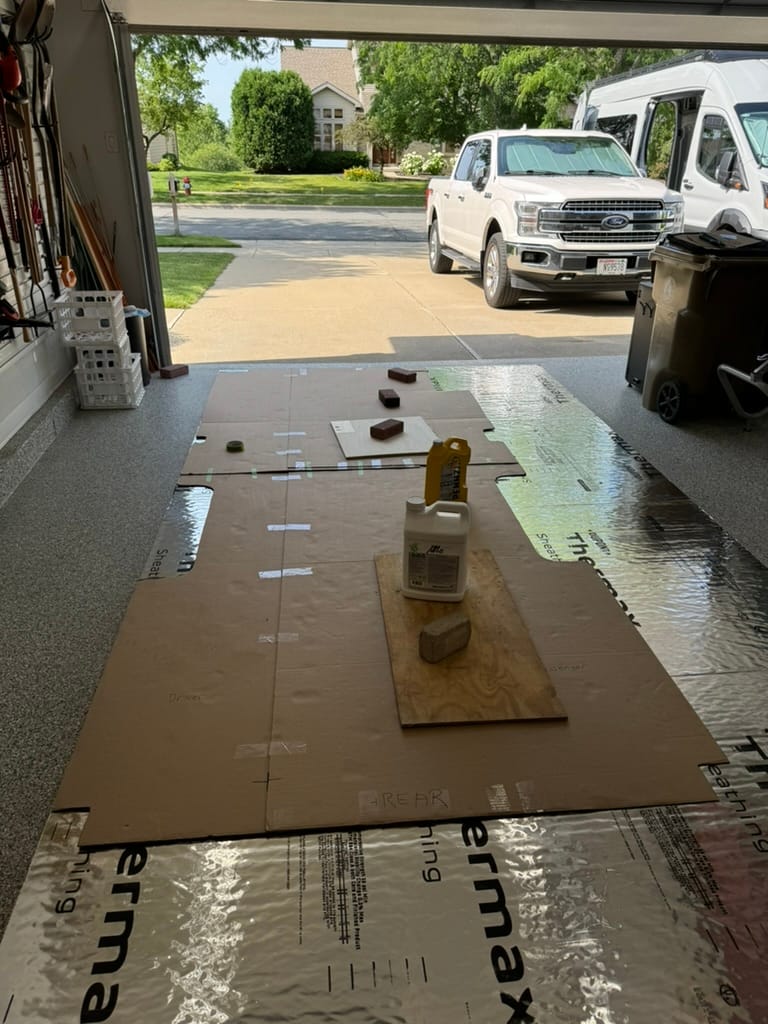
First task is to create a template for a rather large area (roughly 6.5 feet by 14 feet). We used RAM Board - a type of stiffer non-corrugated cardboard. Did it in two halves and then created witness marks as they overlapped inside the van to realign them in the garage.
Then transfer that template to much stronger corrugated cardboard than can survive all the handling that will be needed.
Then decide on what insulation layer to use. After weeks of research, went with Dupont Thermax Polyiso foam in 1" thickness. It comes with a thin film of aluminum bonded on both sides and is infused with a bit of fiberglass fibers.
Transfer the template to the polyiso and decide how to lay out various 4'x8' sheets to avoid common walking paths.
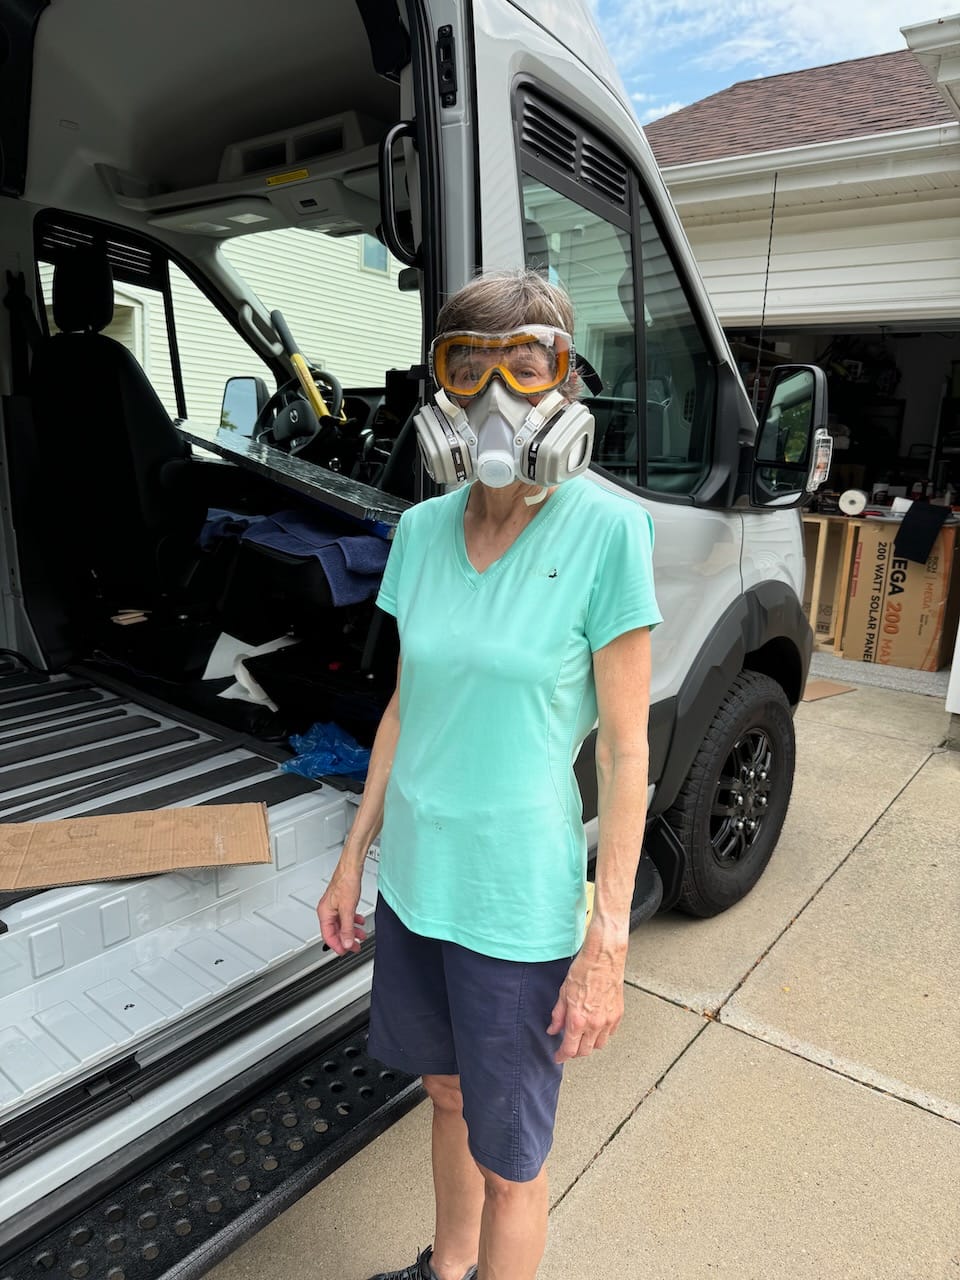
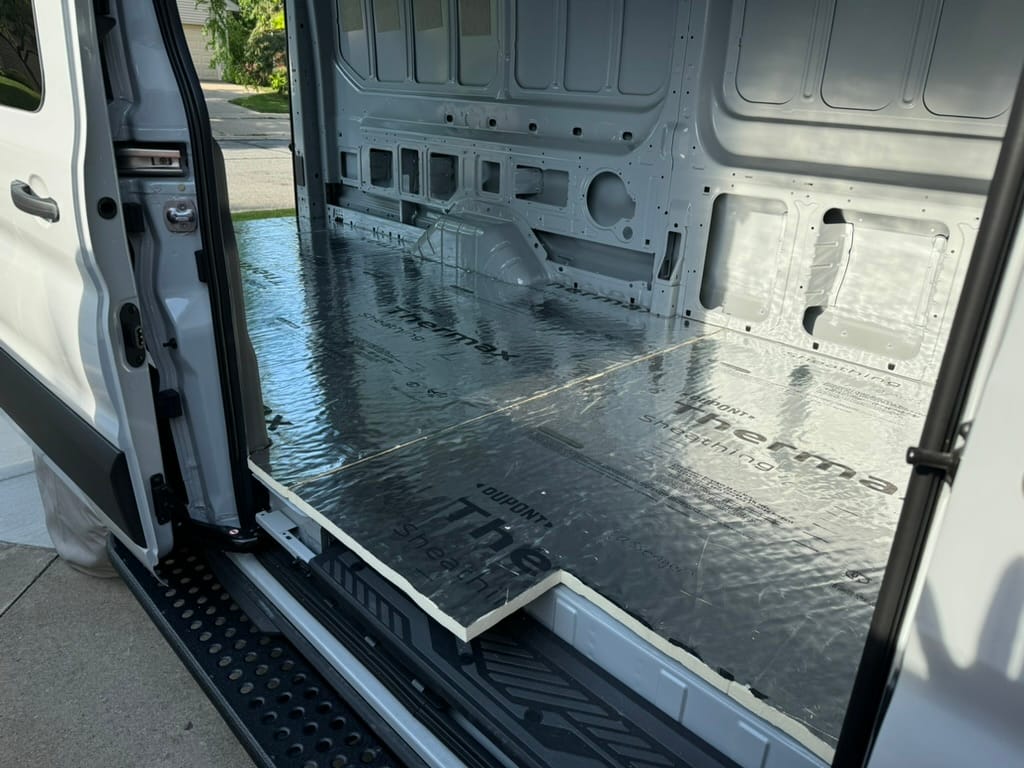
Mask up and jigsaw away and then test fit. A few more tweaks and then use aluminum tape to seal all the edges of every sheet.
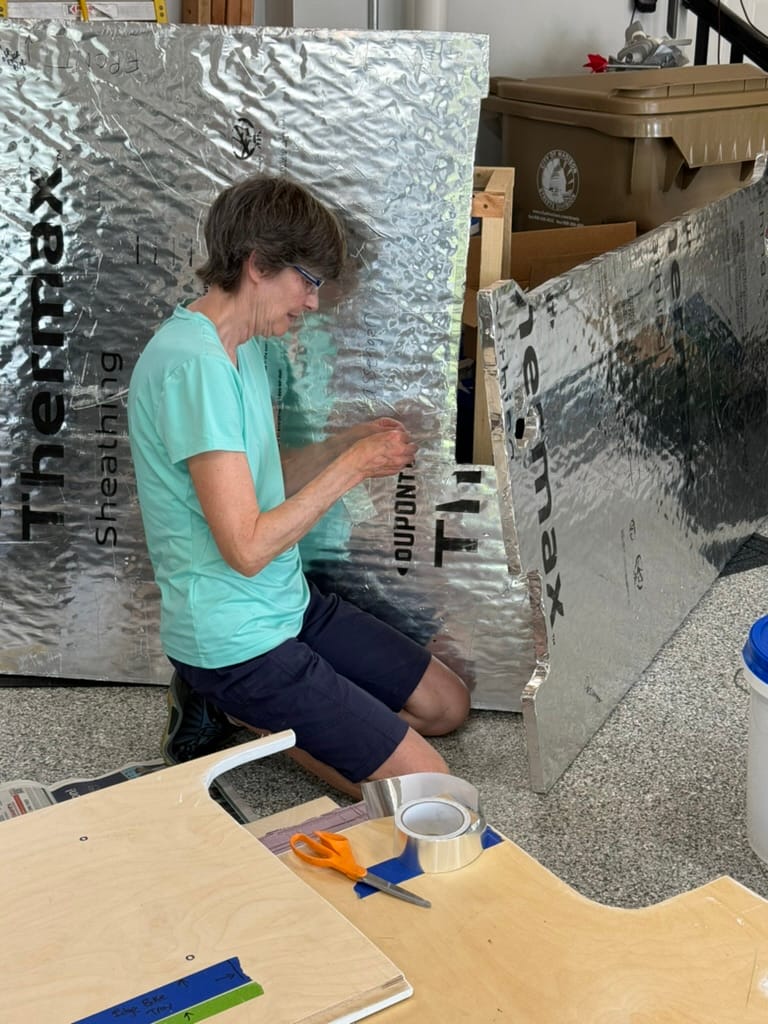
You can see below where we left an overlap into the slider step as somewhere in there will be the edge of the kitchen galley cabinet that overlaps some of the doorway.
Next figure out where to source Baltic Birch 3/4" plywood. It is far better than big box plywood with way more plys, strength, and above all very straight and in plane.
Figure out the template layout again with variance so that the plywood seams don't directly overlap the polyiso seams (avoiding flex potential there). Cut the plywood and then spend tons of time with the router adding lap joints to the 4 pieces so they overlap by 1/2" to further reduce chance of flex.
And don't forget to inset all the plywood edges off the van walls by at least a 1/2". Allows for thermal movement and avoids madness inducing squeaks of wood on metal.
Struggle to get the 4 heavy, awkward pieces in (since with the lap joints they have to go in a very specific order). Declare (short lived) victory!
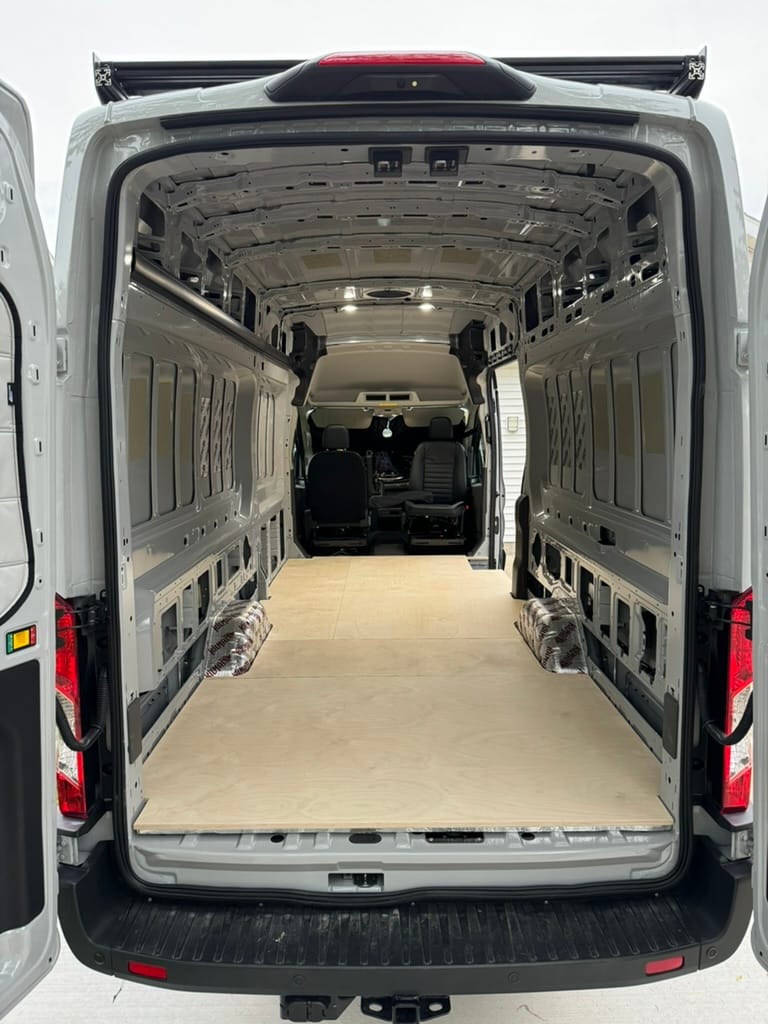
Met the deadline and toss tubs of random gear in and go camping with the relatives at the end of June with the van.

Then over the next month figure out that the 'valleys' and the tops of the 'ridges' in the bare metal van floor are very inconsistent. Original plan was to have the polyiso rest on the top of the ridges, yet their height from the 'valley floors' varies in some areas by almost 1/4". That's not going to be a very solid, level foundation.
More research. New plan is to use a type of closed cell, high density foam - 1/2" cross-linked polyethylene (XLPE) 6 lb density - in all the valleys. That will give a consistent plane for the polyiso to rest on (vs the ribs) and provide a bit of breathability to the floor with the gap from the top of the ribs. The floor is an inevitable condensation magnet (cold floor, warmer more humid air inside the van, no way to avoid slight dew forming). The XLPE will insulate that so the exposure area is small, but still wise to leave it a bit open.
Cut and measure just about every valley and it looks like this eventually.
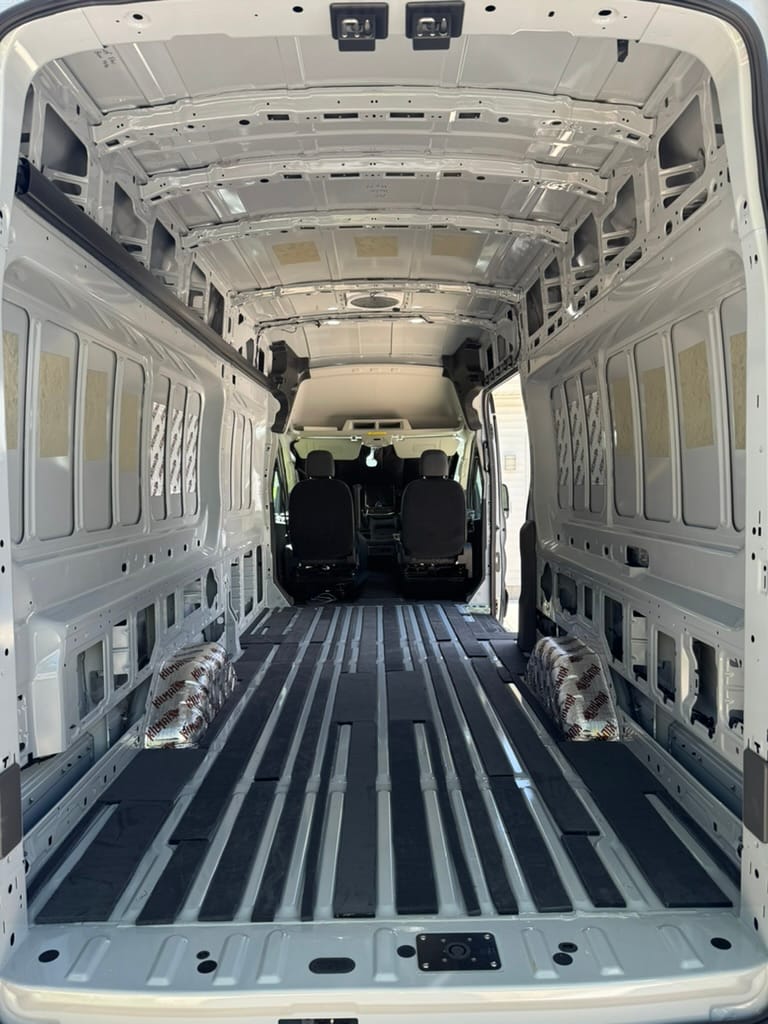
Then re-install all the polyiso and the heavy, awkward baltic birch panels as a fit test.
Then over the next month proceed to take the floor in and out of the van another half dozen times for various needs (access, finding exact rib locations for furnace install, scouting through-floor bulkheads for water service, etc.).
Drilling a huge 5" hole for the furnace and various 1.5" to 3" holes for plumbing bulkheads is next. Each one needs careful scouting to make sure you aren't drilling down into some critical structure under the van (like say the gas tank for example).
Holes for all this need to clear the van floor sheet metal, XLPE, polyiso, and the BB layers - deburr, prime and paint raw edges, and AL tape the polyiso.
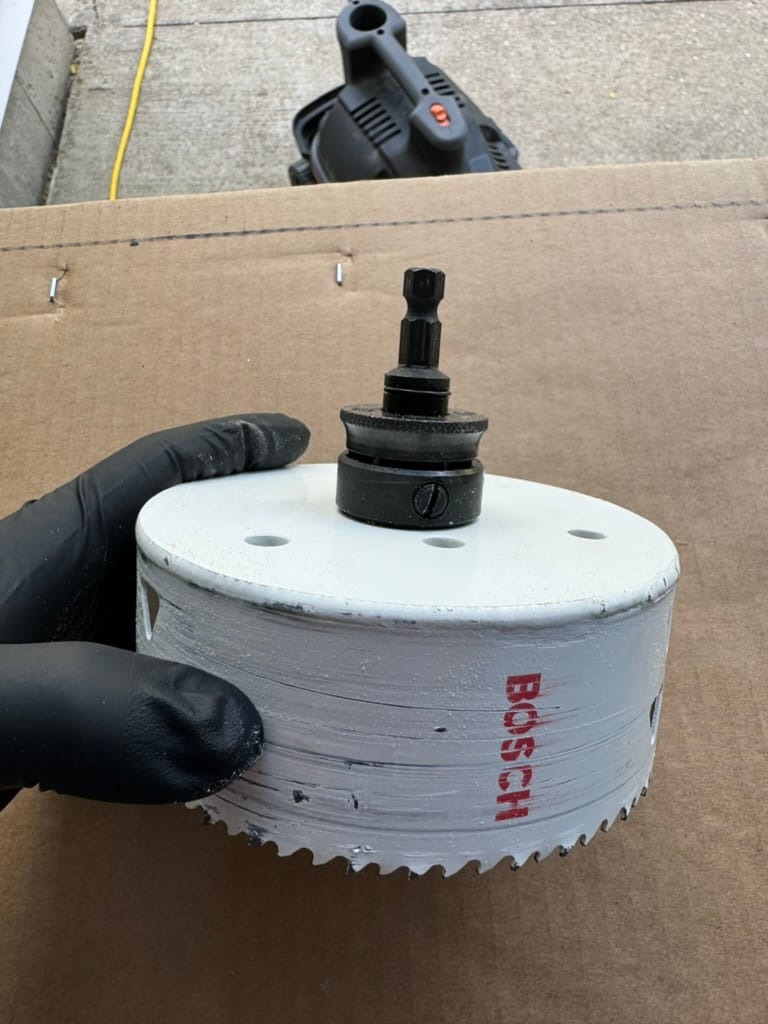
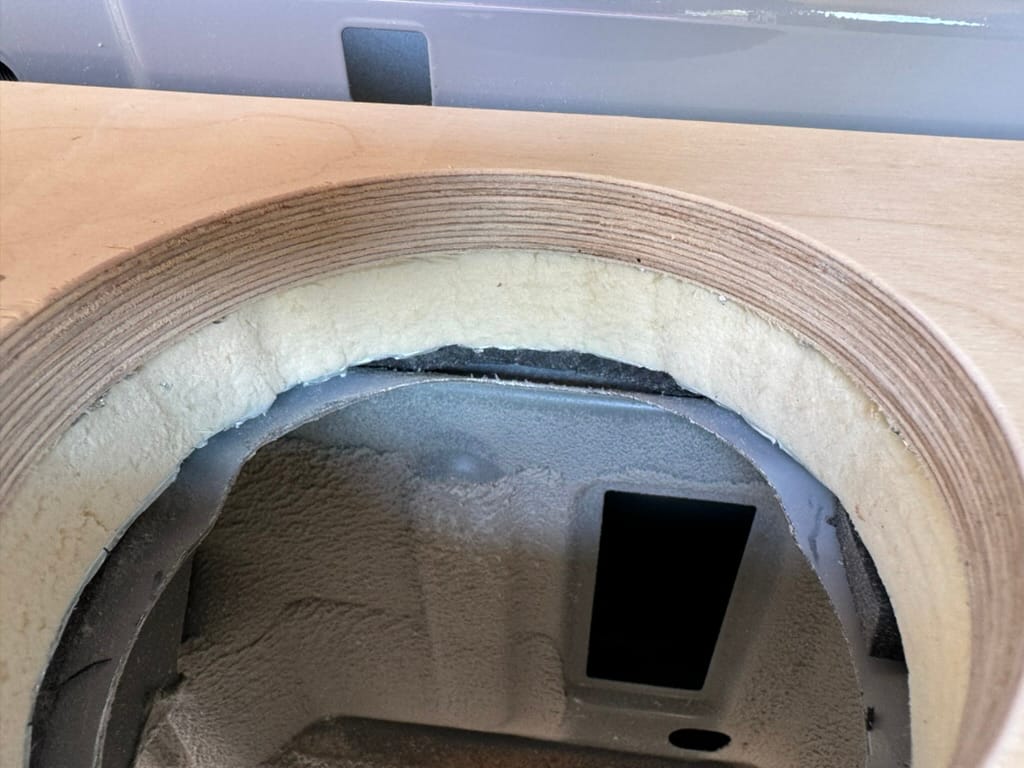
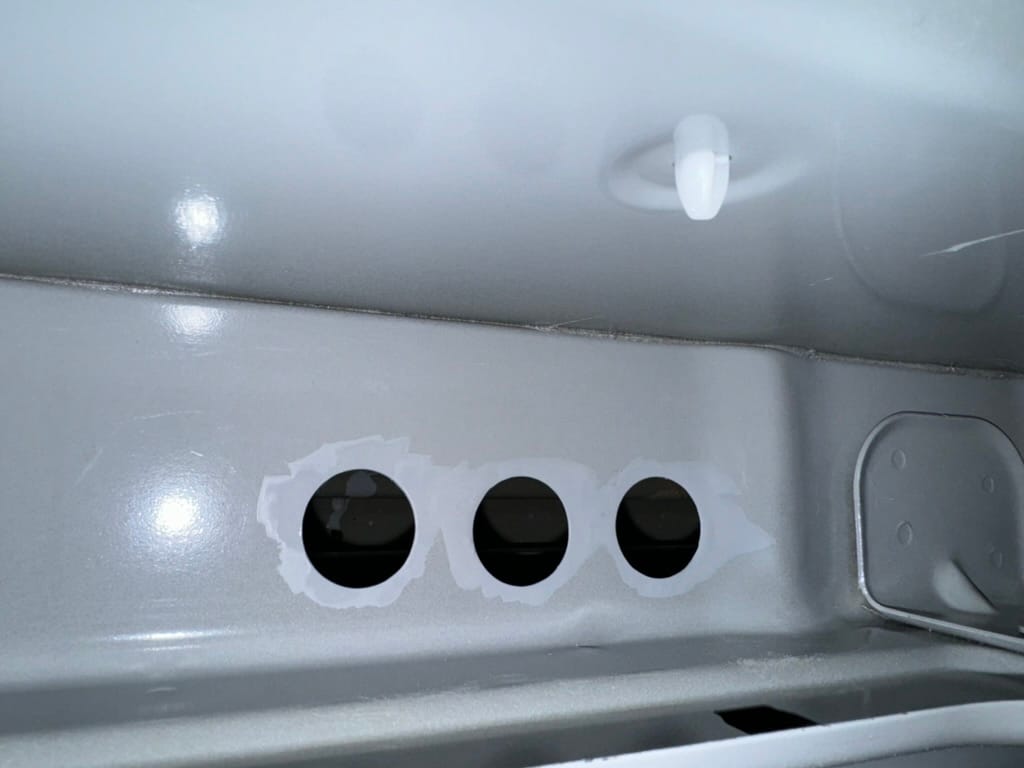
Drill more holes in the 'interstitial' area between the outer and inner van wall at floor level for the huge 4/0 wire needs for the 2nd alternator charging.
Then paint 3 edges of the Baltic Birch plywood with 2 coats of mold and mildew proof paint (top surface you want raw wood for max adhesion to the final floor covering epoxy).

Then recall you need to 100% finalize the plan for the rear sill area and the slider. Install SS rivnuts on for the rear sill so that the Ford sill plate could be replaced some day without destroying the floor in the process.
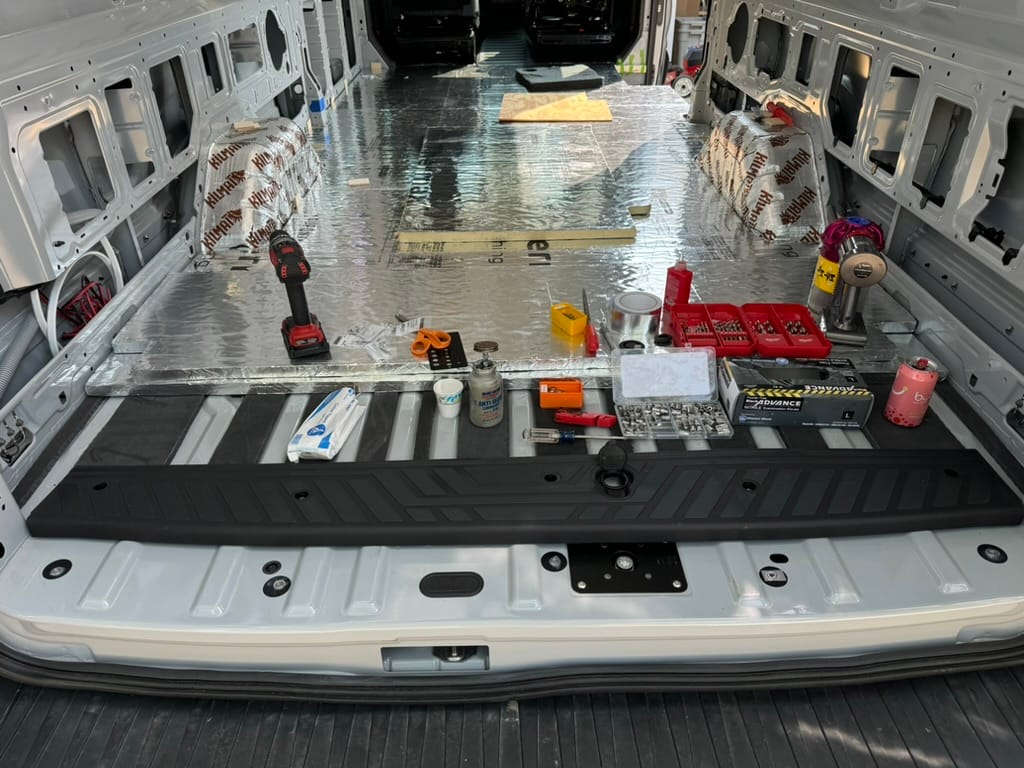
Also install SS rivnuts in the slider footwell area so that a custom tread and riser will have something to attach to.
Promptly strip the threads on the air compressor powered rivnut tool as SS is much stiffer than the normal zinc plated rivnuts. Nice. Spend another hour with a metric die trying to get it workable enough to finish the job while ordering replacement mandrels. There might have been a few choice words at this stage.
Switch to our Starwars costumes and then start spraying 3M 90 contact adhesive and putting in the XLPE strips into the valleys.
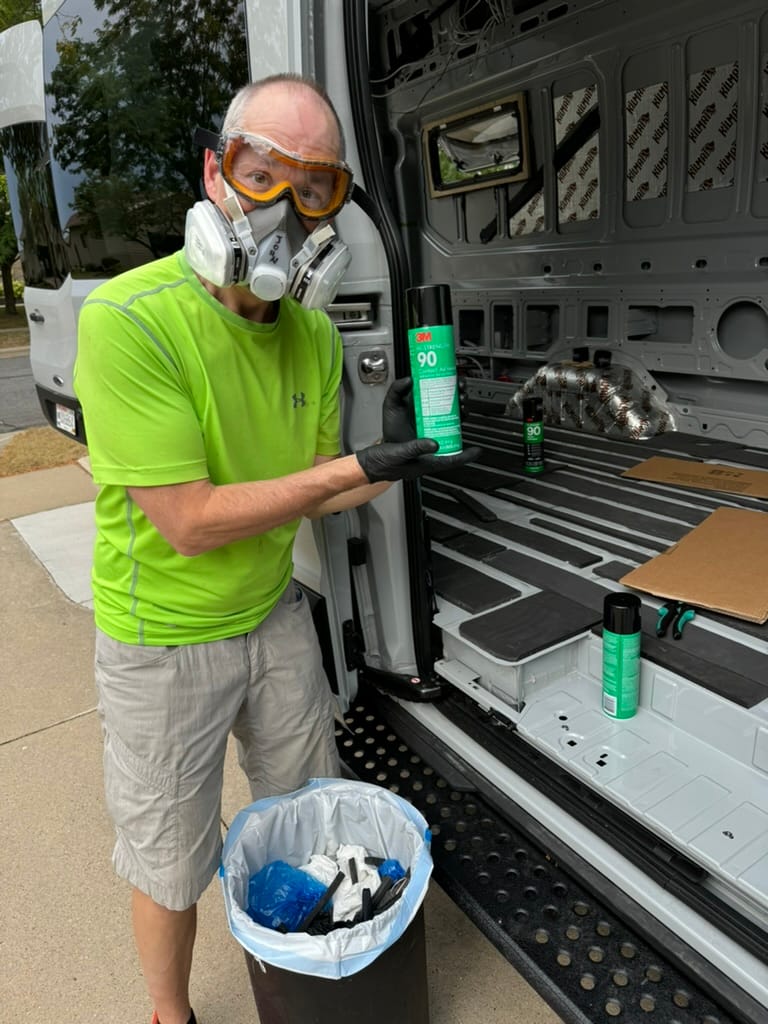
Followed by more 3M 90 spraying for laying in the larger polyiso sheets. This stage was nerve wracking as given the nature of contact cement, if the large sheet of polyiso wasn't in the perfect spot, you were screwed (trying to lift it and reposition would just rip the aluminum wrap off it and make a huge mess). Managed to avoid that.
Then figure out the cross van plumbing needs that must be routed under the floor. We have five PEX lines (hot + cold supply, hot return for a recirculation loop, gray drain, and a gray return line only used during winter freezing conditions with a lift pump).
Installed some heat cable/tape/cord in the channel since it's the most exposed plumbing area in the whole van to potential freezing.
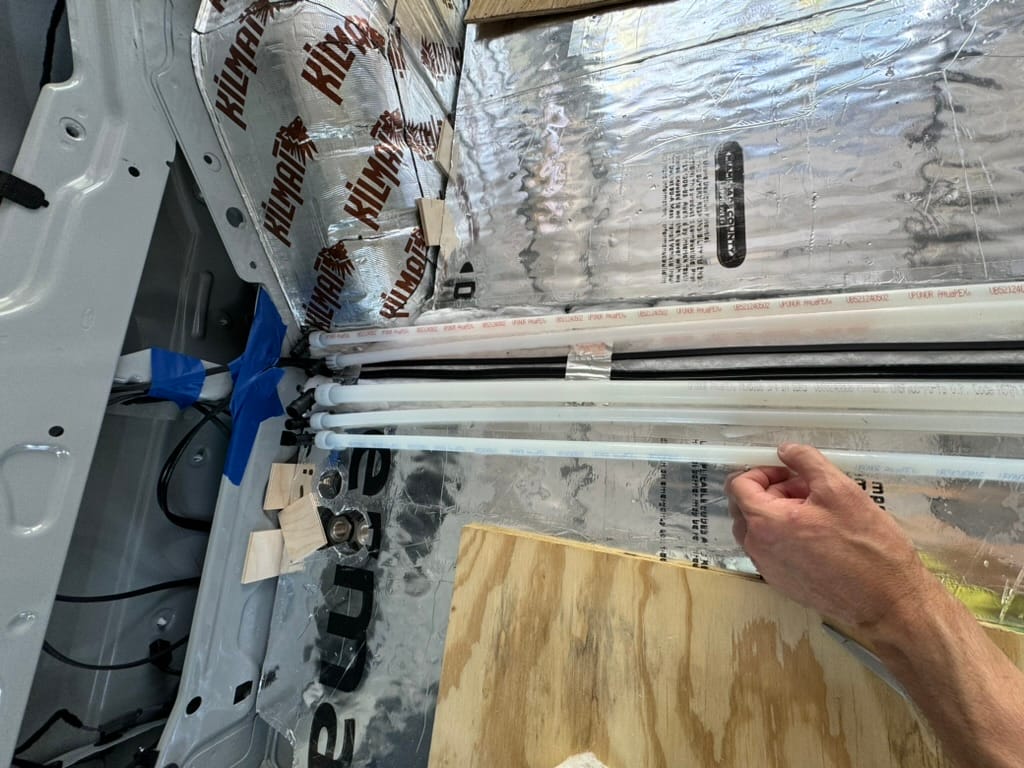
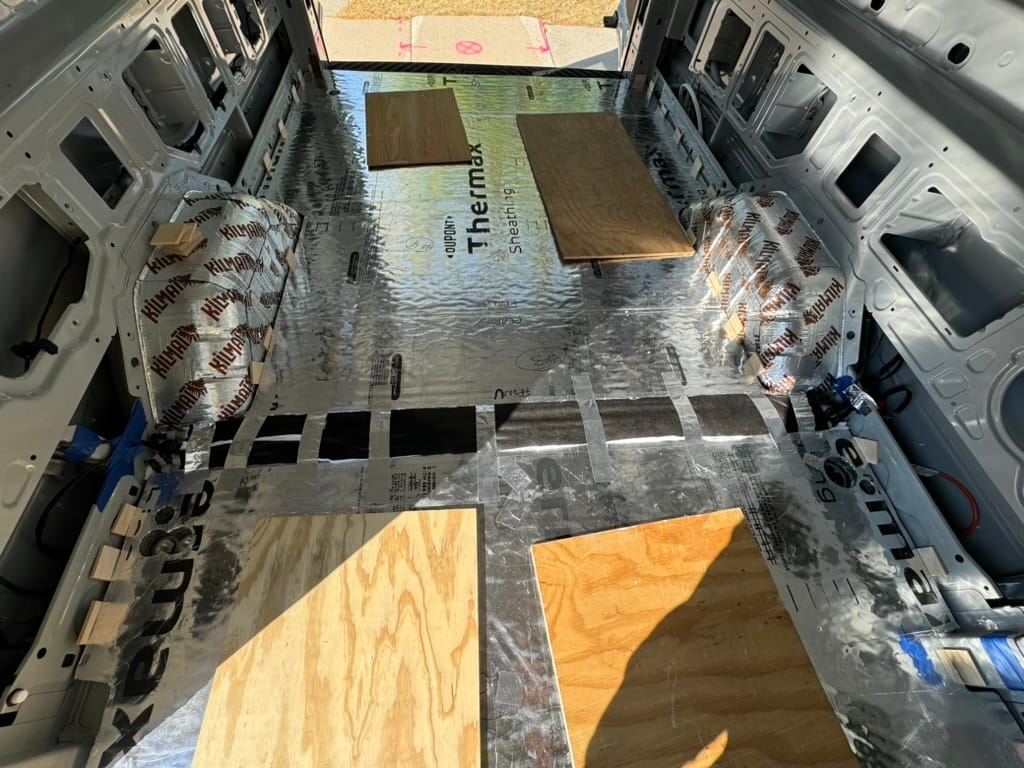
Then acquire 15 tubes of Loctite PL and put each piece of 3/4" Baltic Birch in while slathering the lap joint with wood glue and then installing temporary wood clamps between the pieces. Spread heavy stuff everywhere overnight.
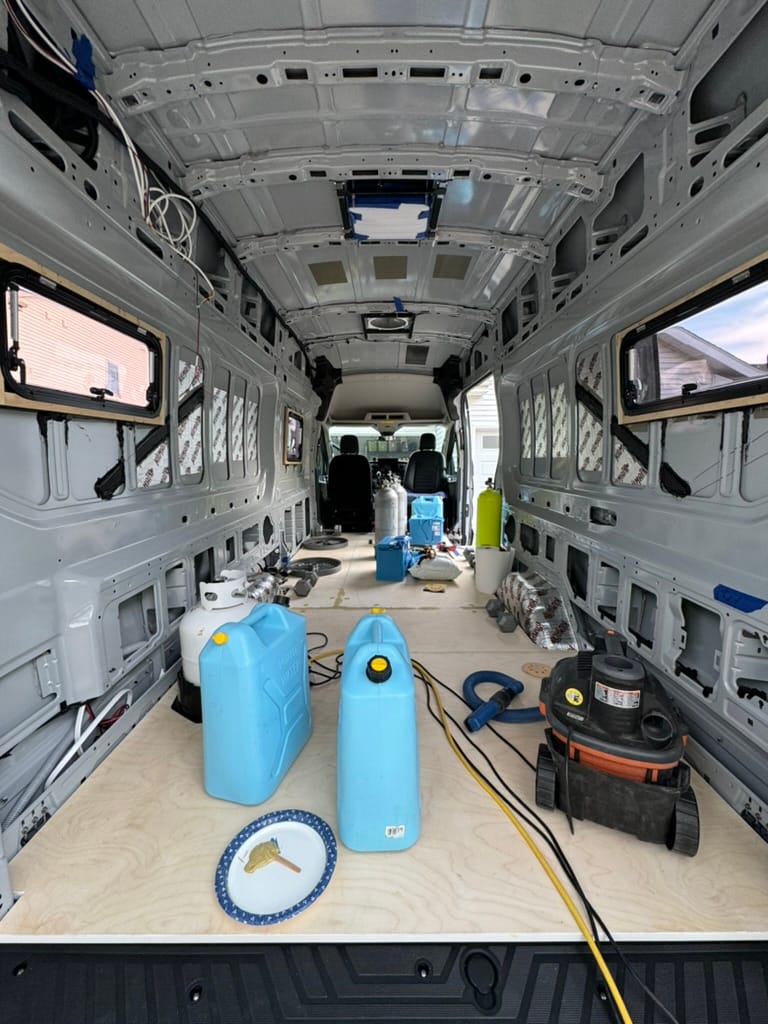
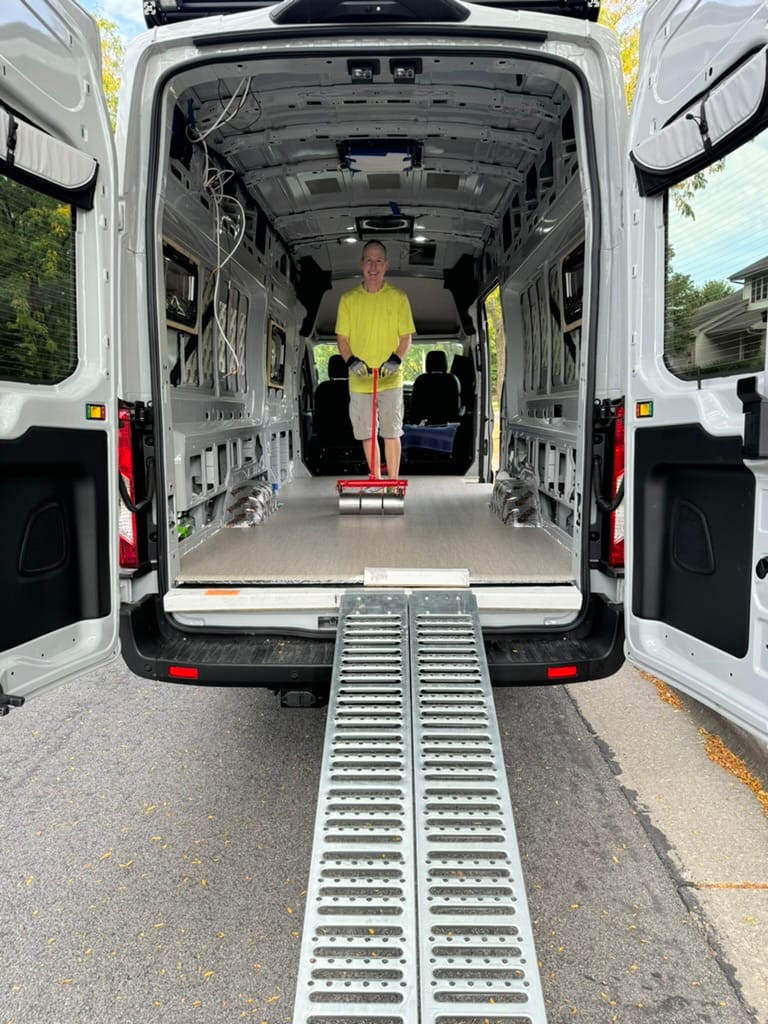
Now rent the 100 lb vinyl roller from Home Depot for the day you expect to lay the huge, single sheet of marine vinyl flooring.
And then reschedule that rental 4 times, bumping it each day as things take way longer than planned - all while hoping that each day stays within the weather window of 65F to 85F for the 2 part epoxy.
Around the perimeter, fill in the gap with Loctite Foam Window & Door so it seals, but the expansion doesn't put too much pressure on anything. This will give the vinyl a supported edge to get all the way to the van wall. Trim that away flush once it sets up.
We chose a single sheet of Lonseal Topseal in Winter Trail as our final 'finish' floor and used the Lonseal 2 part epoxy. Vans experience huge temperature variances that a bathroom or kitchen in your house do not. So you can't use the same vinyl adhesive in a van - the vinyl will just bubble up or contract and pull away from the edges. You need the epoxy for its uniform adhesion to prevent that - but the 30 minute max working time for it is a huge anxiety.
We bought two half gallon batches so that we could do the floor in halves in a slightly more relaxed approach.
We used the original RAM board floor template (with tweaks) to trim the vinyl outside of the van. We added 1" in critical areas (edge by the seats, slider, and rear sill) as a just-in-case buffer since it's easy to trim shorter in those areas and highly visible.
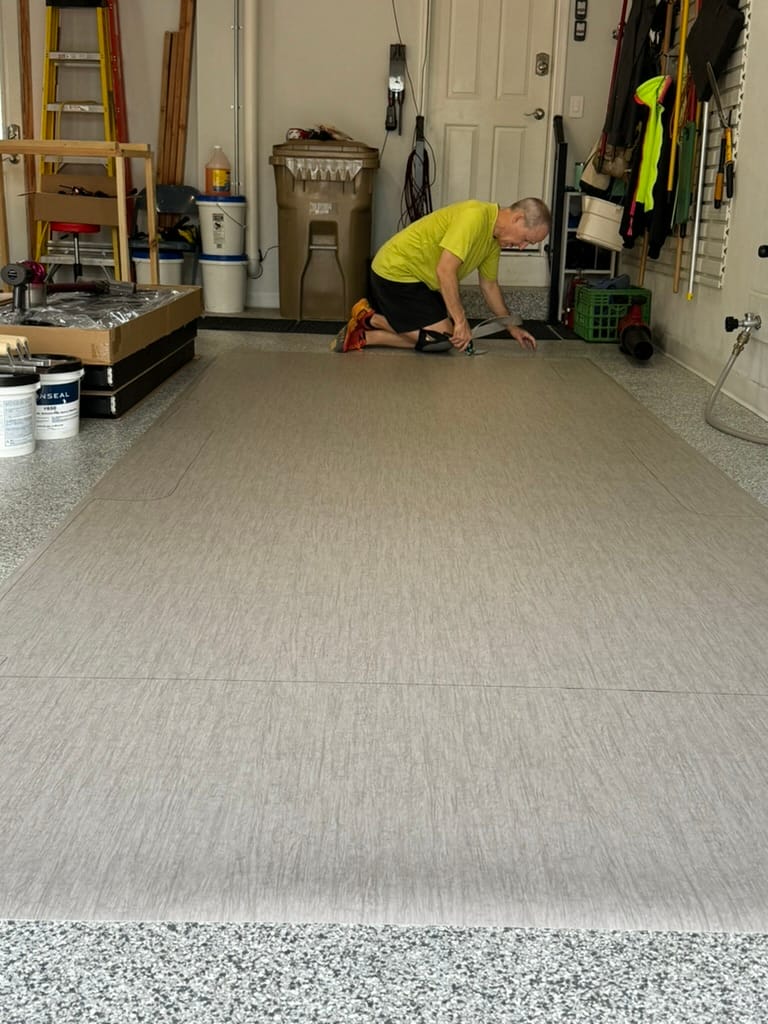
The actual epoxy work was so time pressured we didn't get any shots of that. But the final result is awesome. We used ramps to get the 100 lb roller in/out of the van in a controlled manner since you needed to roll it a few times over several hours.
Give the floor a few weeks to cure and bond up and then run a perimeter bead of silicone to keep any liquid spills from seeping into areas it shouldn't.
And you're done!
Member discussion