Slider Door Step Entrance
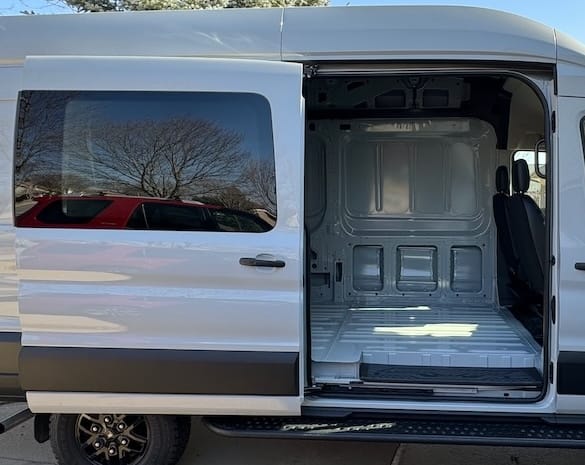
I hated the Ford plastic slider step. Mine always seemed to be at a 5 degree slant to the outside, got marked up pretty easy, and has some annoying gap on the inner edge that collects tons of gunk, yet is slightly too narrow to easily vacuum out. With our galley overlapping the slider some, we also wanted a little storage down there which is common.
It's also the van's "front door" which should be welcoming and a bit grand if possible.
In a mood of "I can do better" hubris I tore it out. "I'll solve that later, soon-ish".
To finish the vinyl floor we ordered a bunch of samples of various stair nose. Each side of the profile is pretty long, but we need that length for the rear sill and could trim it down in other areas. Shipping was crazy so we found a local carpet retailer that carries Johnsonite and ordered it through them for the same price as online, but no shipping cost.
Was considering Loctite PL or 2 part West epoxy to put it on. But then found a forum friend had used contact cement and chatted with him on it. After a few small tests, went with the DAP Weldwood HHR contact cement AND a bead of the West epoxy down the center 90 degree groove. That worked awesome because the epoxy couldn't possibly ooze out and create a mess during install, yet provides extra strength to keep it in place - especially across wide temp swings.
But that meant we had to get moving NOW suddenly because doing all this requires the doors open and there's almost no days left above 65F which the contact cement needs. Yikes!
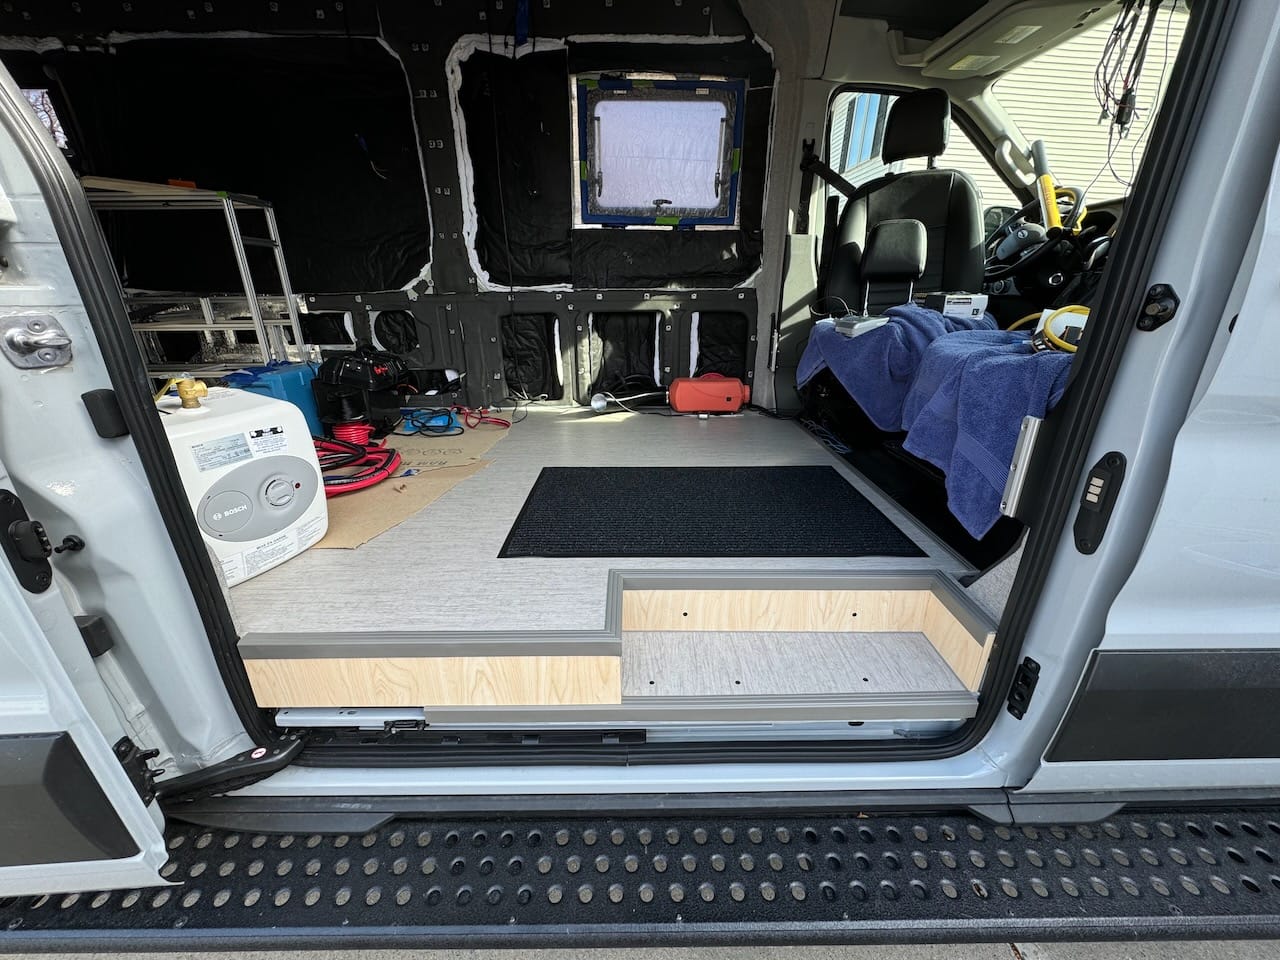
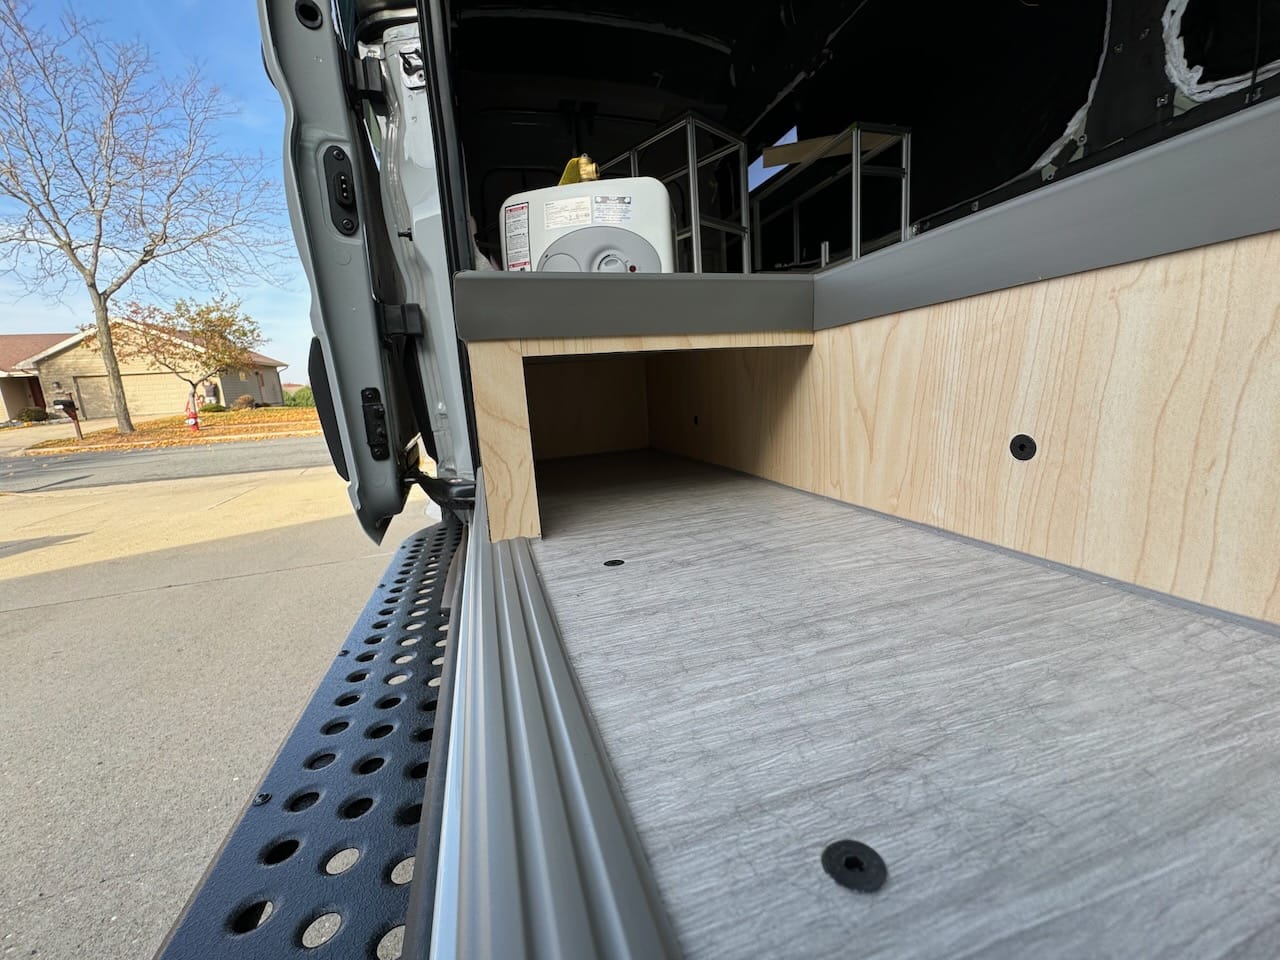
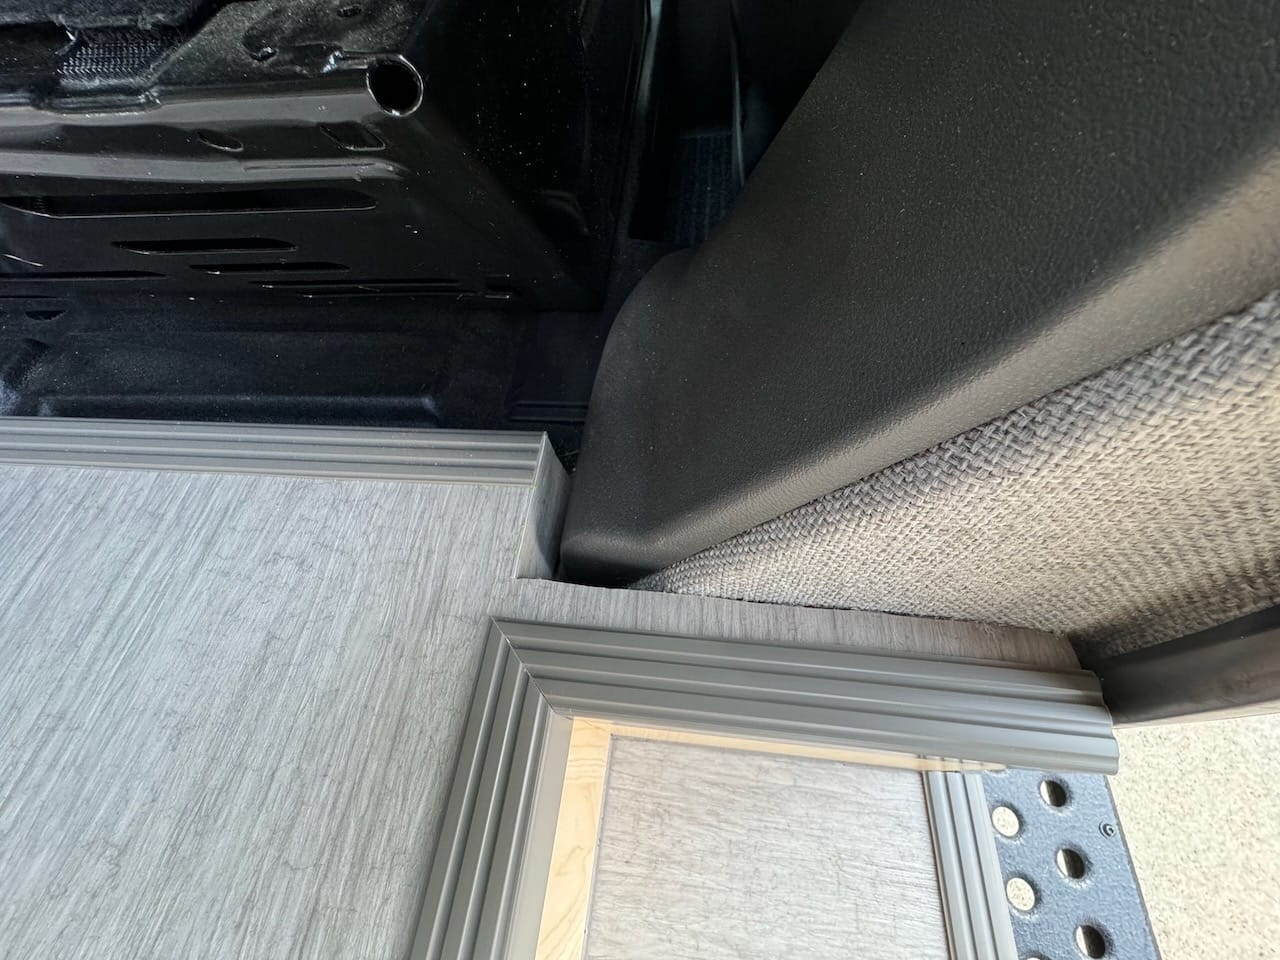
Started with the rear sill since that was an easy single stair nose piece warm up lap. Purposely left the vertical edge of the stair nose long so it contacts the Ford sill plate and acts like a brush guard - but still allows some airflow to the subfloor.
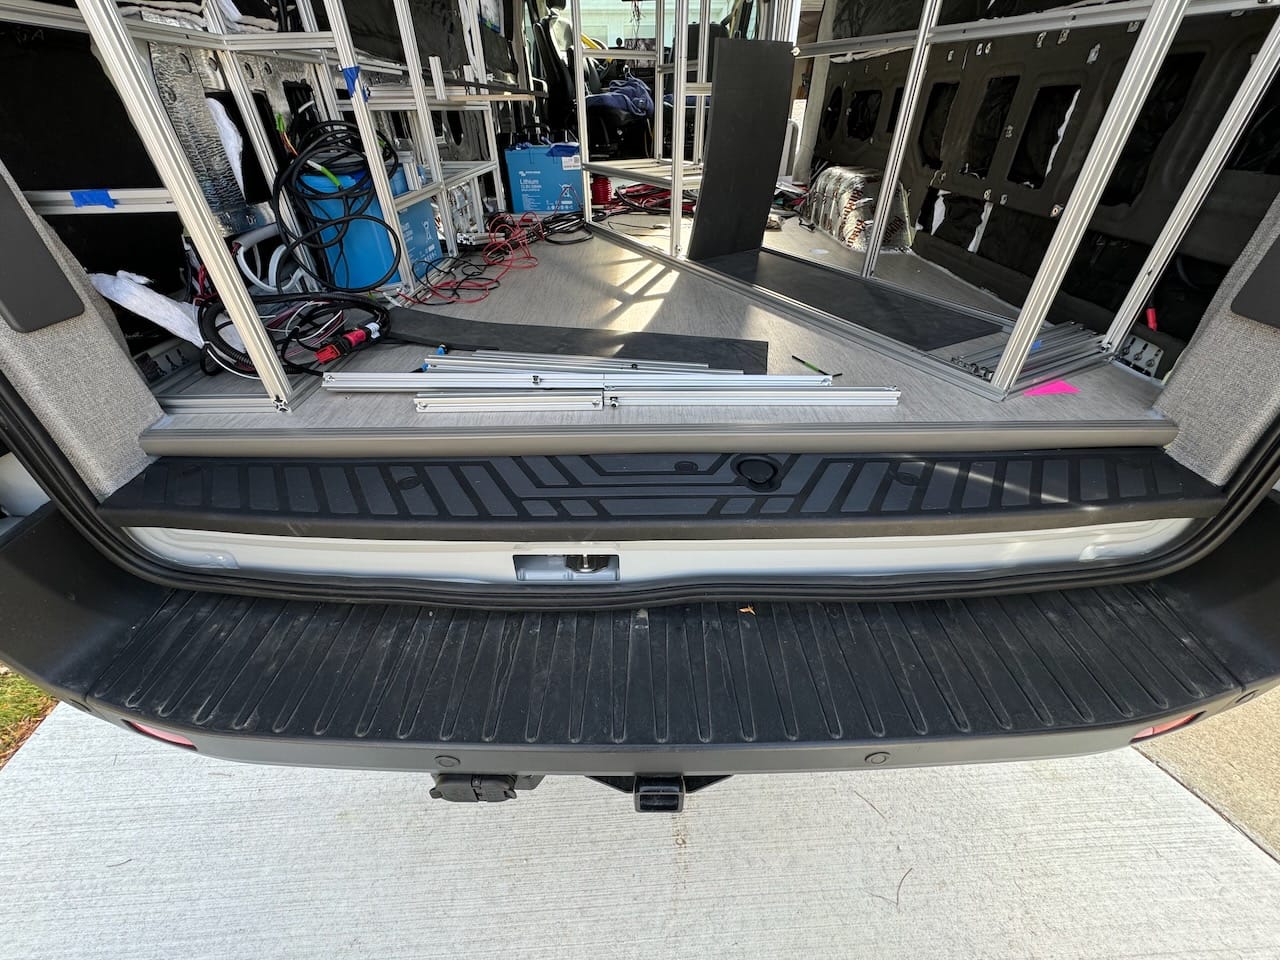
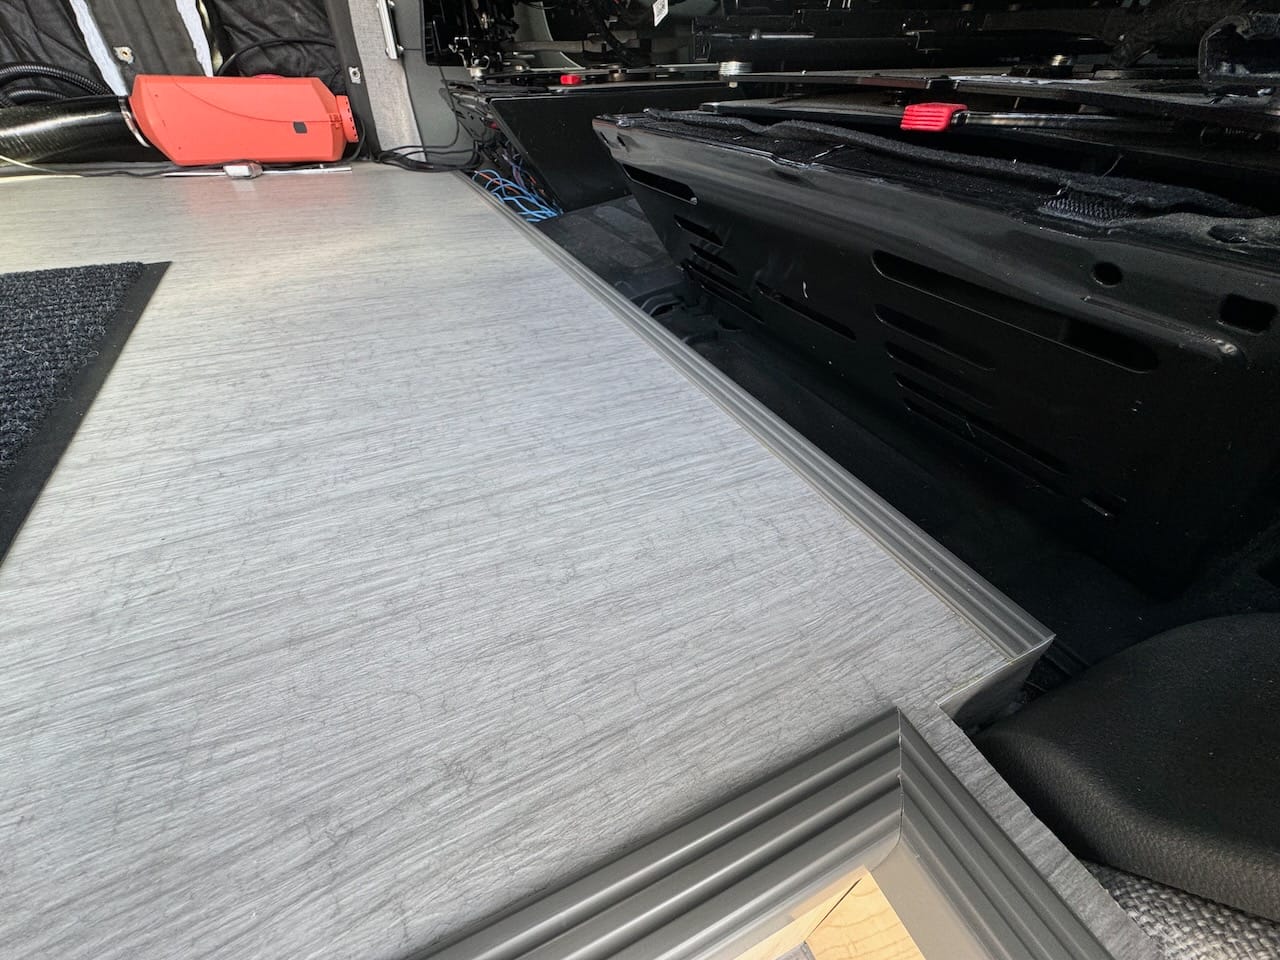
Moved on to the driver/pass cab threshold. Same approach; the vertical edge of the stair nose is untrimmed to hide the 2.25" floor sandwich. Up here though I did apply a big seam of silicone across the front to seal off the subfloor entirely. Waffled as I liked the extra airflow, but ultimately decided the risk of drink spillage and stuff running right under the floor was too high since we'll be eating in those swivel seats a lot. Still have the airflow from the rear sill and that will have to be good enough. Given the angles, you can't even really see the vertical edge of the stair nose here anyway.
Then came building a slider step. I thought ahead and put 4 stainless rivnuts into the slots where the Ford plastic slider step previously attached. Given the overlap of the baltic birch subfloor with half the step, there was no way I could have done half of them with the plywood glued down.
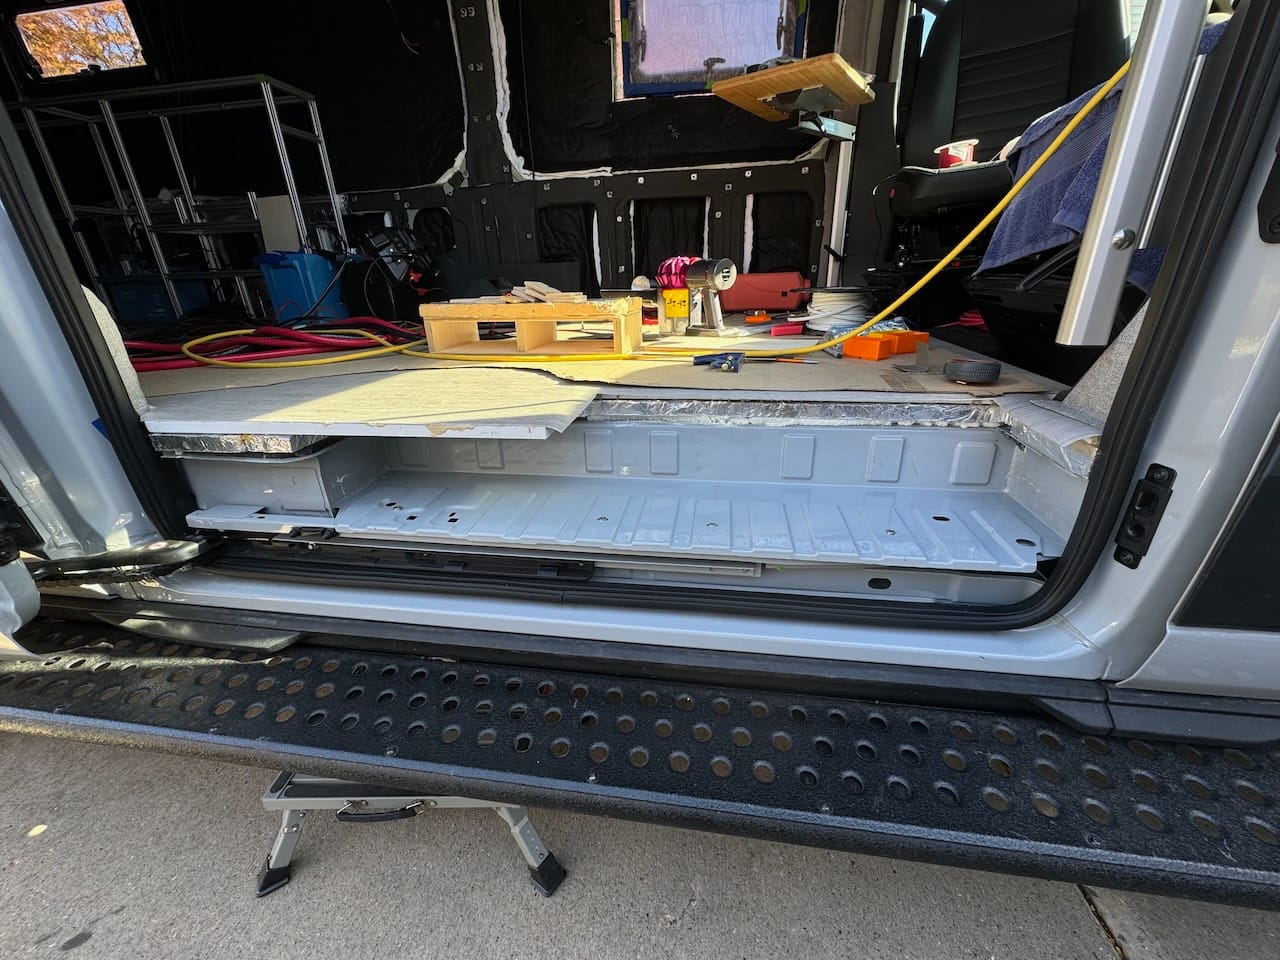
Ugh. Nothing is square, the step metal itself slants a bit, the sub floor isn't square to the edge - and its overlap is about 0.5" short of where it should be in spots. Endless back and forth crafting 7 interdependent pieces with 3 shims of varying sizes. Also my first shot at laminating thrown in the mix. One piece I had to remake 5 times for varying reasons. Our plan for the 8020 cabinet panels is baltic birch plywood with laminate for easy cleaning and maintenance.
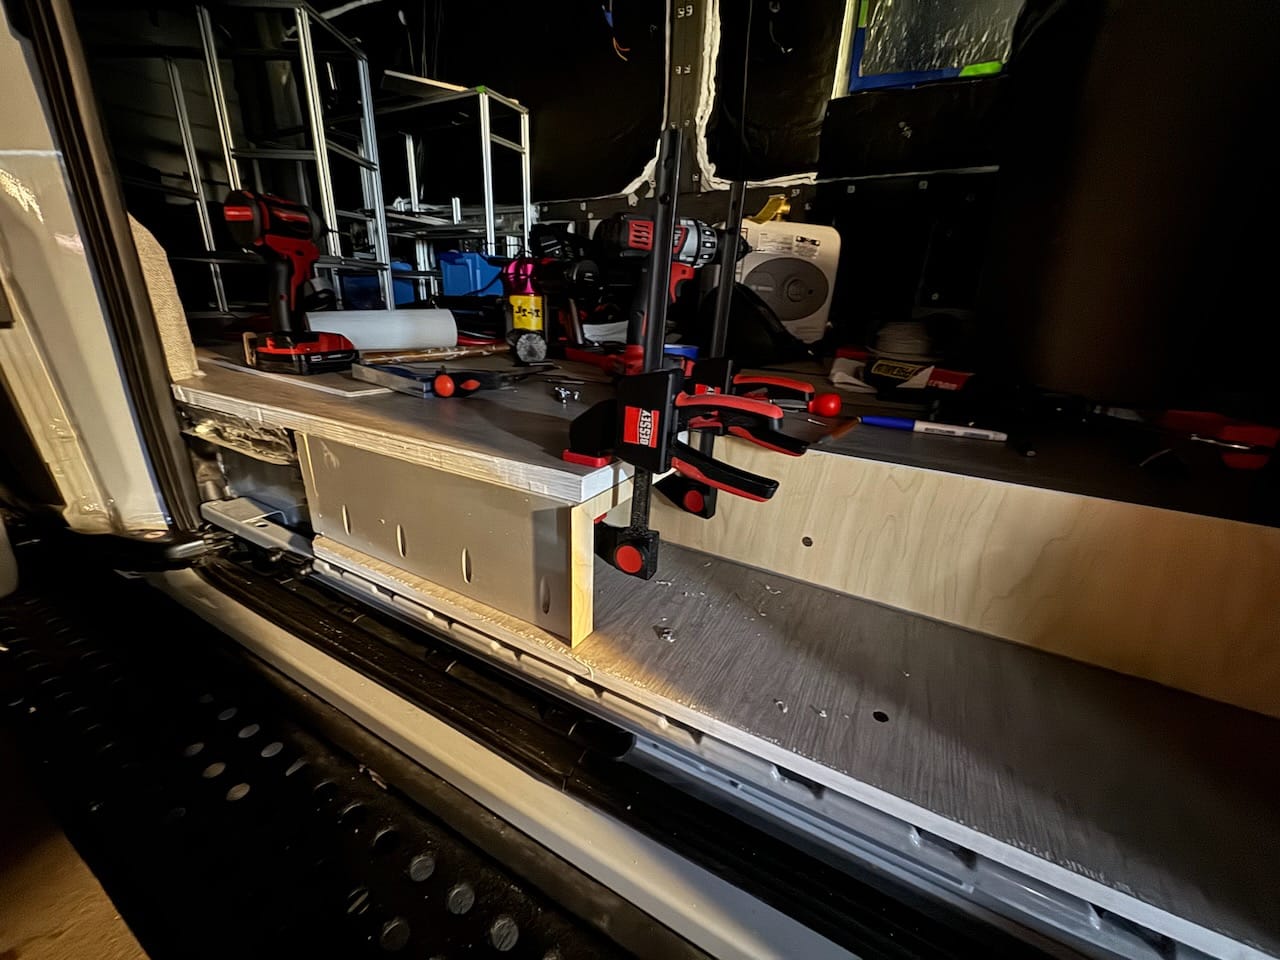
The storage cubby plan changed 3 or 4 times. Months ago I was thinking a little drawer. But you waste a lot of space that way and end up with a tiny drawer. Then saw a van tour that showed one with the end left open to the rest of the step. The advantage being you can put something short term in there like an umbrella that is longer than you could normally store. Or a baguette from the store. Or a fly rod tube. We were going to have a second opening to the cubby that faced straight out, but that seemed unnecessarily complicated - would have needed more router bits and alignment with a laminated fascia piece there would be challenging. Declare victory and move on.
Member discussion