Remounting the Powered Fan

Our 2023 Transit Trail came with the MaxxAir fan option installed. I didn't really want it (preferred to do it myself), but everything else on the van was perfect, huge waits if you order one, and this one was a dealer order that would accept x-plan pricing.
Ford builds all Transit vans in Kansas City. For the Trail option, they contracted with RLE - an upfitter that did the special option changes - including the fan mounting.
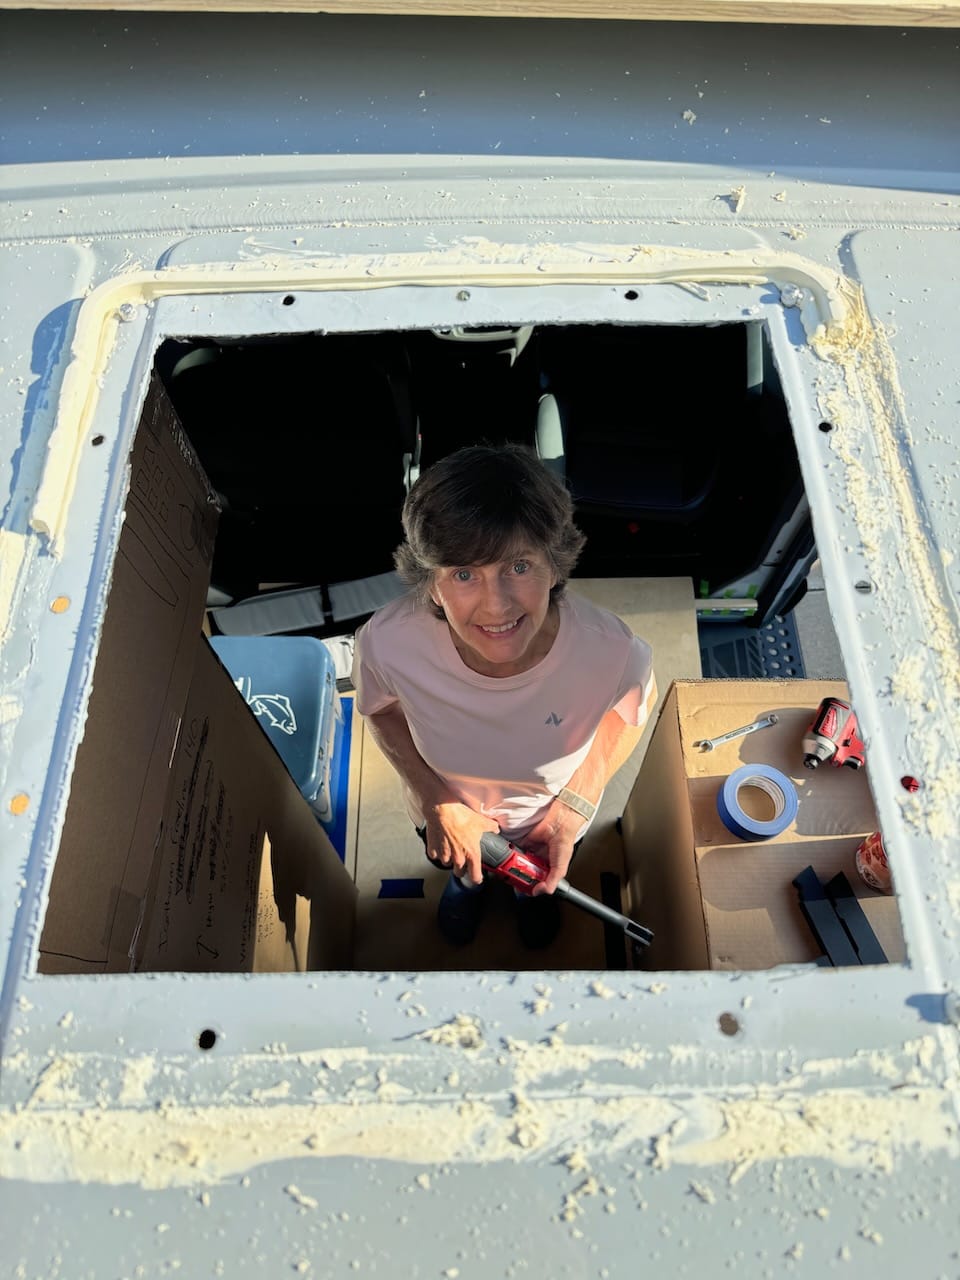
Evaluating the fan install, I decided to remount it myself. It wasn't leaking, but others have reported that. And the hole looked like they used a 5 tpi jigsaw to go at it with no deburring. I have the DIYvan roof side adapter and the front bay interior bracing and wanted to add that for additional stiffness at speed. Plus, the adhesive sealant Ford (or RLE) used was a wildcard, no idea what it was, but it was white with no dicor and pretty rubbery feeling. Here's a pic at the start.


When removing the nuts on the inside, they have integrated 'lock teeth' - and they didn't use any washers so it chewed up the roof paint; that would rust soon.
Cue the other surprises.
All the nuts came off easily except for each of the 4 corners. They just spin. Huh - I guess I'll put a wrench on the top of the bolt in the corners once I clean off all the adhesive. Up top, after some effort removing most of the caulk, I notice the flange appears shaped to match the roof rib - and no bolt heads.

That's odd. Hey, look, the bracket is stamped FoMoCo. Weird. Must be some top cover plate I figure and the bolt heads are underneath.

Yet more wrestling. The hard-ish plastic chisels were gold. Just buy these - you'll need them: https://www.amazon.com/gp/product/B073DC7WGG - tons of other uses around the house you didn't realize you need. I finally pry it up. Wow, look at that.

It isn't a cover plate at all. Single custom piece with the 4 mounting screw locations for the MaxxAir fan, yet it has captured bolts into the plastic everywhere (no bolt heads from the other side). And the install apparently needs 2-3 tubes of caulk! What an odd design - and absolutely terrible for service. You can see 3 of the 4 corner bolts just spun and broke out of the plastic finally. They are just hot inserted into that plastic and become spinners with any minor twisting force - they aren't even hex shaped - just a bit of texture on a round head!

"Deburring" what Ford left was a mess. I actually took the Milwaukee M18 angle grinder with a flap wheel to it finally after flailing around with a file and deburring tool for 10 minutes getting nowhere.

Yet more adhesive removal, prime & paint, and I'm set for tomorrow to finish it off with the straightforward install of DIYvan's adapter and framing.

So happy that I decided to remount this thing now before the build continues. It was just a sleeping problem waiting to become a trip wrecker.
If you undertake this, you'll need to order a "roof flange assembly" PN 10-20210K to replace the terrible FoMoCo fabricobble part.
Reference: https://library.maxxair.com/wp-content/uploads/2023/03/r-619d_maxxfan-deluxe-xp-08-2017.pdf
One source, plenty of others I suppose.
https://www.etrailer.com/Accessories-and-Parts/MAXXAIR/MA49FR.html
If you're ordering parts, I'd recommend adding this as a spare (you'll need it someday when the cheap cast part eventually implodes - took 6 years for my last one):

MaxxAir® 10A20281K-1AF OEM Roof Vent Lid Lifting Gear Operator
I got lucky as I have a brand new MaxxAir fan in the basement that I'll rob the normal mounting flange out of temporarily until the part arrives to make it whole again. I bought it during a black friday special knowing some van was in our future, but had planned on selling it since our van had one already.
Here you can see the difference (FoMoCo on the left, MaxxAir standard on the right). Thank god the actual holes line up perfectly so at least the roof isn't going to become swiss cheese.


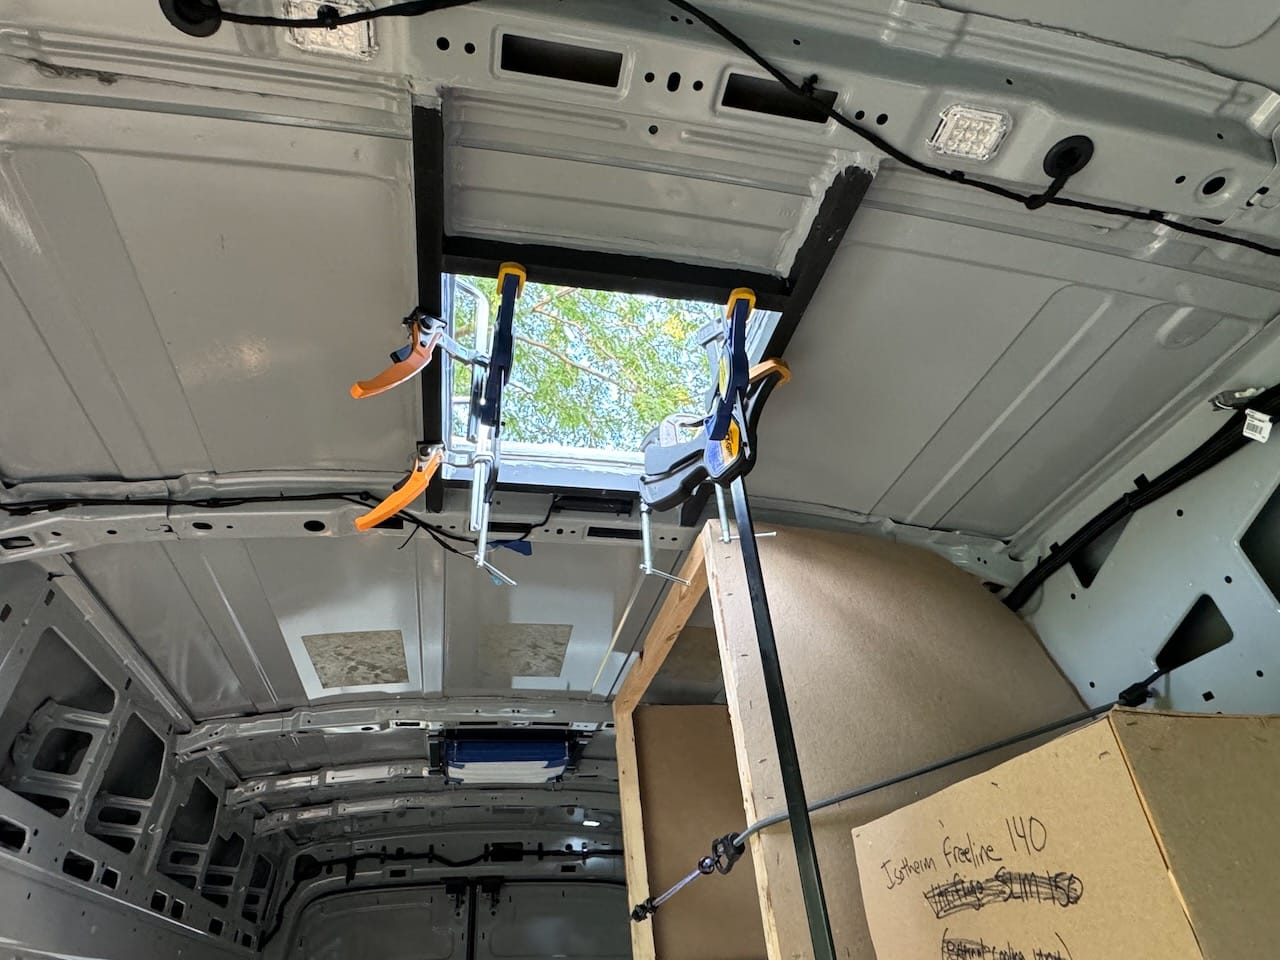
Next I used Sikaflex adhesive to secure the DIYvan framing to the opening above and below the hole to stiffen up the area.

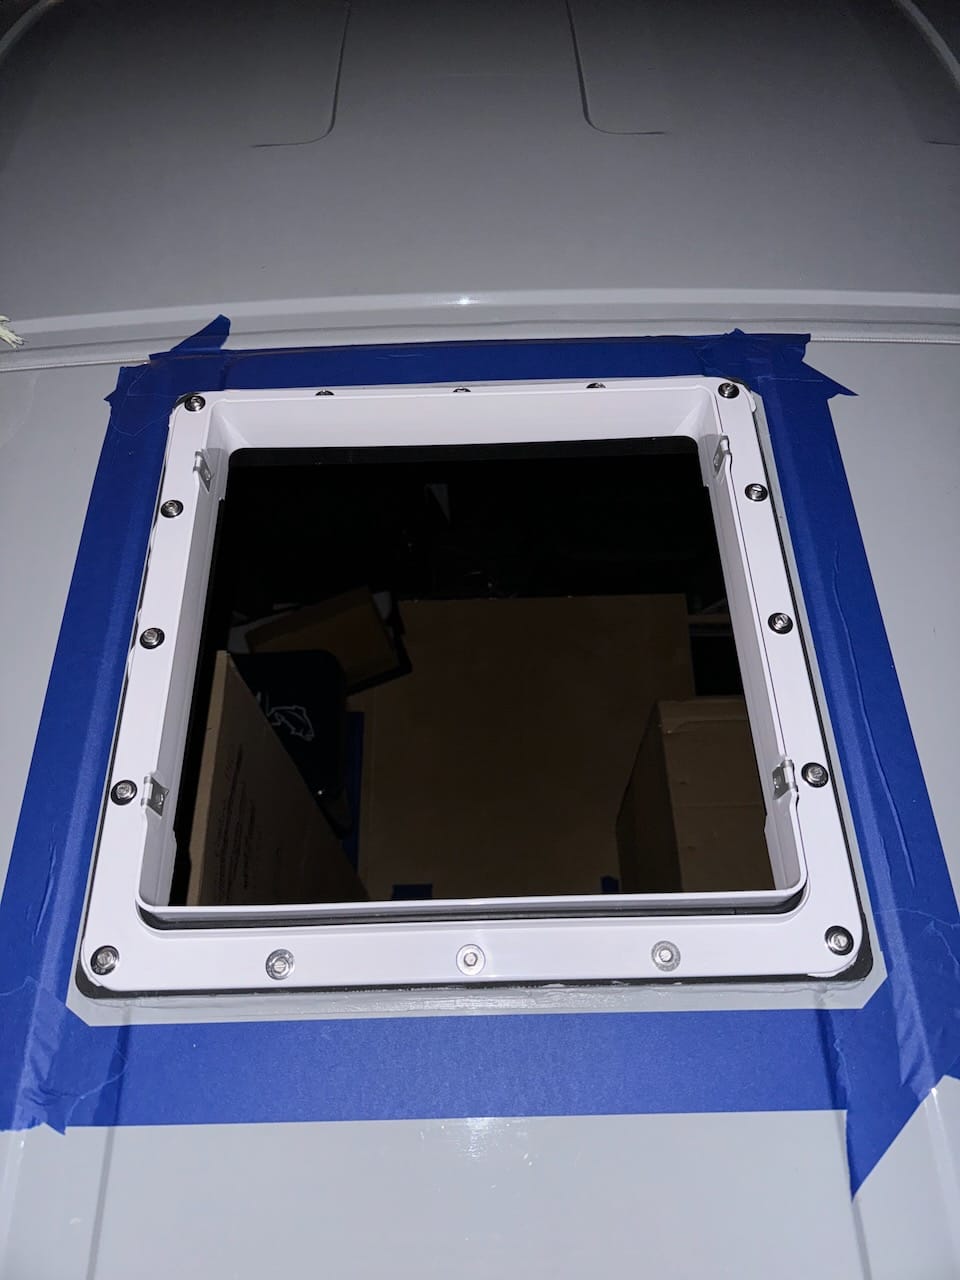
And finally with the Maxxair mounting flange properly installed and bolted down on top of the DIYvan adapter, things were ready for dicor sealant and final mounting.

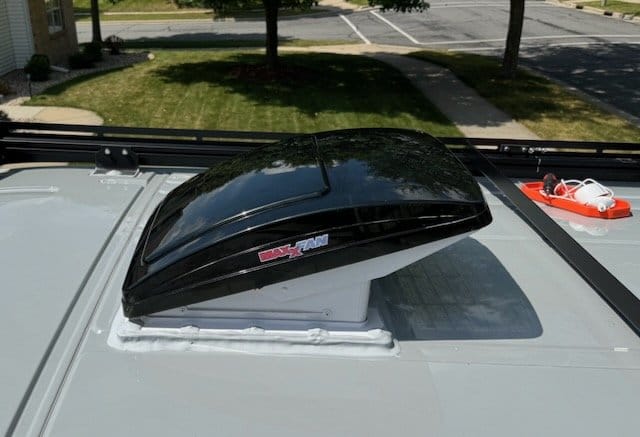
And here's the final remount with dicor sealant.

Member discussion