Heater / Furnace

Clearly for various environments we need heat in the van. Electric heat is terribly inefficient, so that leaves propane or fuel as energy options. We wanted to avoid the headaches of propane as much as possible (fill locations not the easiest to find on the road and some propane fill sites refuse to fill any RV permanently mounted tank).
The van has a huge 31 gallon gas tank 'just sitting there' so let's use that! I know, sounds scary, like things will explode.
But for 20-30 years there have been diesel and gas powered heaters for trucks that are very reliable. All the air intake and combustion exhaust is routed outside the van - just like the furnace in your house. The combustion chamber is tiny and it heats up a big chunk of metal as a heat exchanger. Inside the van, there is a fan which recirculates the air - just like your furnace at home with the cold air returns and heat vents. The heater can run for 24 hours straight and uses only between 1 and 3 gallons of gas depending on power level during that entire time. And it's powerful - 14,000 BTU!
Espar and Webasto are the well known brands, but they are ridiculously expensive. Velit Camping is somewhat new, but has some big advantages:
- Much cheaper ($650 vs. $1500+)
- Auto-adapts to altitude changes so still works at even 11K feet or more; more reliable than either 'high end' brand
- Thermostat is bluetooth enabled so can be snug in bed and pop the heat on with your phone in the morning and crawl out 10 minutes later once the chill is off
- Small company with responsive tech support
- Spare parts are very inexpensive
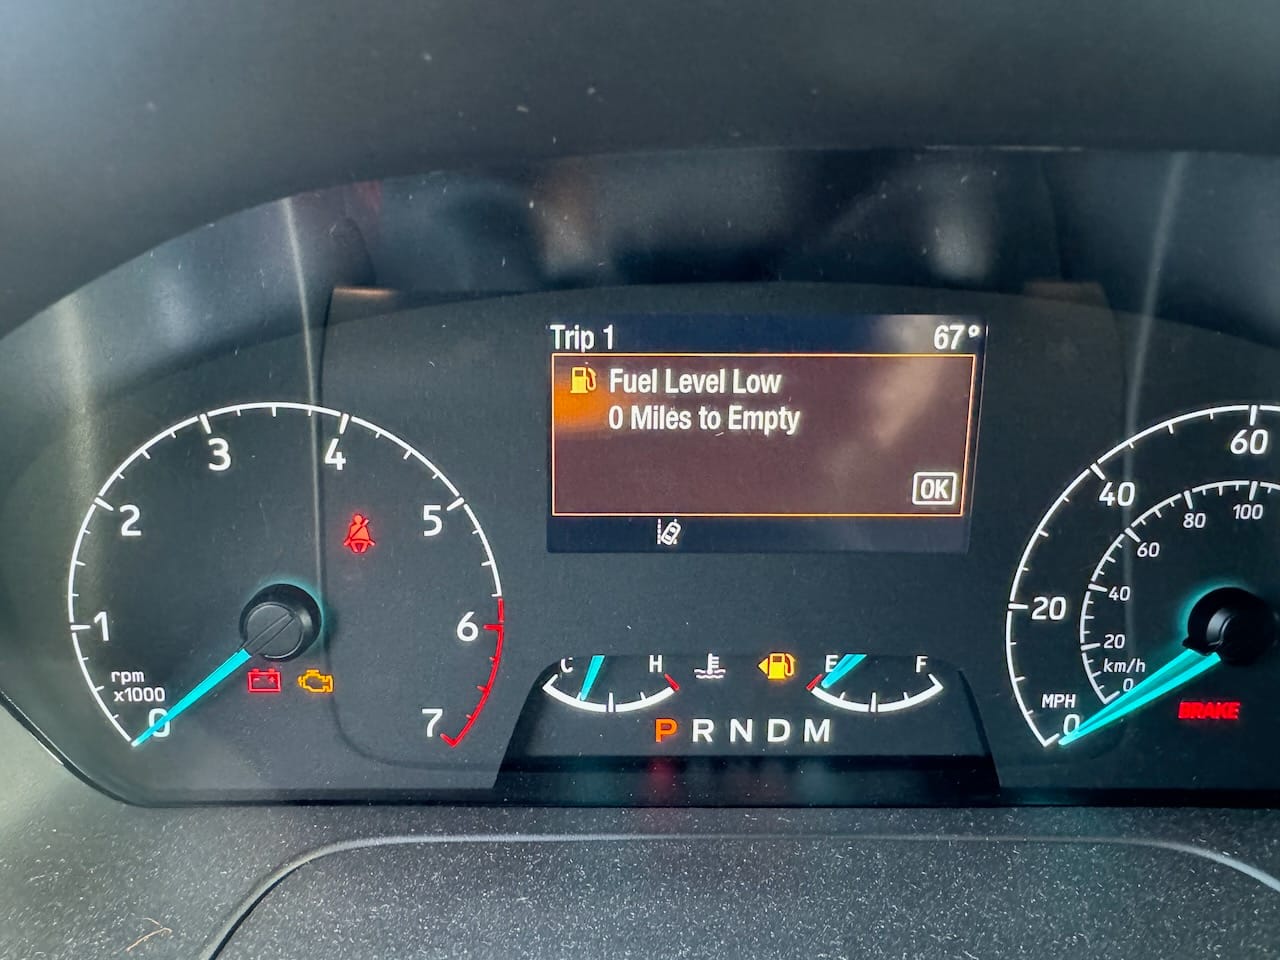
So how will the heater actually connect to the gas tank for fuel? It has a very small fuel pump and needs a small 1/8" diameter or less standpipe into the tank. So that requires driving around until the van claims 0 miles of range and then dropping the entire gas tank.
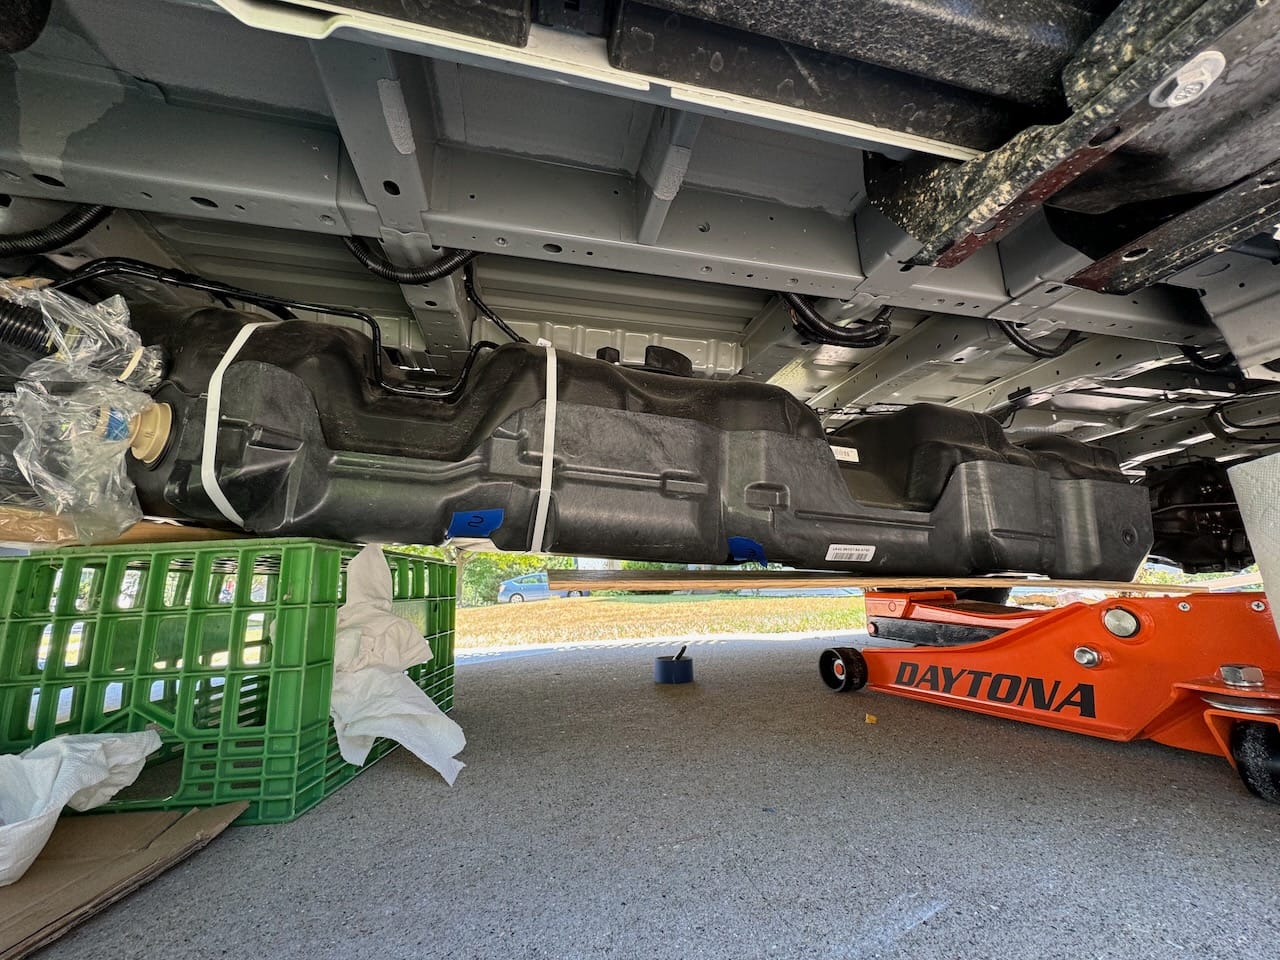
Fortunately the 31 gallon gas tank is all plastic really and reasonably easy to access on a slanted driveway when the van is up on ramps carefully.
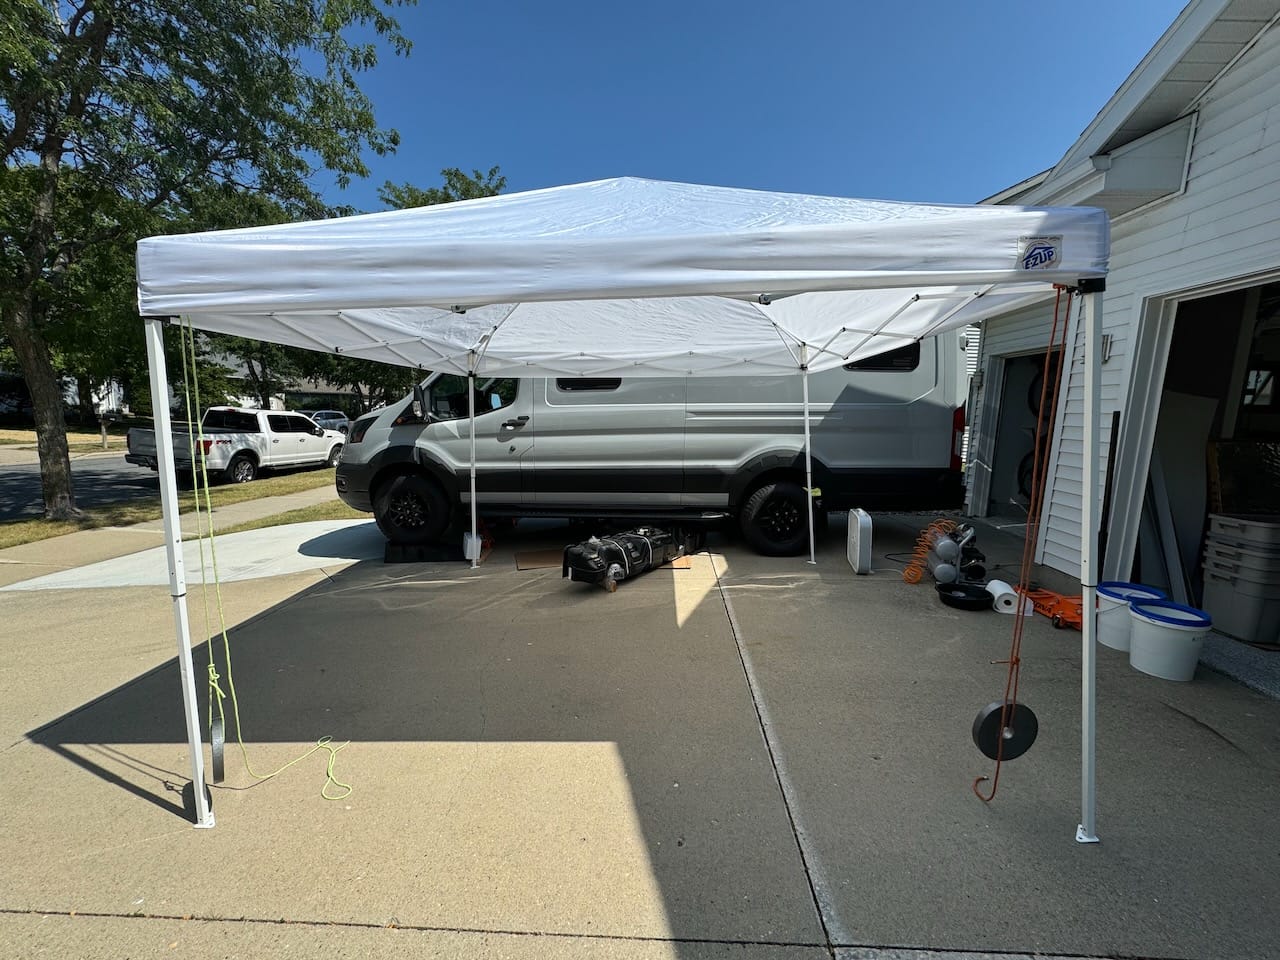
Of course I picked a super hot August day to do this work and rapidly needed some shelter from cooking in the afternoon sun (and trying to keep the residual gas from knocking me out).
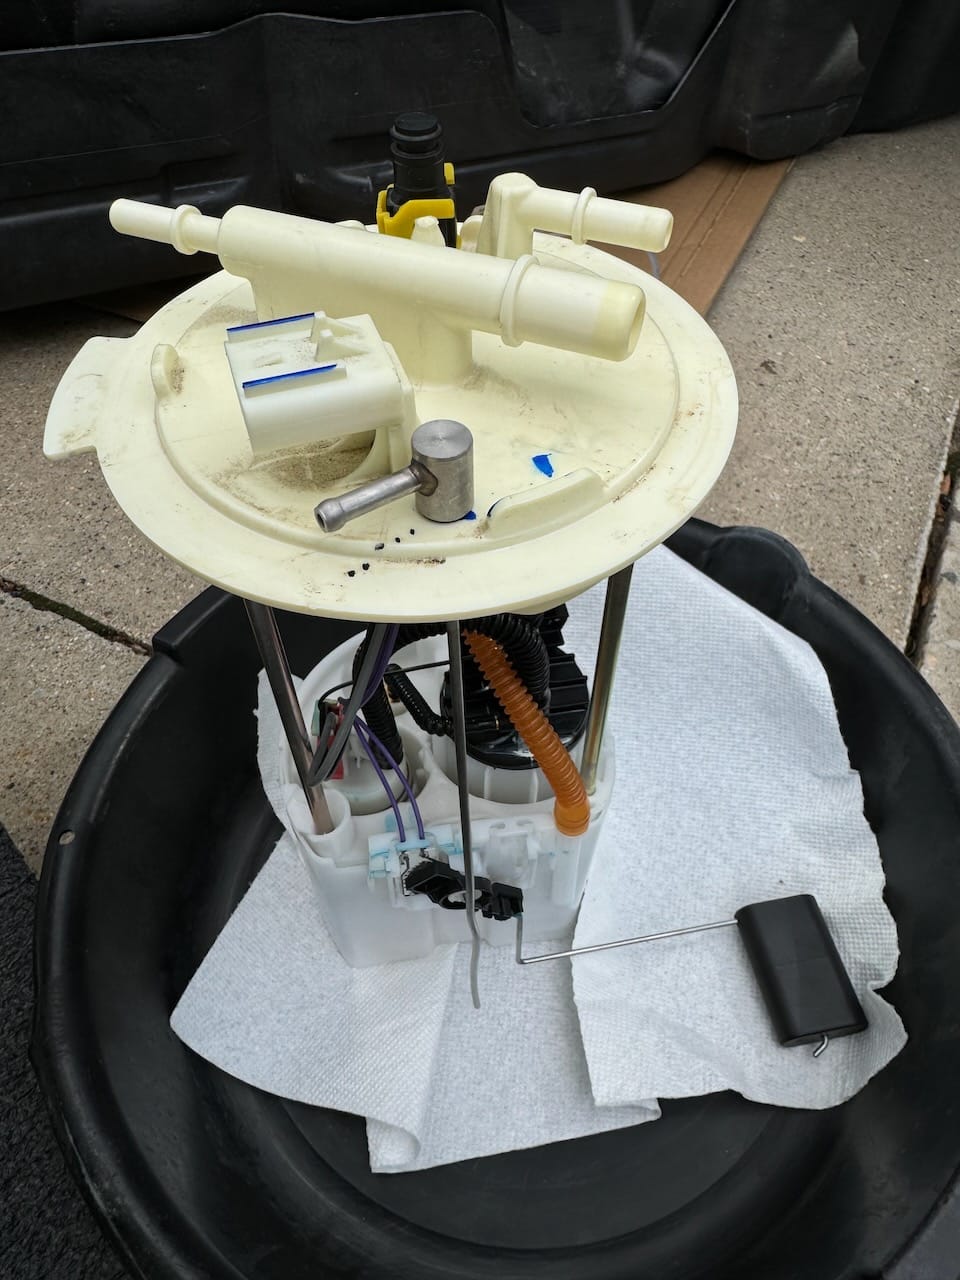
The fuel sending unit needs a special tool to remove the mounting ring ($18 on Amazon). Then the entire unit can be lifted carefully out of the tank. Carefully drill a tiny hole in the plastic top in the right spot and thread through the standpipe and 90 elbow connector. You measure the standpipe and cut it off and the point where you want the heater to stop vs. draining the entire tank to empty accidentally and stranding you. Reassembly is straightforward, but laborious.
The entire time you're wearing a huge face mask filtering all the fumes and uber paranoid about gas fumes collecting anywhere. Overall a straightforward, but messy job that you're really glad once its done.
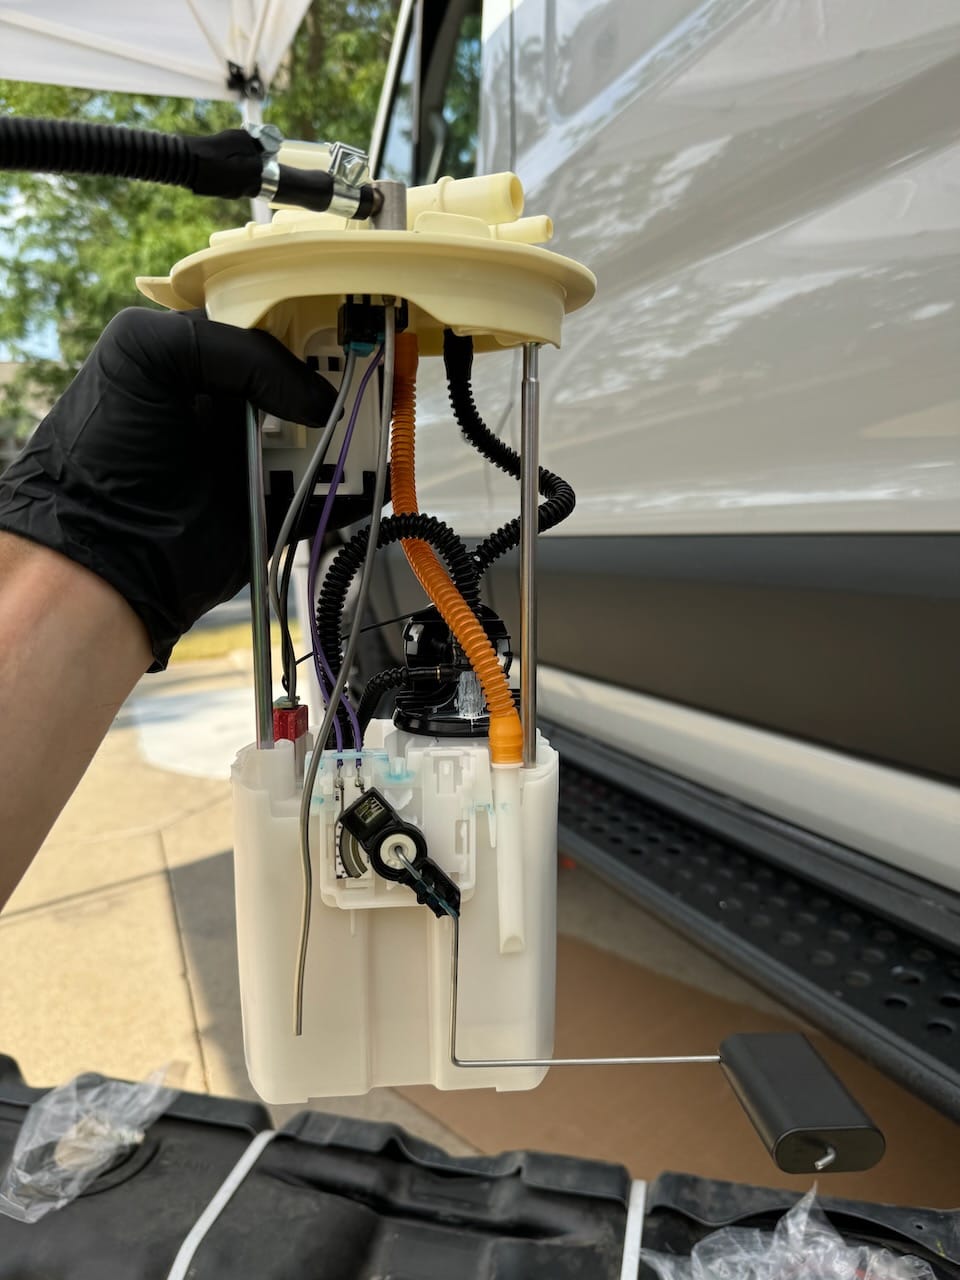
Now that you've secured the fuel source of the heater, let's figure out where to mount the thing in the van.
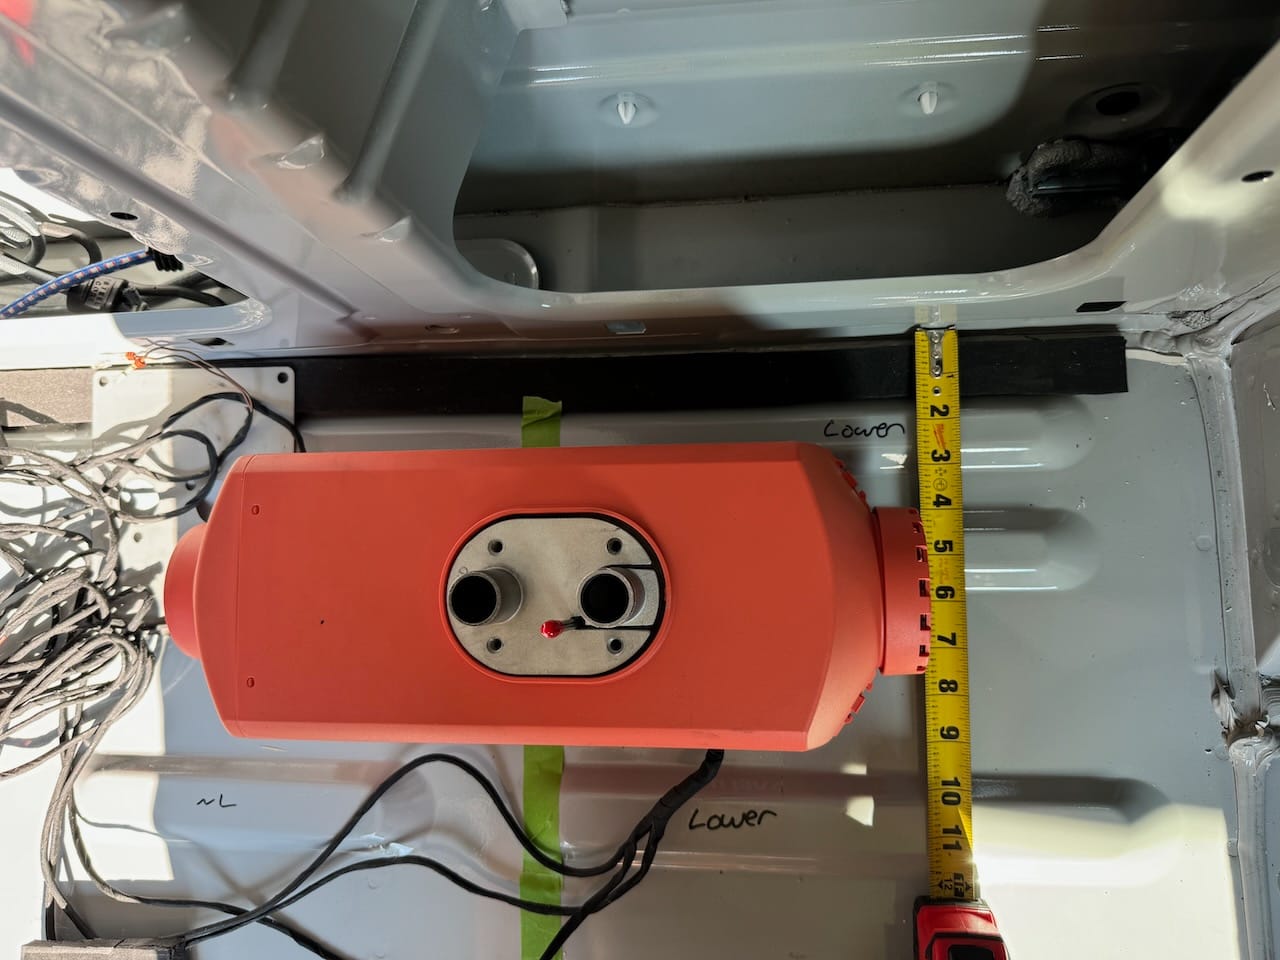
Above is the heater on its back (upside down) - those are the intake, exhaust, and fuel connections.
You have to consider not only where you want heat inside the van and how you want to add ducting for multiple outlets. But just as critical is space under the van to make sure you can drill holes for the intake, exhaust, and fuel pump lines and have enough room to wrench on it without hitting frame members, the gas tank, spare tire, other critical stuff.
Clearly you need the overall van layout set in stone and the floor 'sandwich' has to be done. Our final location is right behind the driver seat. The intake is to the front and will draw cold air from up by the cab which is one of the coldest areas due to all the glass up there. The exhaust faces the rear and I'll add ducting to have 4 adjustable heat vents (main cabin area, inside the shower low, rear cabin area, and as far back into the garage area as possible).
What, the shower? Why? Because when you have wet clothes, wet fishing waders, or come in out of the snow you can hang them in the shower to drip dry. Pop the heat on and close the retractable shower door. At the top of the shower door is a gap and in the aisle is a powered vent fan (Maxxair). So you have a perfect, circulating, warm air drying room without adding tons of humidity into the van! The vent in the shower will have a louvered opening so that water spray won't get into the duct.
The heater will be hidden entirely by a small bench seat.
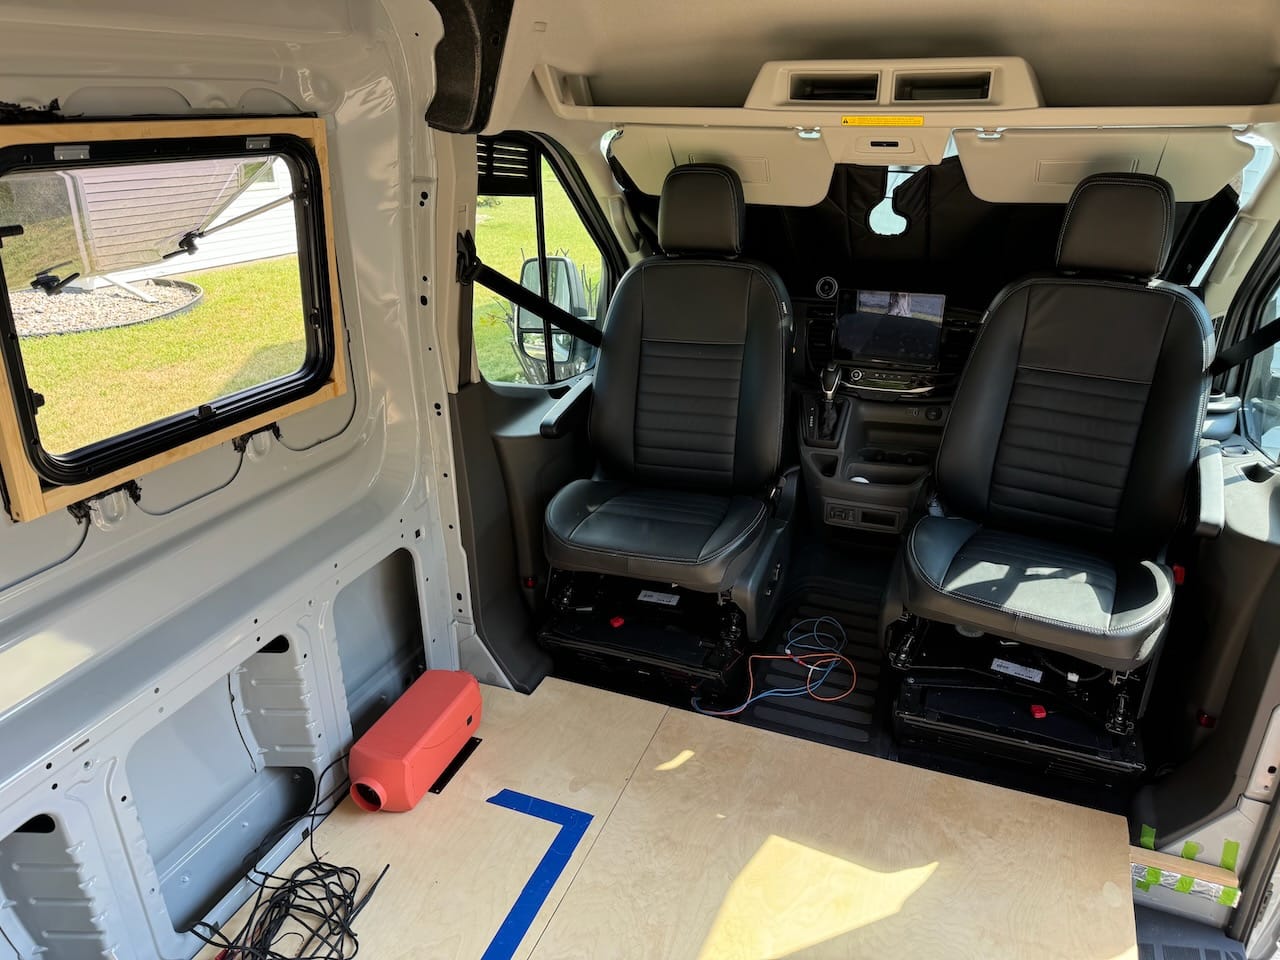
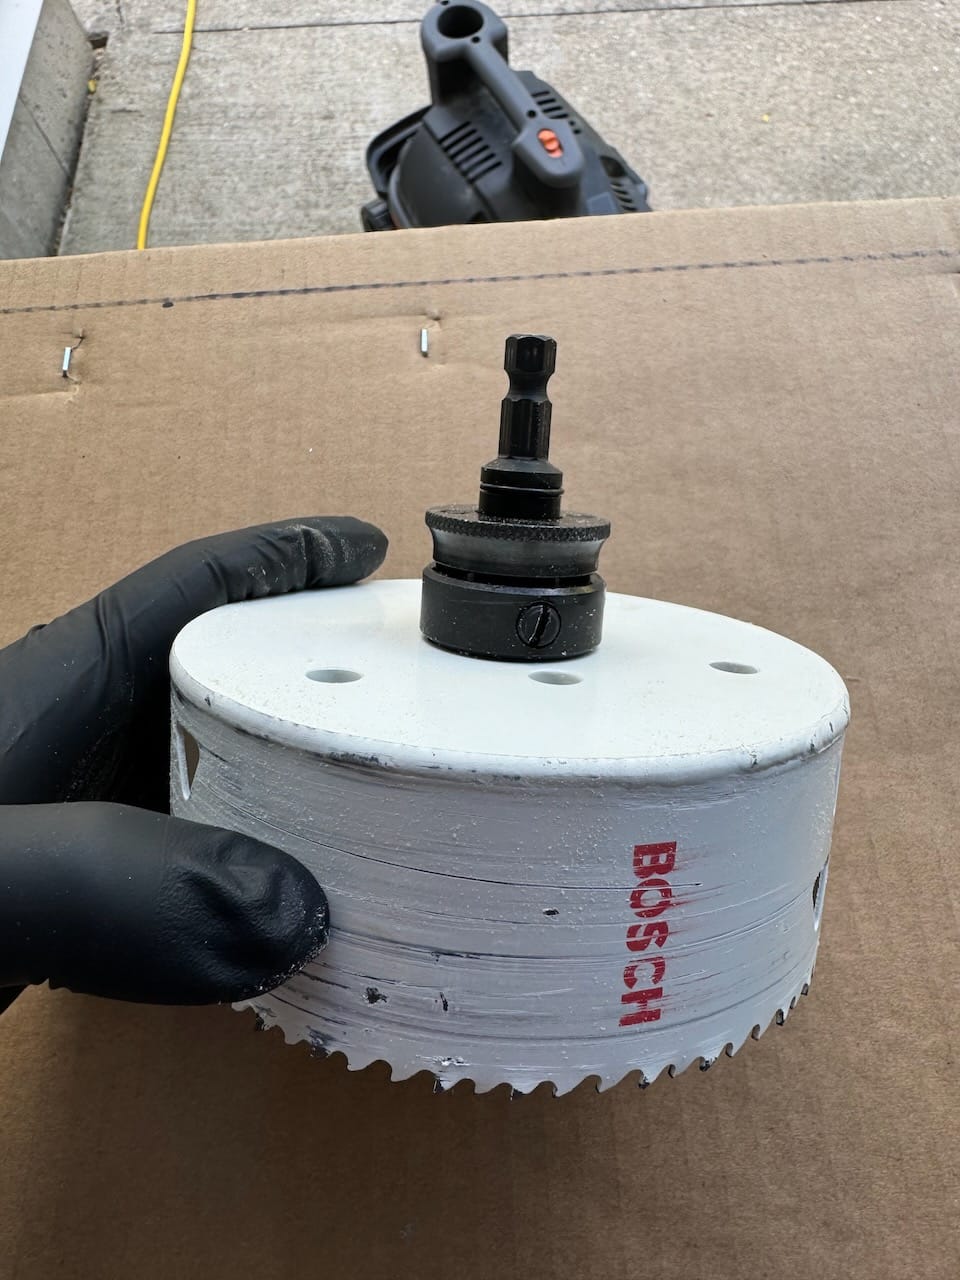
Some people install the heater directly on the van floor metal. But in our case, that means the entire heater body is 2.25" lower and 'inset' into the floor. That really complicates adding ducting to the intake or exhaust. So we decided to drill a huge 5" diameter hole through the floor and use a 'turret' mount instead. A 5" hole saw has a lot of mass when spinning - really punished the drill clutch.
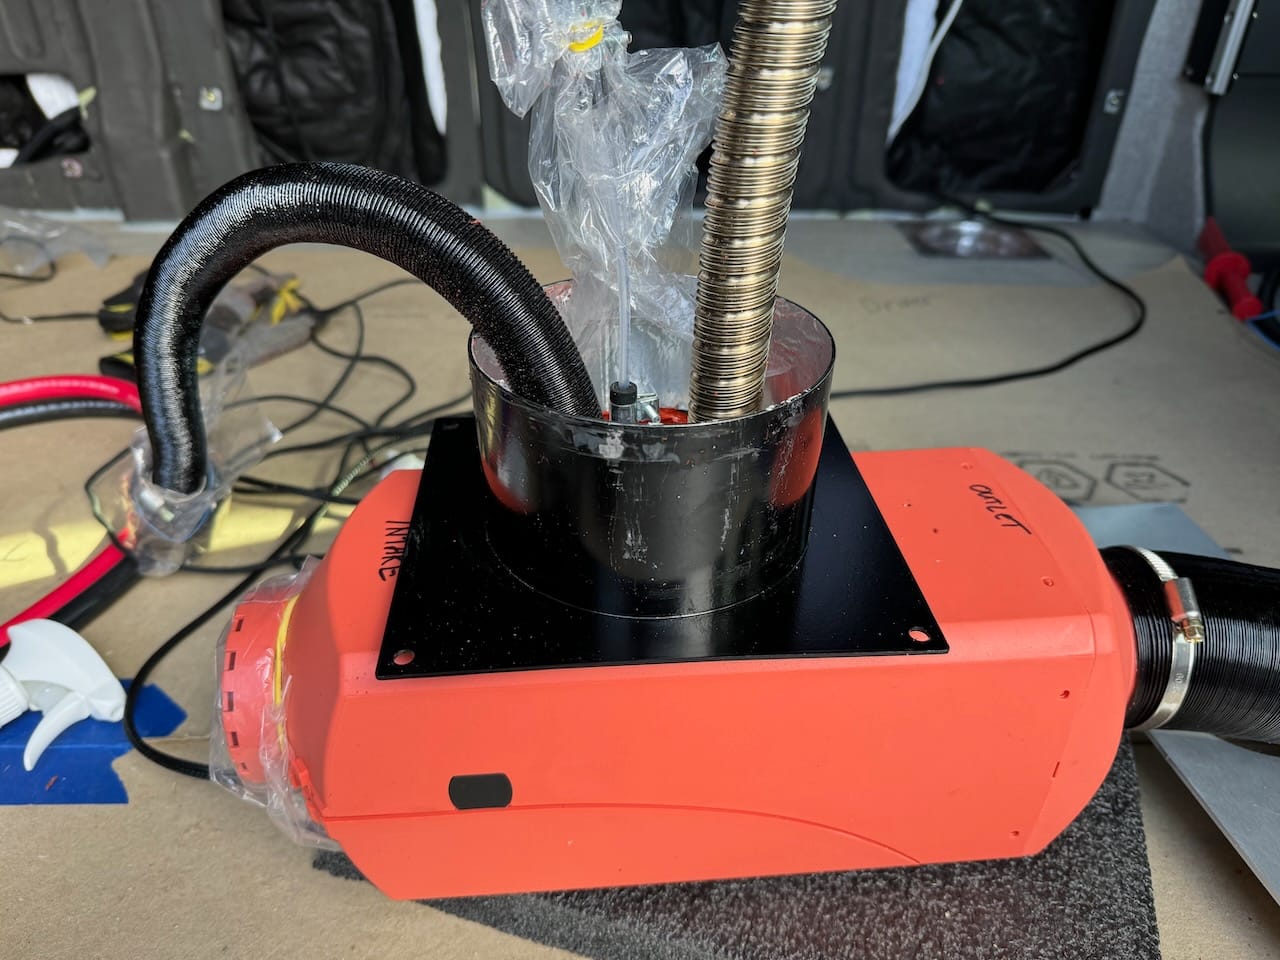
The black bracket below is the turret. And you can now visualize once its mounted on the floor how it seals off the entire floor sandwich and extends beyond that under the van.
Here is a shot from under the van once installed and sealed with high temperature silicone sealant.
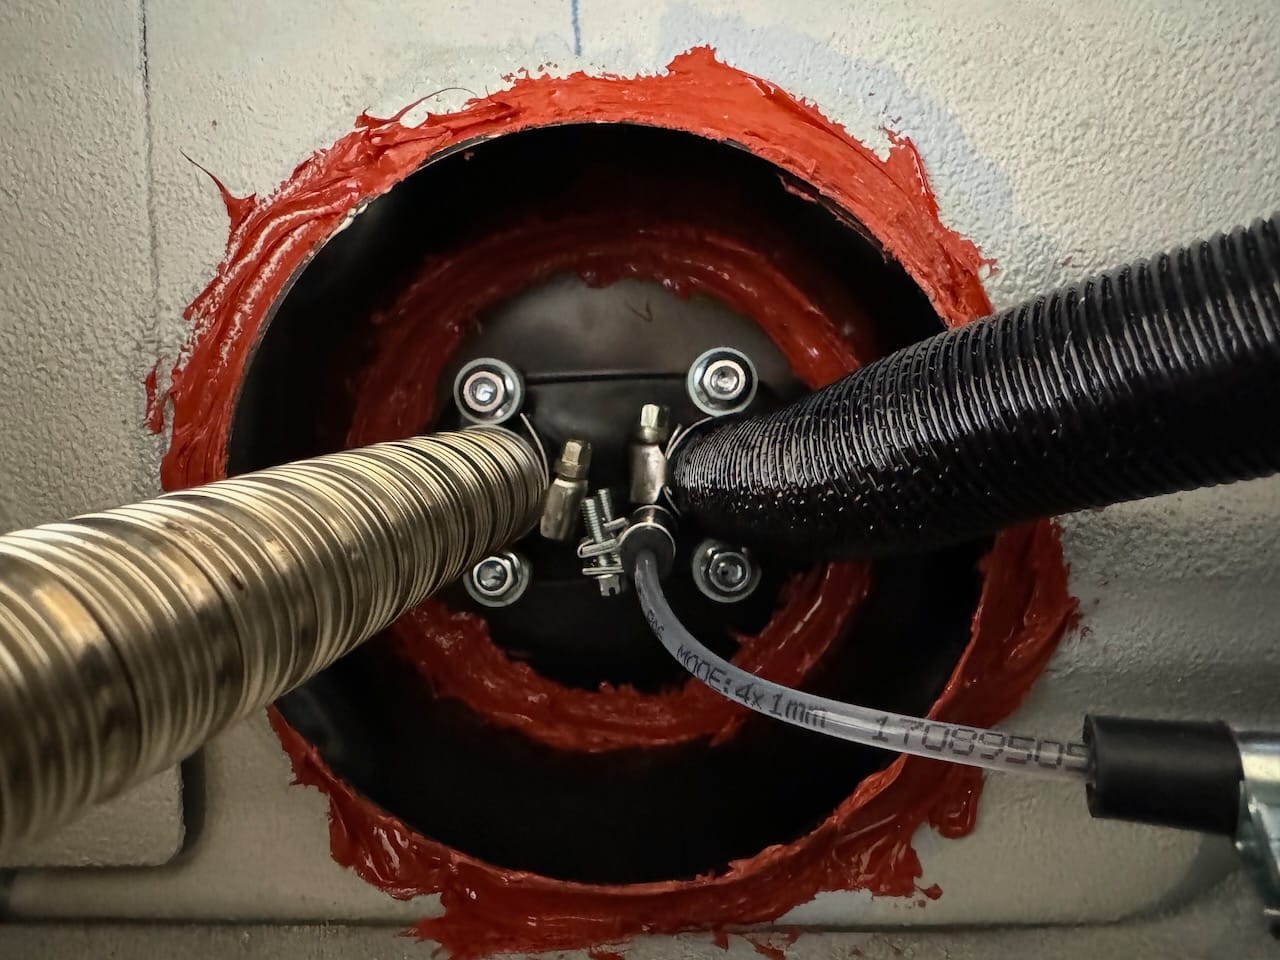
Sweet! Declare victory as you power it up and enjoy glorious hot air.
Uh, wait. Not so fast.
Hmmm.....the metal turret bracket seems to get pretty darn hot after a while. Uncomfortably hot. Makes me nervous hot, especially since its sitting right on top of the Lonseal vinyl flooring, but with a bit of aluminum tape in between.
Sigh. Maybe not the best idea. Further research reveals many people do this, but I'm still uncomfortable with it; I'd worry about running the heater for a long time or unattended.
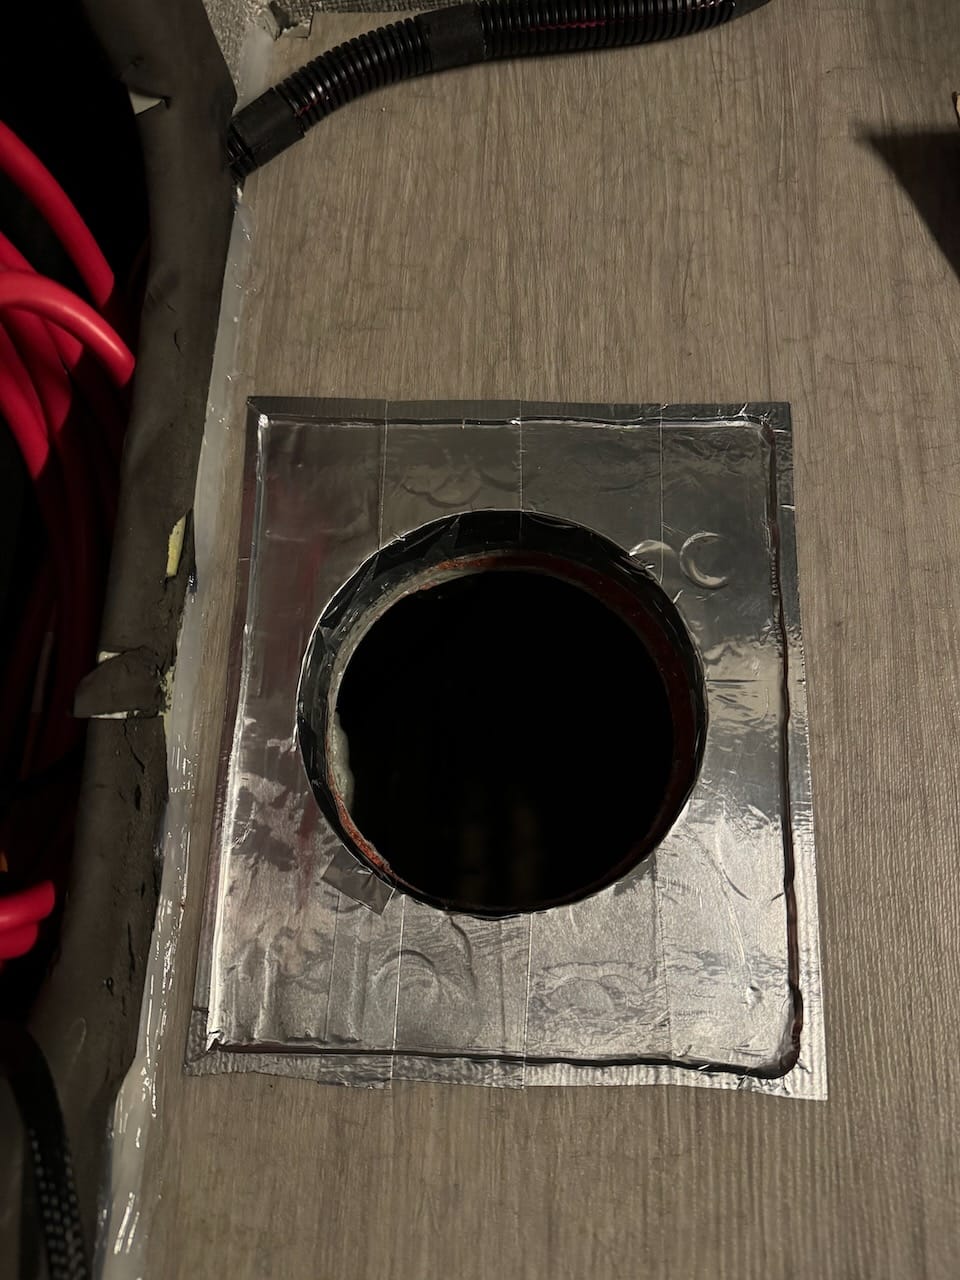
The melting point for the vinyl flooring is well below that of Baltic Birch plywood. Resign myself to yanking back out the turret. And that means having to scrape and dremel grind away all that red silicone sealant in a big messy job. The picture at the top of the post is me covered in tiny bits of silicone halfway through the grind.
The new mounting plan has three improvements:
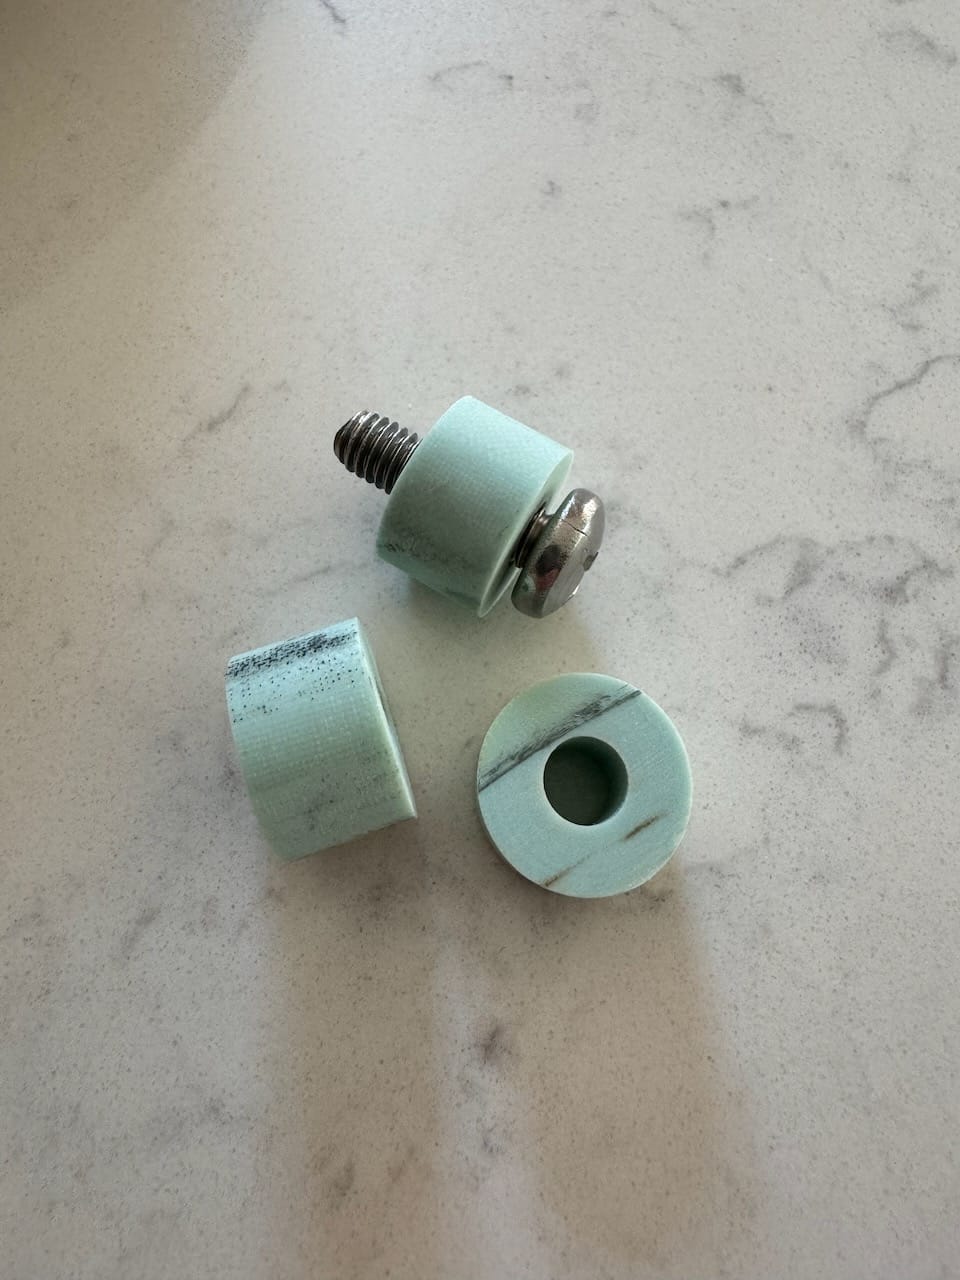
- Cut some FR4 fiberglass hollow rod into 1/2" long segments and use that as a thermal break between the mounting nuts and the bolt on the turret. This slows down the heat transfer from the bottom of the heat chamber to the black turret bracket.
- Use a router to remove the vinyl flooring to expose bare Baltic Birch plywood with a much higher temperature resistance. Then use aluminum flashing tape on top of the plywood.
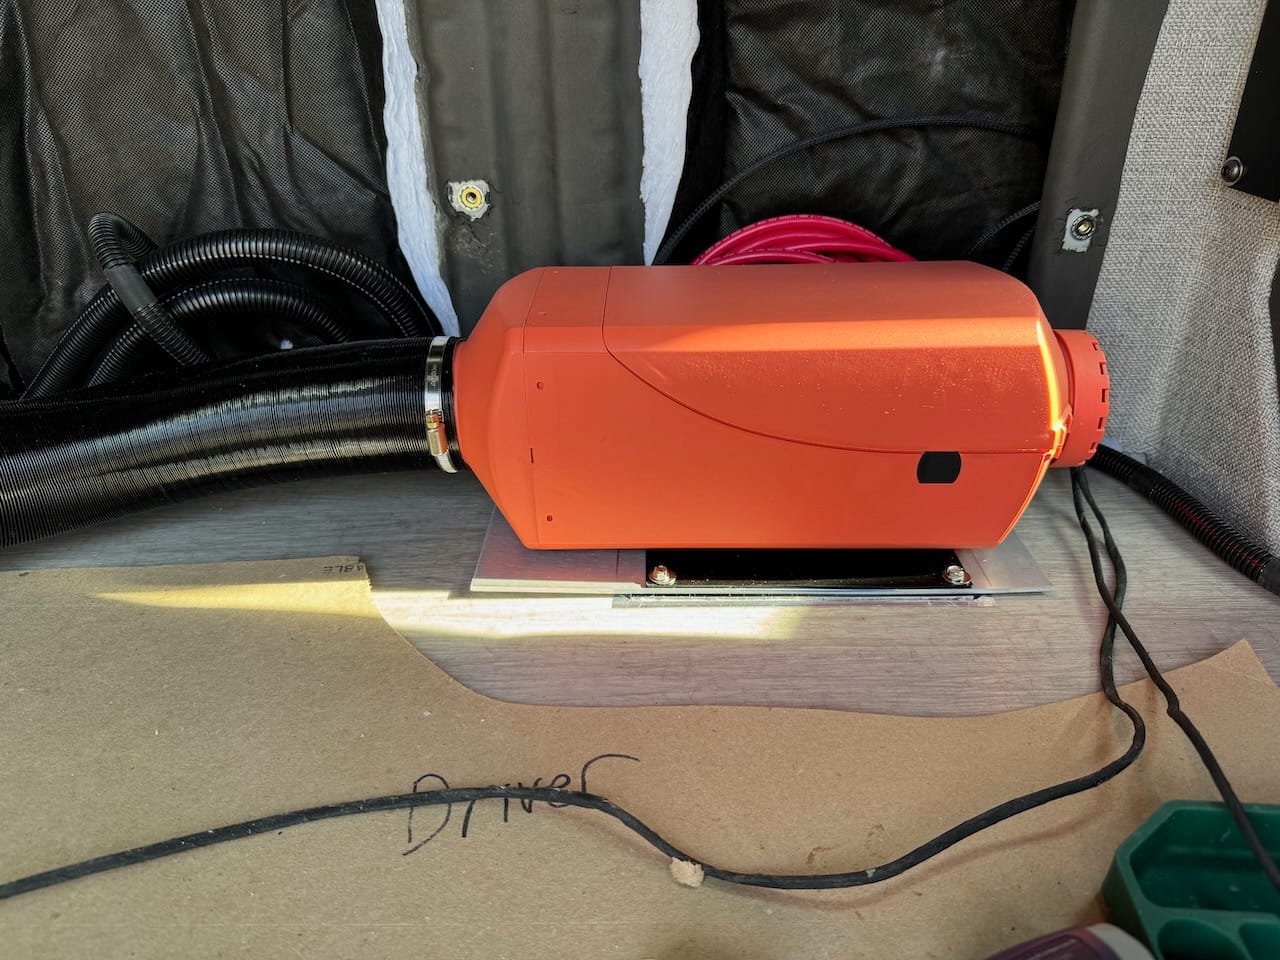
- Draft a CAD drawing for an aluminum mounting plate that can be wedged between the turret and the floor. This will act as a large heat sink to more effectively dissipate the heat. Sendcutsend.com created the plate for me in roughly 10 days to my door. Mounted it up with thermal paste to maximize the heat transfer.
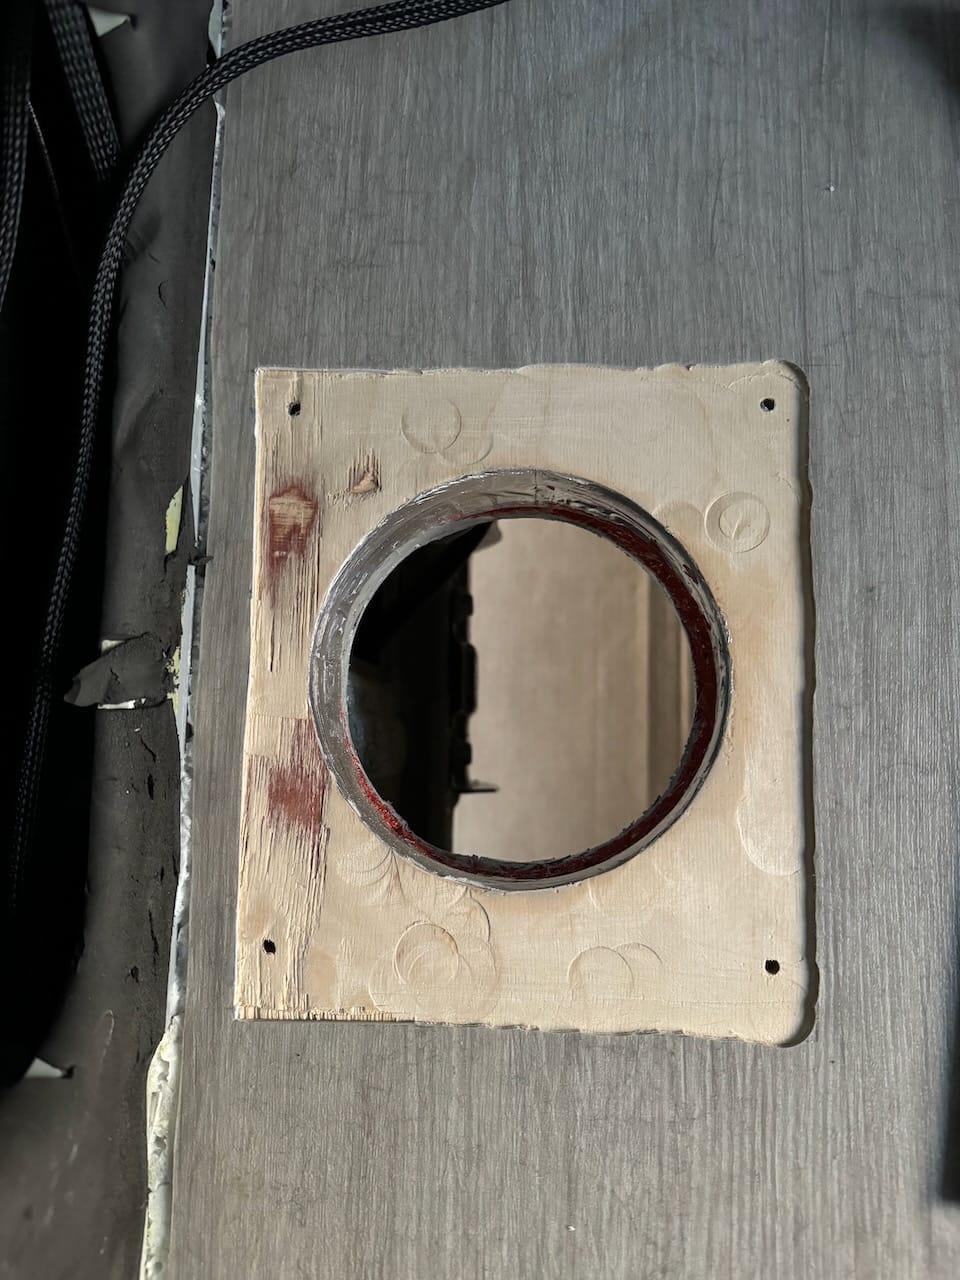
Here's the final re-mount of the heater with the aluminum heat sink plate in place. The heat sink plate size was chosen to not be larger than the actual heater body as I didn't want to add more constraint to the small bench that will enclose it.
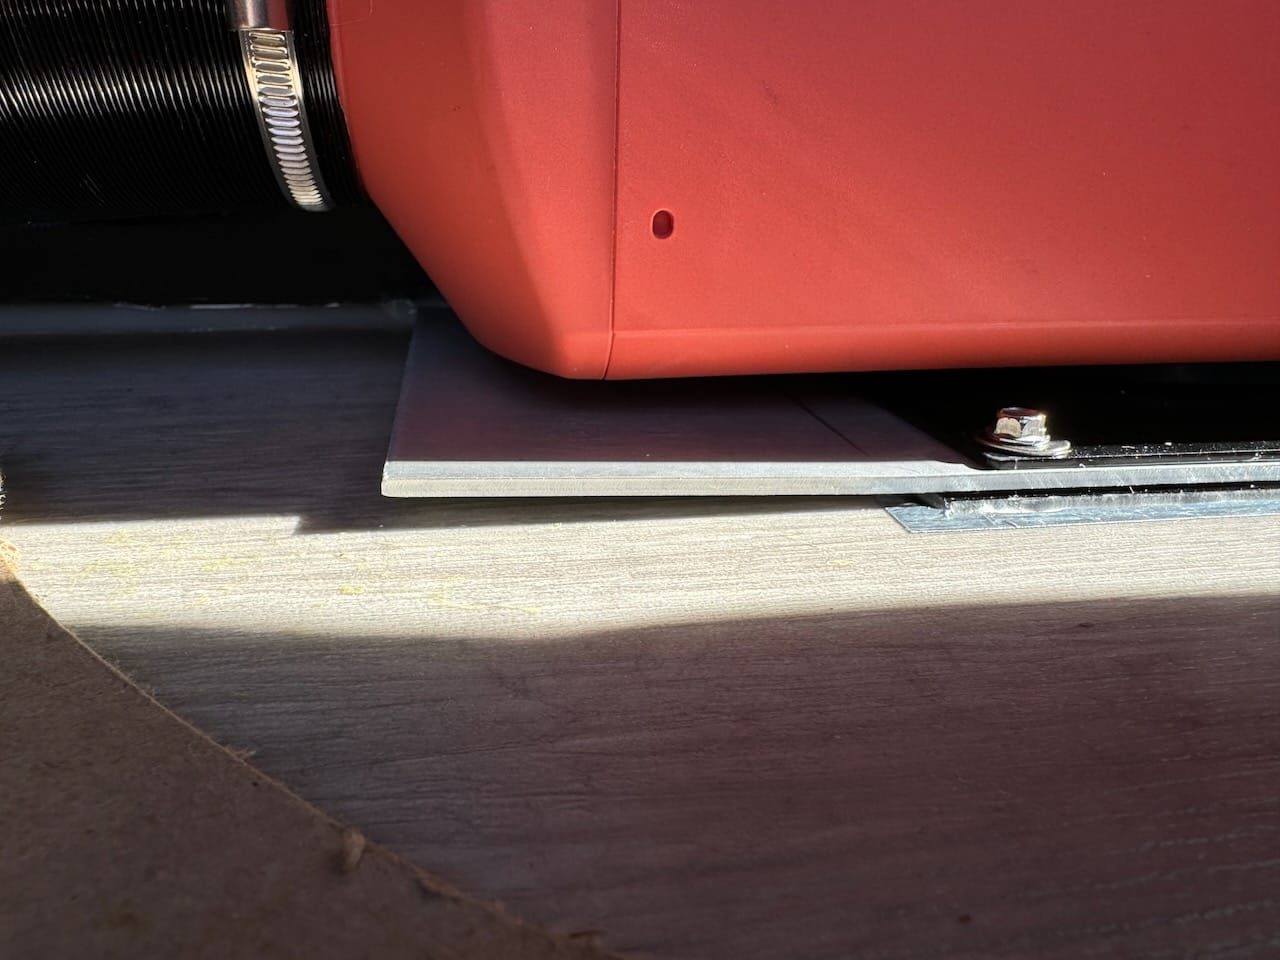
In the final shot you can see how each end of the aluminum plate is bent ever so slightly up for air clearance above the vinyl flooring.
With these changes, the turret plate is now much cooler than before and I have no worries about running the heater all day or night - even if we left the van for a hike or a bike ride (or on the driveway).
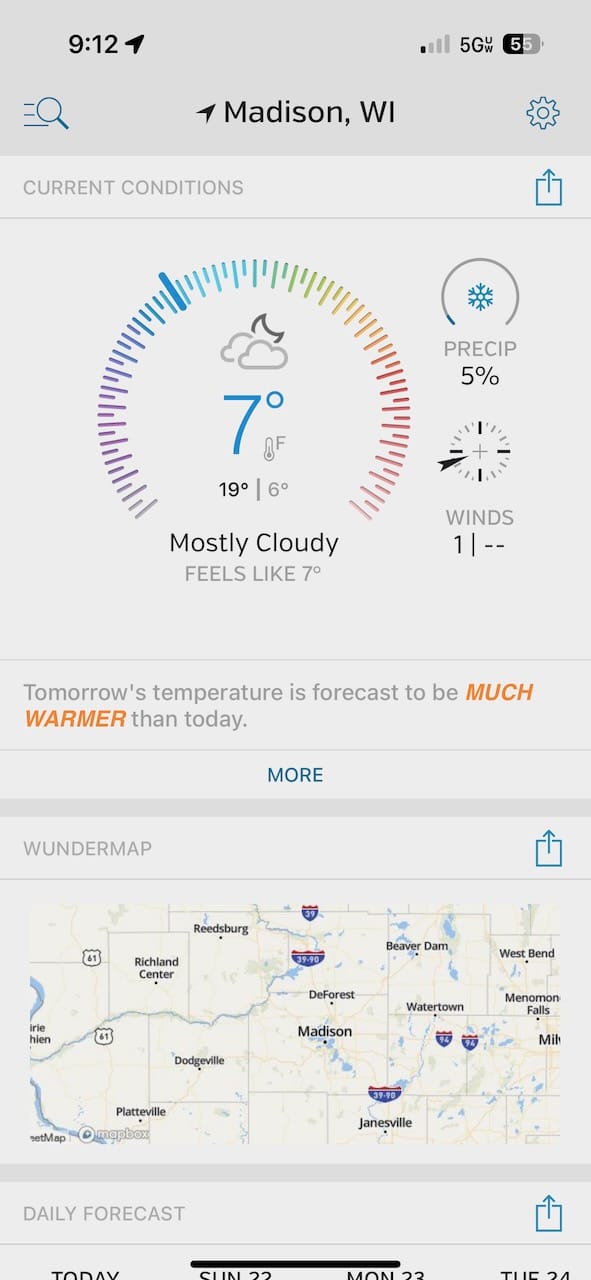
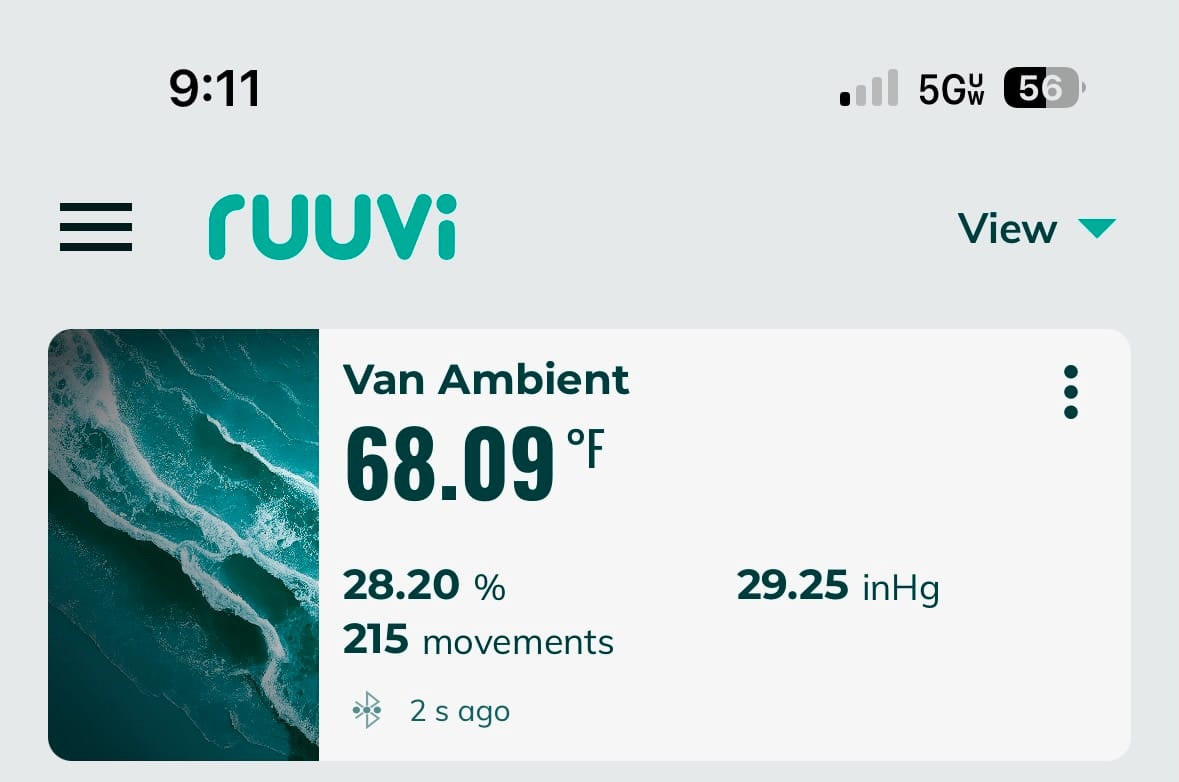
A great test of the heater on a cold December 7 degree night shows that it can keep the van up at 68F - even with no window coverings up in the cab area which is all glass and a huge heat loss area. 2 layers of thinsulate insulation and the 1" polyiso in the floor certainly help.
Member discussion