Ceiling - Part 2
Used 1/4" scrap baltic birch plywood chunks for spacers as I cut and installed each board. A few of them were very laborious (measure 53 times and then cut for 30 seconds sort of things).
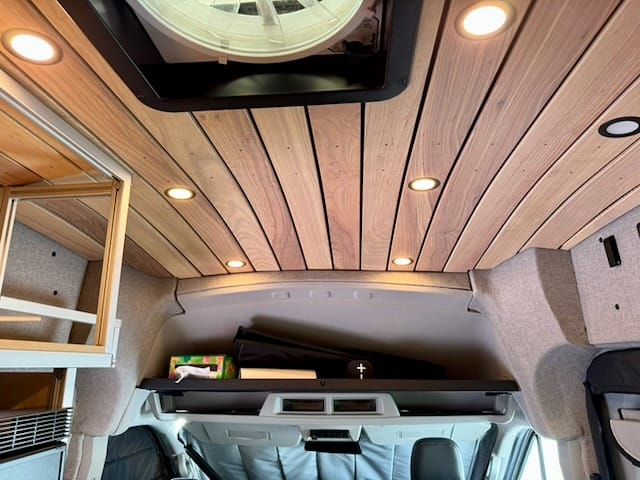
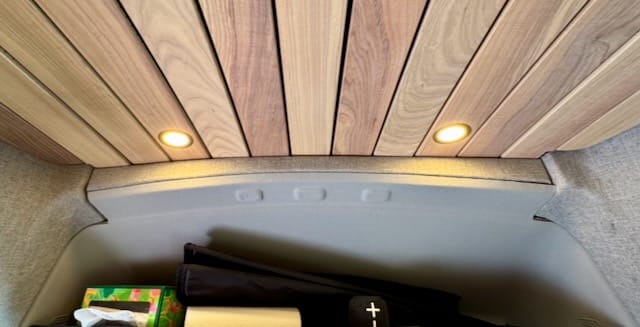
But the results are pretty stunning. I've read other build threads which claim getting the ceiling done changes the whole feel of the van. I have to agree completely.
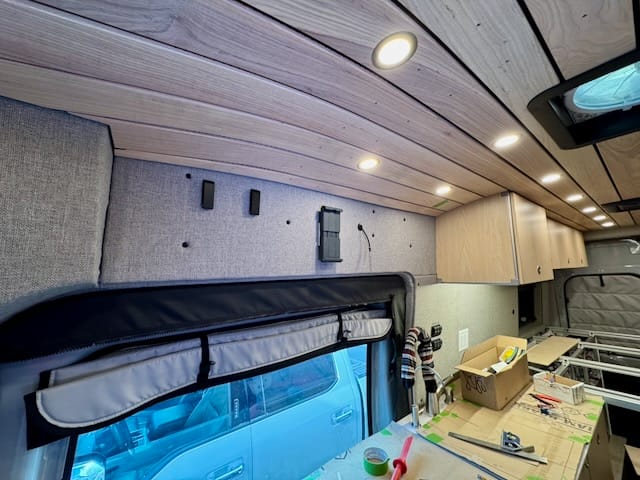
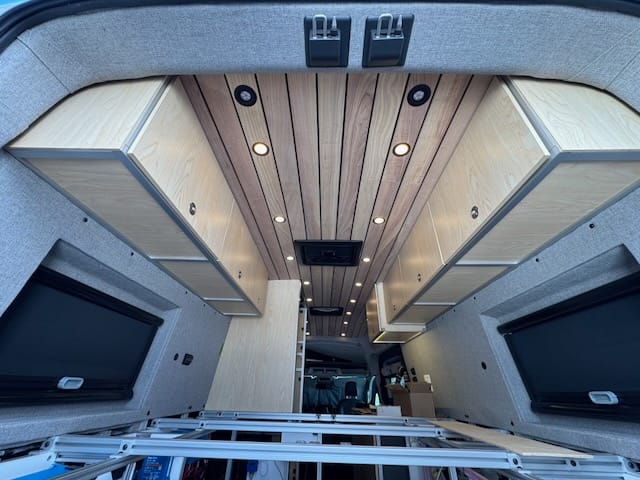
Planning the exact location of the puck lighting was a complete PITA. I actually had a google spreadsheet at one point with all the potential interferences, each rib location, where on each rib's furring strip had the overlap I could drill into, etc. Finally arrived at a plan where they could be 20" on center between each light except for the most rear - which isn't visually apparent from the front slider area. The shower forced 2 lights off their alignment line a bit, but at least they didn't end up "halfway" into the shower door. The lights have to be in the center of the 3.5" boards ideally so that added another constraint. And despite the visual 'disguise' I was able to use, there's spots where the curvature of the van itself made things challenging.
And I FINALLY have awesome lighting for the final portion of the build vs. some janky temporary half dozen pucks just shoved in a board up there.
Weight
I'm sure some are thinking "that must be crazy heavy." I weighed a 12" chunk of the 3/8 by 3.5" ash = 5.68 oz. Then used a laser measure to add up the lengths of all the boards = 1817 inches or roughly 151 feet of board. So the ash weighs 53.75 pounds plus maybe 3? pounds of duck cotton cloth.
A 4x8 sheet of 1/4" baltic birch is 25 pounds and I'd need roughly 2 sheets - but you'd also want some marine vinyl or other upholstery on the plywood so I think the two approaches are very close weight wise. And I vastly prefer the finished look of mine.
The screws are very easy to back out (torx head) so taking a few boards down to get at wiring or change things is straightforward.
MVP: XPS Pink Foam
After all the boards were up, the front area by the headliner needed some love. It looked kinda raw with slight vertical alignment issues with some of the boards as they're just sitting there under tension. The perfect 1/4" spacing between them is achieved with sneaky little 1/4" baltic birch chunks with black sharpie on them shoved in between. Plenty of tension to keep those in place without any glue or fasteners.
After my huge success using XPS foam chunks to frame out my windows, I figured why not try it here as well.
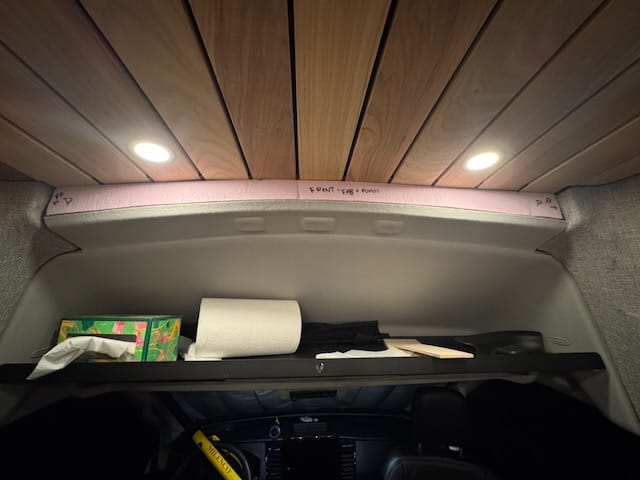
Add a bit of landau foam and upholstery and the magic illusion happens and it all looks perfect.
The alternative was adding a whole cut down trim piece of ash and having to find special tiny, shallow 3/4" fasteners so that I could 'pin' all the boards into the cross piece - still all floating - but would just guarantee alignment.
But using the foam was far faster and I think looks much better in the end.
Member discussion