Ceiling - Part 1
Mostly followed Thrivans approach for a slatted hardwood ceiling. Didn't want tongue and groove for the complicated install and massive squeak potential. Moser Makes had a similar approach with some valuable tips also.
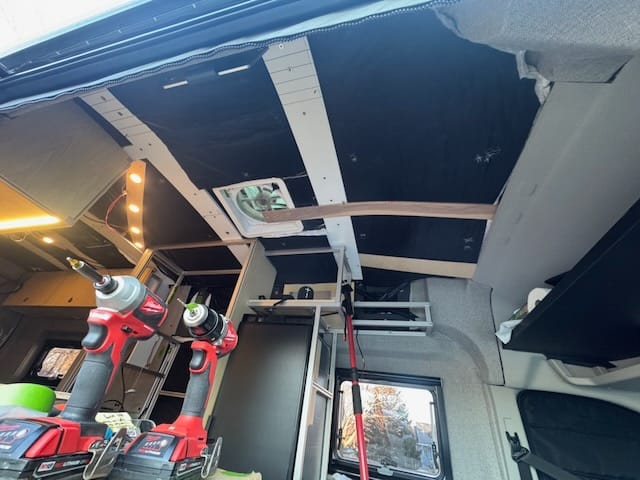
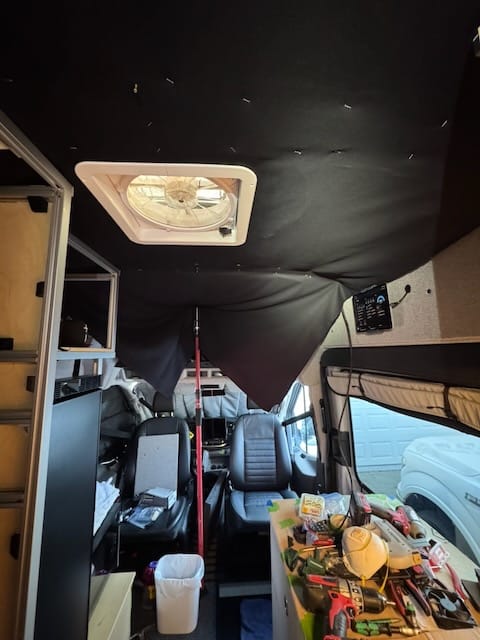
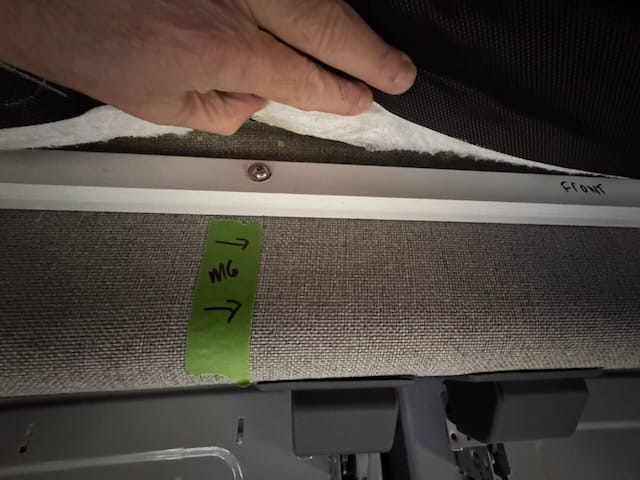
The requisite 'before' shot for context where I'm starting from is above. The white furring strips are 5/8 baltic birch with zinser mold and mildew proof paint (all wood not visible in the van got 2 coats of this paint). The black is 2 layers of thinsulate insulation.
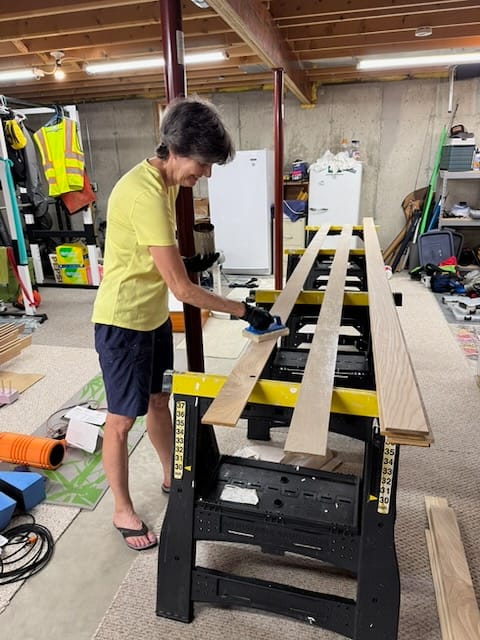
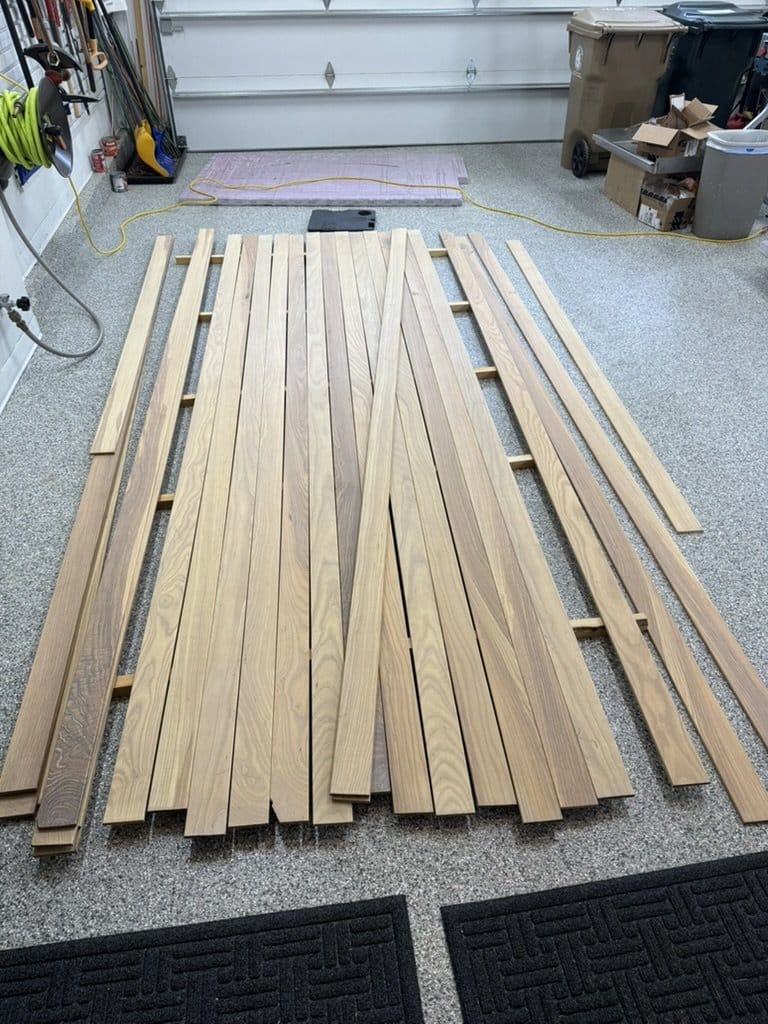
The ash was sourced from Kettle Moraine Hardwoods and they did the mill work needed for pennies. I would have had to join a local maker wood shop for a month to use their large planer and joiner and make huge mounds of sawdust. Far cheaper in my case to just have KMH do it thankfully. Was able to source 12 to 12.5 foot long boards, 3/8 thick, 3.5 wide. 28 of them - that way we have plenty to pick from for prime appearance with grain and color variation - and we have plenty leftover in case we rework the layout at some point and need a few patch pieces some day. Total was about ~$360.
I added a soft break on them using a router and then sanded. Used Rubio Monocoat in the Smoke color for the finish (tried 4 or 5 samples from them and liked what Thrivans recommended the best also). Finished all surfaces of each board to prevent warping with humidity changes.
Crafted an uber el cheapo, space efficient drying rack for the rubio boards using some xps foam chunks and a few dowels chopped up and shoved in them.
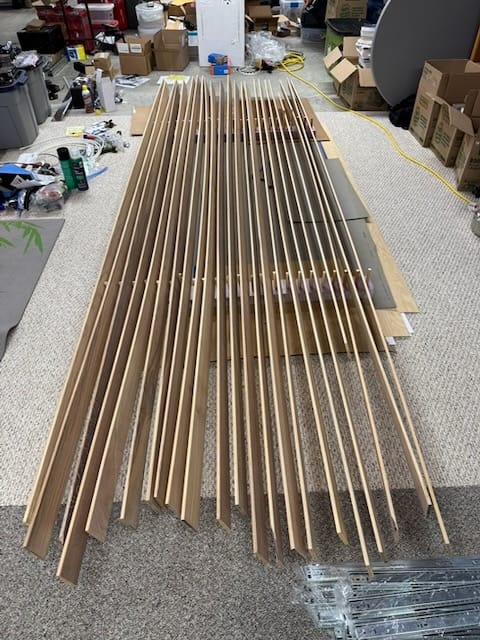
Sorting the candidates a bit.
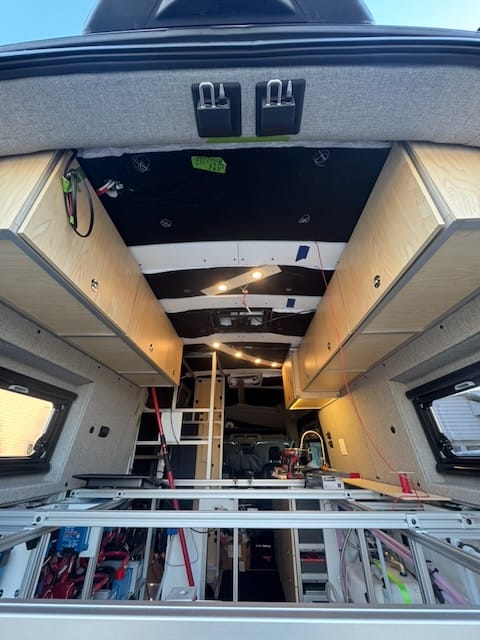
And then started wrestling with a 15 x 5 foot swath of black cotton duck cloth. In hindsight we should have used some tailor chalk on the back side to make ANY kind of reference mark so we could tell if things were squarish or not while trying to staple. But we guessed and got close - had to add a few narrow patch pieces on the sides in 2 places with some 3M 90.
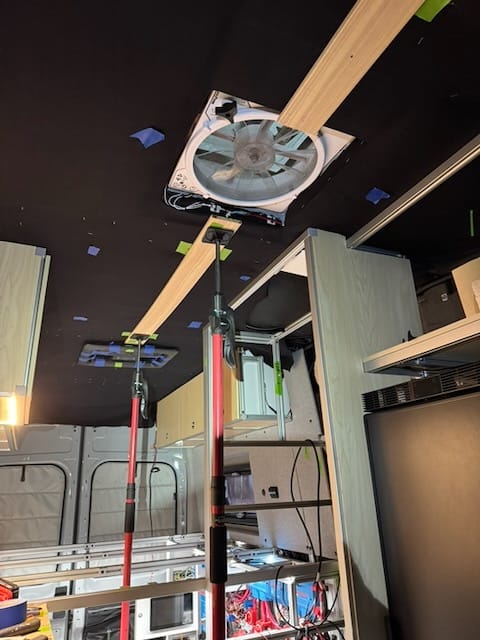
I added center screw reference points on each furring strip which were critical once everything disappears behind the black cloth.
Putting the first center board up takes forever. It's in 3 pieces due to the fan and AC vents breaking it up. Yet all 3 pieces must be perfectly aligned or everything else goes into the ditch once you start spacing out each side from it and then try to match your first contiguous 12 foot board against it. The blue tape marks are where the 16 puck light pig tails with wagos are hiding behind the duck cloth.
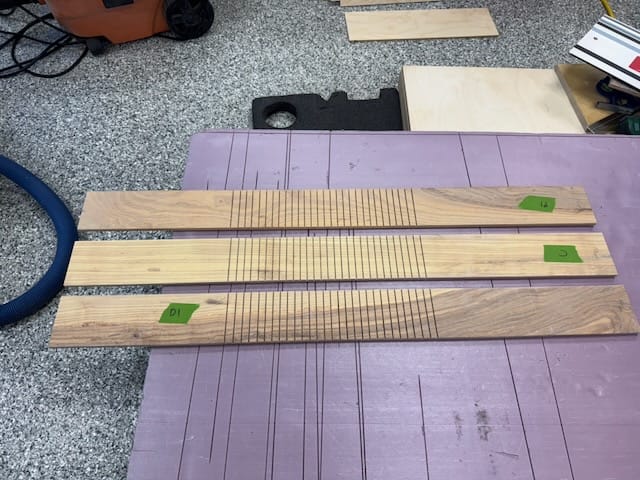
The front forehead curve of the Transit required some kerf cuts on the back side of those boards. Just pushing on them you could feel an immediate change of less force required with the kerfs. I wasn't confident the screws would hold over time without them.
Beyond the 5 easy peasy ceiling ribs with furring strips I was nervous how things would work out at each end of the boards.
Up front I thought I might have to burn tons of time dropping the entire headliner again and adding rivnuts and another small furring strip up there. But with a single test board, the tension the board is under given the curve of the ceiling pins the end in place pretty good by itself right above that bracing the headliner plastic pins push up into.
Moser Makes added extra complexity with a whole fake rib up front and I just skipped all of that as unnecessary. And Thrivans videos are all Sprinters so no help in this area.
In the rear, the last rib is maybe ~20" at most away from the rear door arch and figured the ends could just float there and be good enough - or maybe cut down a chunk of ash and make a small 1" x 45"-ish cross piece to align them. But then I realized the very rear puck lights we have are reading lights that pivot around and you push on them directly to turn them on/off. So I need some kind of real framing there or the end of the ash board just floats all over when you push up on the light. Sigh.
Studied older van photos from last summer and got lucky! I had added rivnuts to every hole on that back upper door arch. Using the photos and a needle, I could locate them behind the foam + upholstery. Used an old soldering iron to melt through the upholstery and foam to expose the rivnuts while also sealing up the edges to avoid fraying. Then crafted a chunk of leftover poplar to make a tiny 'rib' I could bolt to the upper door framing. Perfect!
Member discussion