Air Conditioning
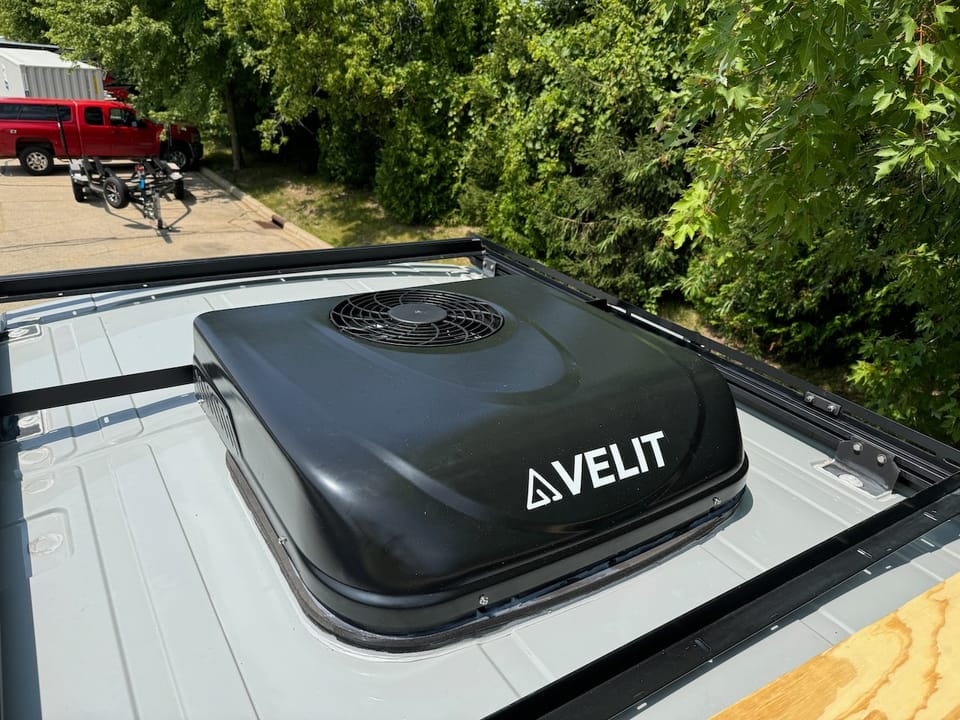
Reason #6 on why we built our own van was modern DC air conditioning so that we could power it without being tied to an electric campsite that needs a scheduling restricting reservation 9+ months ahead of time.
DC powered AC is still pretty new so I expect that at some point over the lifetime of the van that we'll replace the unit so using an 'industry standard' 14"x14" hole in the roof was a critical requirement.
We decided to give Velit Camping a try and bought their 12V 2000R unit after seeing a bunch of good first hand experience reports. Plus Velit is inexpensive vs. the typical Indiana Dometic stuff in every other camper.
Installation is complicated by finding a weather window of 3 days ideally with no chance of rain (unusually challenging this summer).
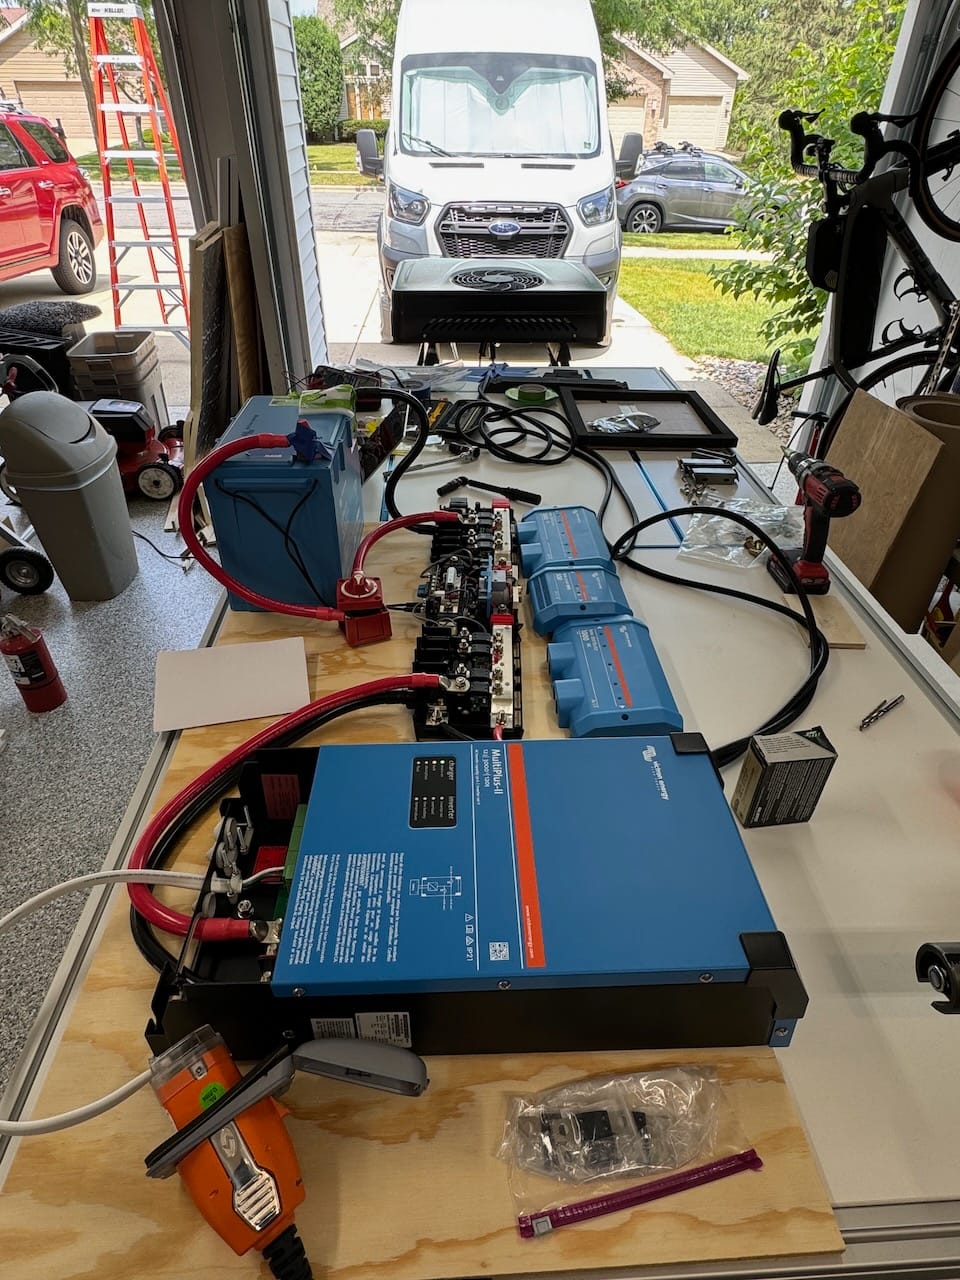
Given the 'newness' of the market, it's prudent to bench test the AC unit before a difficult install. But you can't just 'plug it in' since it's DC so had to setup enough of the Victron Energy system to bench test it. Hooray - cold air is felt out the bottom.
First requirement for install is a roof rack so you can actually crawl around up there 10 feet in the air to cut a giant hole in the brand new van.
Next is depending on install location, the roof can be very thin and you're trying to mount a 65+ lb unit to it and not have it bounce all over the place and cause other issues. Like most things, we aren't the first to face this challenge and diyvan.com makes great 'adapters' which achieve two key things:
1. Adapt perfectly to the curved van roof w/ ribs to provide a flat mounting square for the AC unit
2. Internally reinforce the entire roof area and carry the load to fore & aft structural steel to support the weight and eliminate bounce.
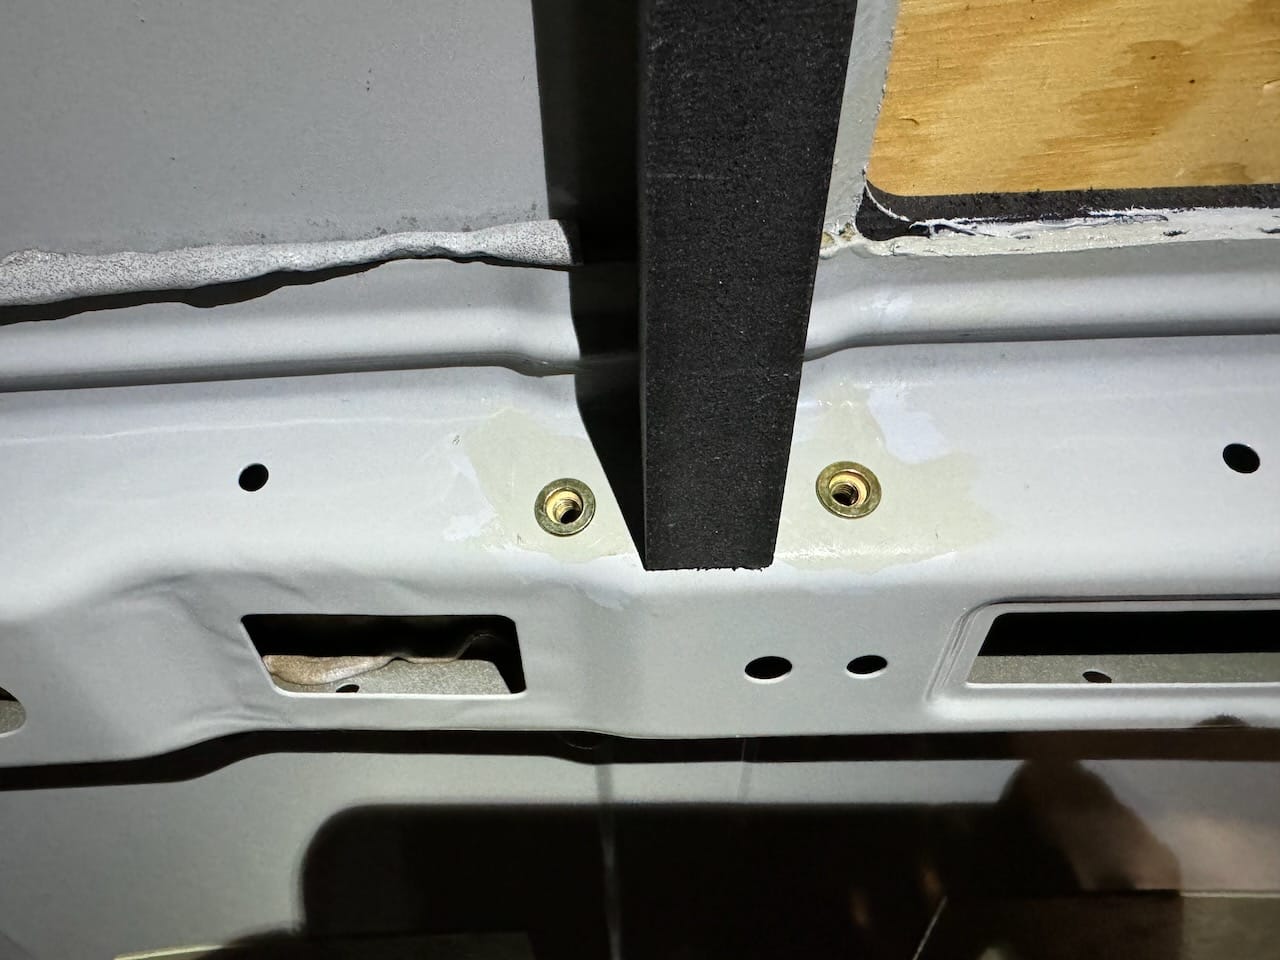
diyvan.com has adapters that match the Velit so we bought both 'sides' (roof top + internal bracing) and installed them. The internal bracing requires some drilling and installing "rivnuts" - threaded inserts that make a perfect mounting location for a machine screw in a hole. I cheated and bought a compressed air powered rivnut tool for the build (figured I can sell it at the end to the 'next builder' that needs one). Far more compact for tight spaces and corners - and way easier to use. Below you can see the 2 rivnuts I added which will receive the reinforcing bracket (with of course priming and painting any hole that needs to be drilled in the steel van - with more wait time).

Another challenge is how do you actually get a 65+ pound, awkward sized unit over 10 feet in the air up on top of the roof rack with a chunk of plywood laid across it as you try to slide it into place?
You leverage great friends at Tormach with a fork lift and they pop it up there in just a few minutes, easy peasy!
Next you overcome massive nerves and mask off a big 14" square hole and then go at it with a step drill in the corners and a jig saw with the highest TPI you can find. But this creates a giant mess of hot metal shards that love to get everywhere inside and out (and melt into the clear coat of the paint, stick, and instantly rust). So you have to mask off everything in sight. And toss in a big magnet (inside a ziplock) to the contractor bag you have taped up underneath to try to corral the metal shavings a bit.
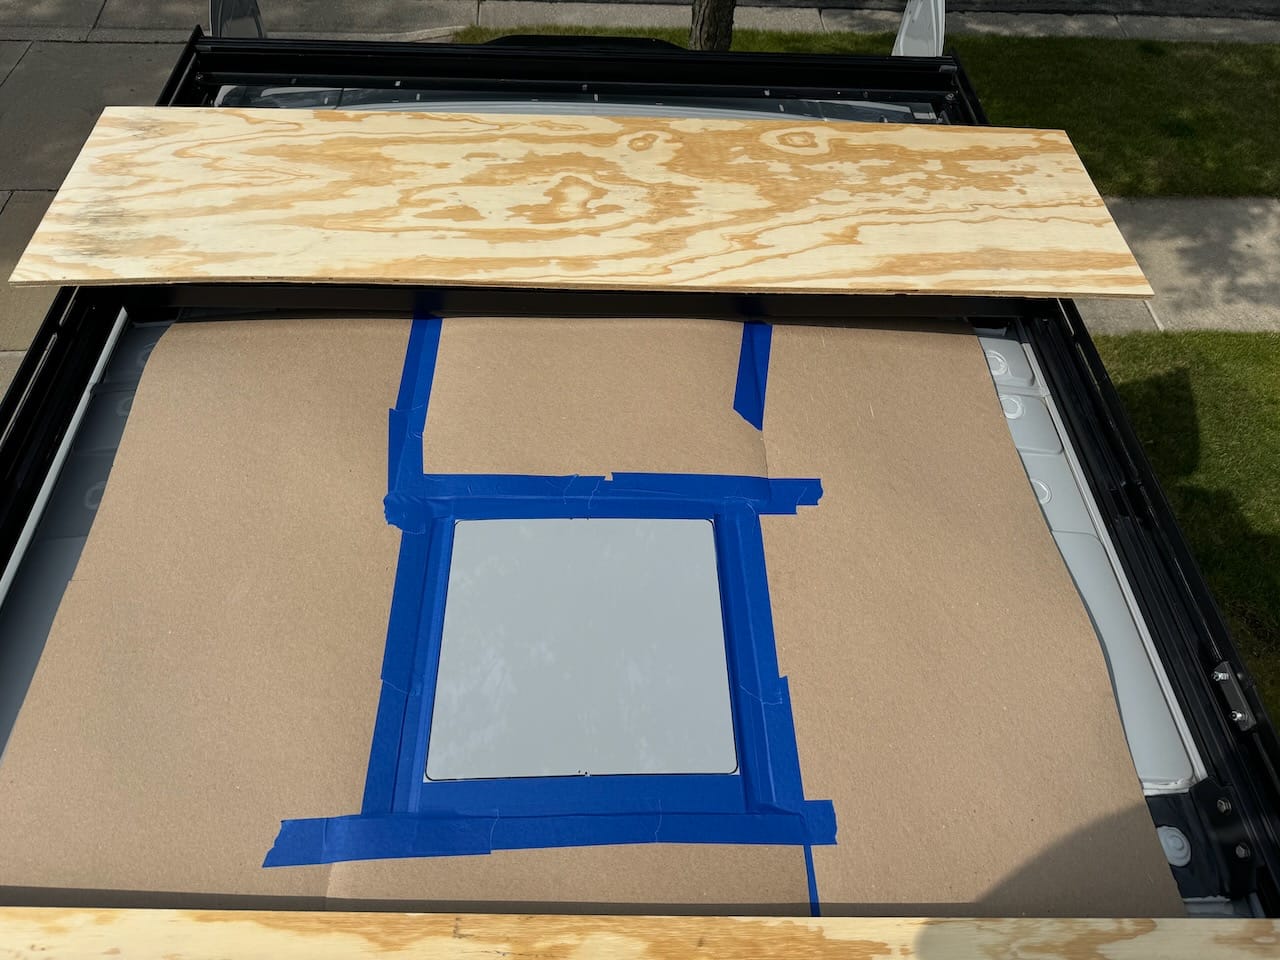
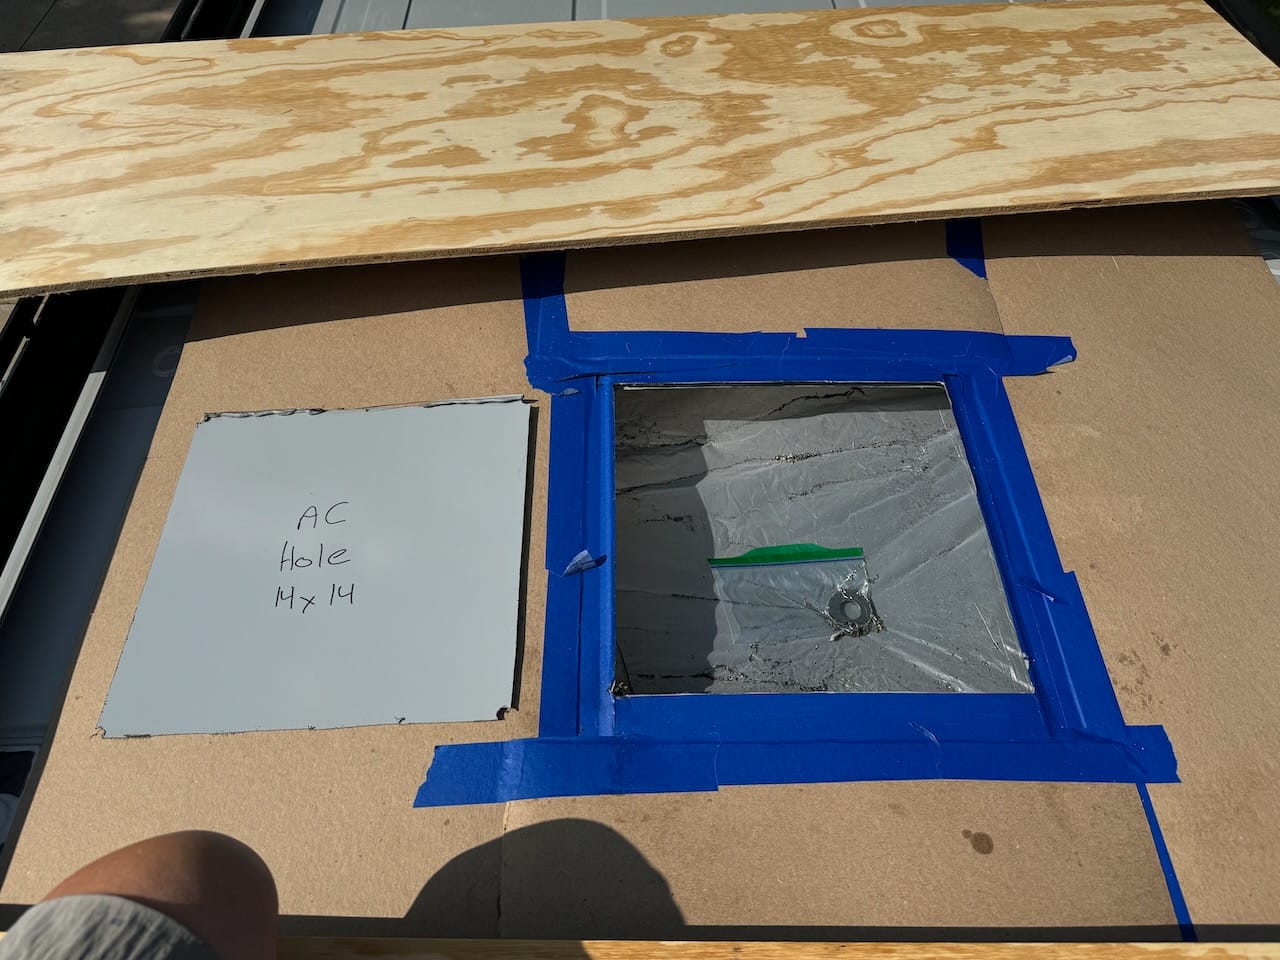
Then you breathe a bit and hope like hell the hole is the correct size and in the right spot (and re-check the weather forecast...).
Next is Sikaflex adhesive to get the roof side diyvan.com adapter secured. It needs to cure of course overnight before stressing it with the actual AC unit. Re-check the weather forecast for the 10th time.
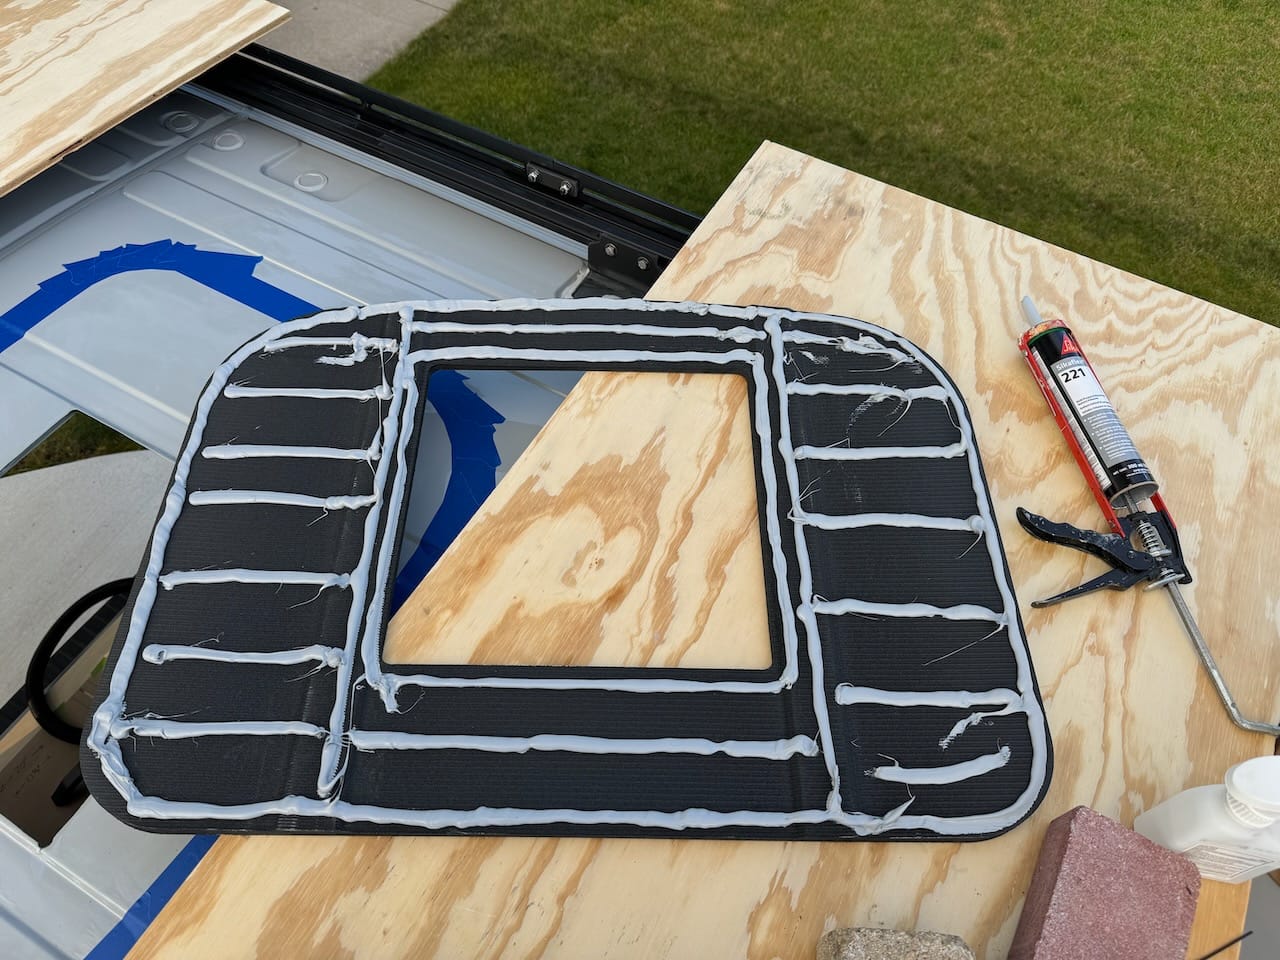
Then with the forklift help, the 65+ lb unit is staged near the hole on top of the roof rack. Cue tons of adhesive application while trying to 'pivot' the unit down onto/into the hole. I'd guess 2 rolls of paper towel bit the dust on the overall install cleaning various bits of adhesive, caulk, etc. off quickly. I always try to use an 'old school' paper grocery bag which stands up by itself nice and wide and just dump all the used paper towel into that whenever it is half gooed up.
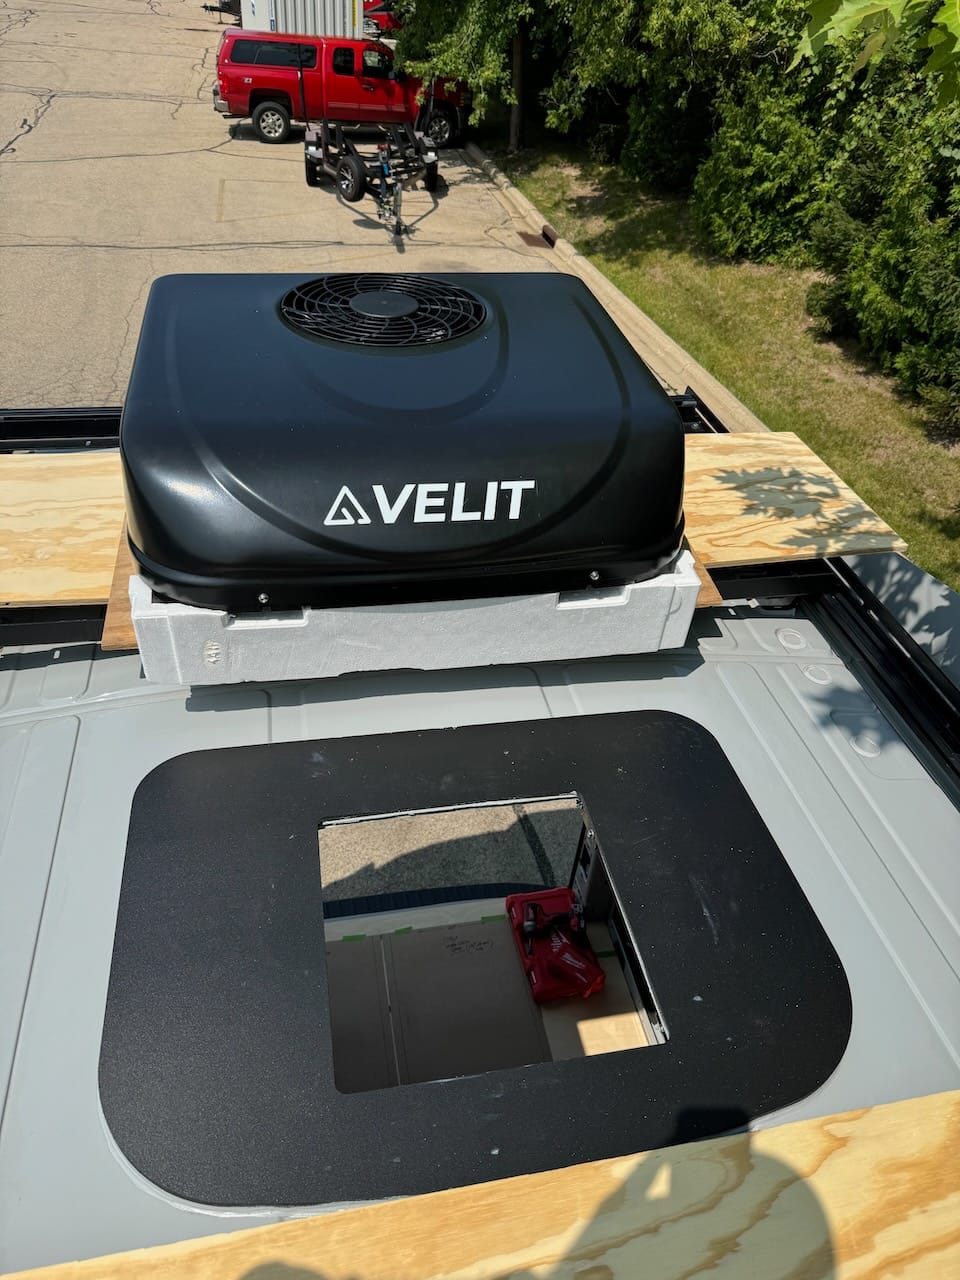
Finally the unit is in the hole.
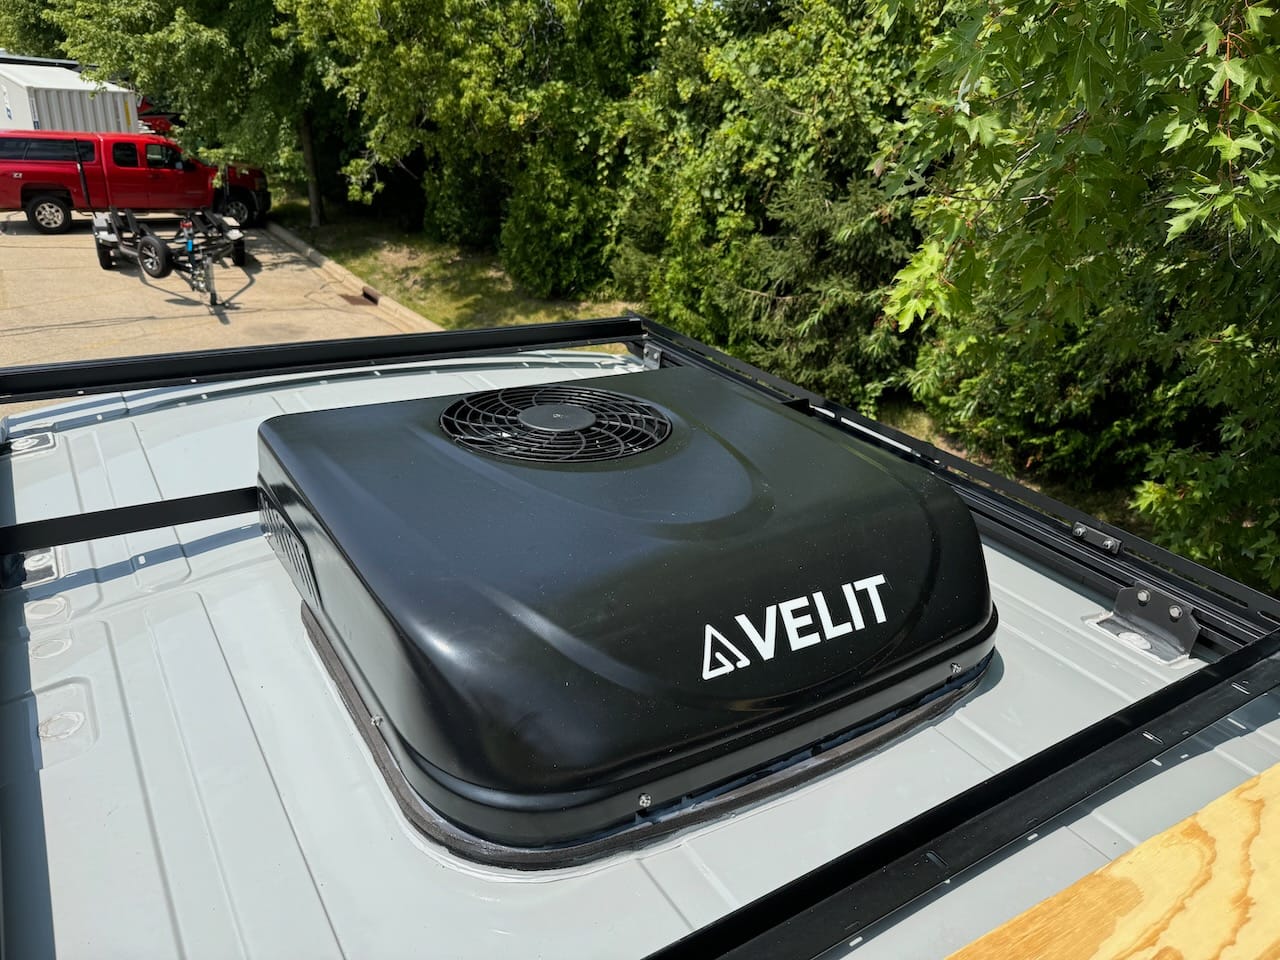
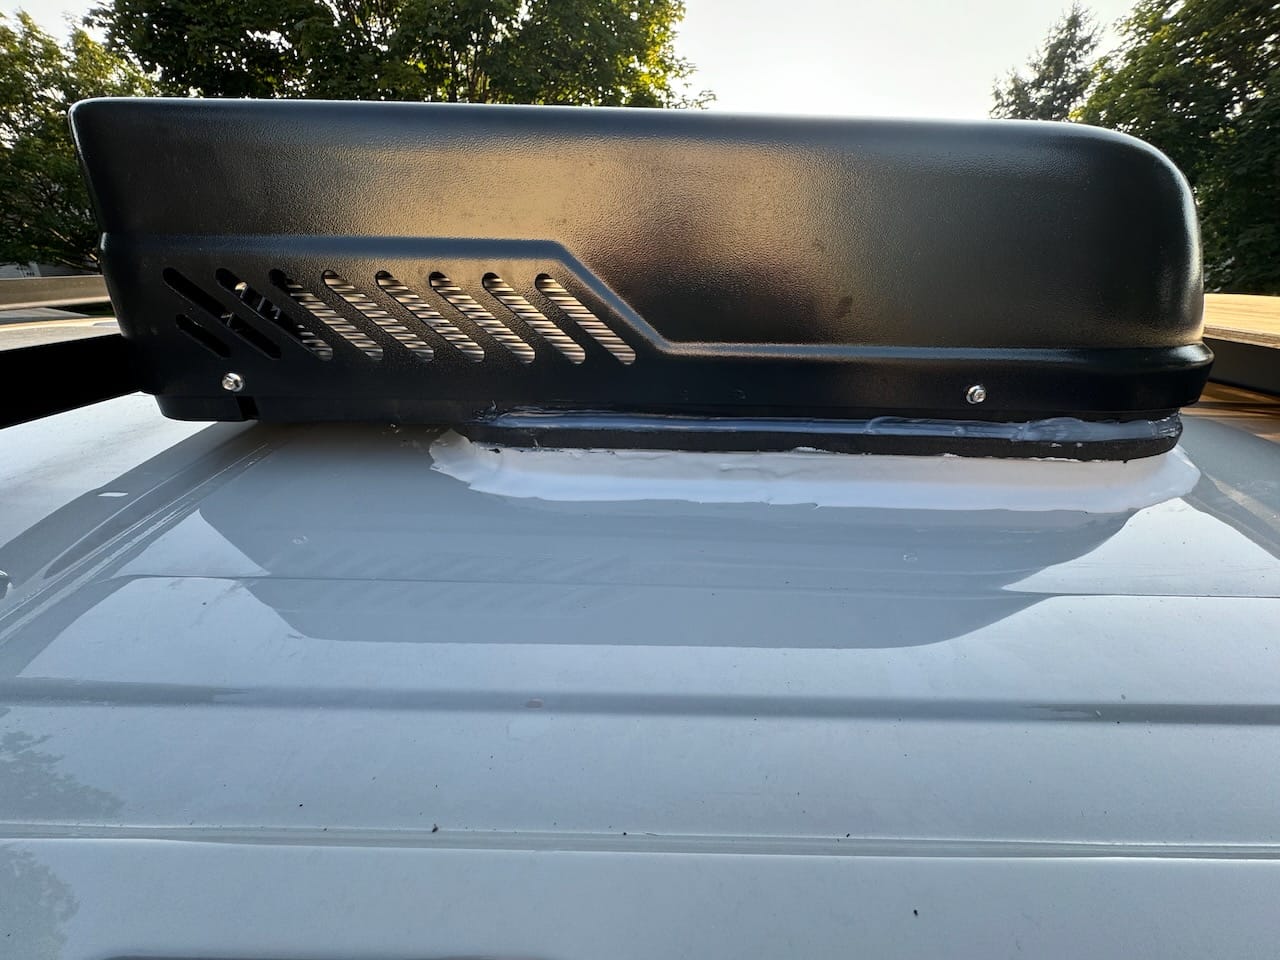
Drive home and then realize that it's impossible to add Dicor self-leveling lap sealant around the entire hole since the 'back end' of the AC unit overlaps the hole by 8+ inches. #$@#!@#.
Race to pull the unit back up out of the hole, wipe as much adhesive away as possible. Apply the Dicor along the back edge of the roof top adapter, re-apply new adhesive, and then re-place the unit in the hole. All in 90F+ heat without passing out.
Final install is perfect, but what a journey to get there.
Member discussion